1.Overview
For some marketplaces it’s important to allow the customers to search products and vendors by their location, and with WCFM, you can allow your vendors to display the location of their store.
WCFM allows you to configure your location settings using Google Map and Open street map library, other than that WCFM is compatible with plugins like GEO my WP, Map-Press Easy Google Map, Toolset Maps and Address Geo-coder which might serve as additional benefit.
In this article, we shall discuss in-built settings provided for configuring vendor store location using Google Map & Open-street map and how the search features works.
2.Admin configuration
Step 1: Admin can configure Geo-location settings from here: Goto WCFM Admin Dashboard-> Settings -> Geo Location Option.
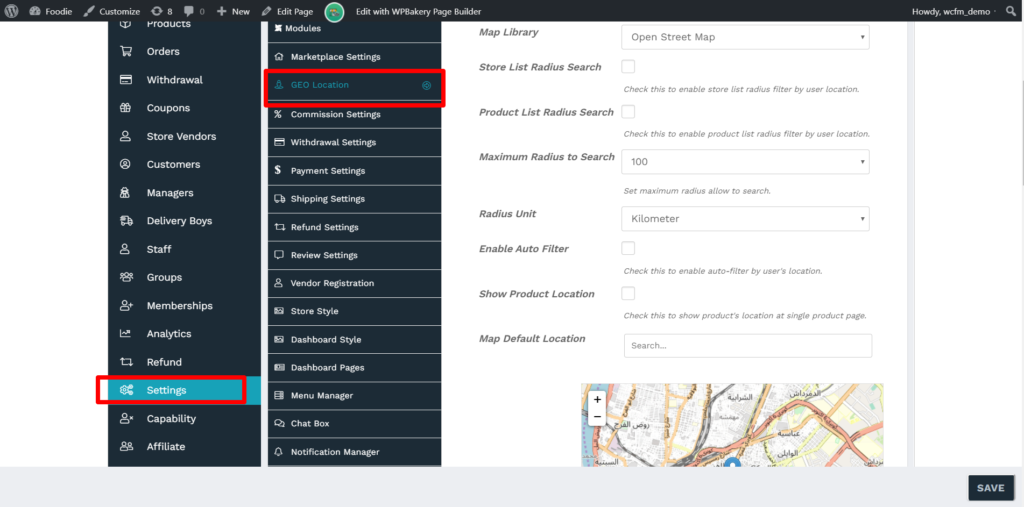
Step 2: Select either “ Google Map” or “Open Street Map” option from Map library menu as shown here:

Step 3: Upon selecting “Google Map” option, you will have to enter the Api key generated by registering an account. For details on registering account click here.

Step 4: If you want to enable store list radius filters by user location then check the option provided ( as shown below). This will allow the location of the store to be shown in the store-list page map

Step 5: As a next option, you can check if you need to enable product list radius filter by user location, which will ensure that the nearby products are shown in shop page.

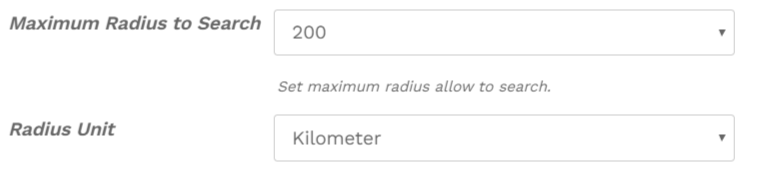
Step 6: As a next step, you can specify the maximum radius within which the product/store will be searched, and also provide the mathematical unit for the same as shown below.
Step 7: You can enable auto-filter option provided, if checked it will allow auto-filtering of the stores/products in the vendor store by fetching user’s location

Step 8: To show the location of the product in single product page, enable the following option here:

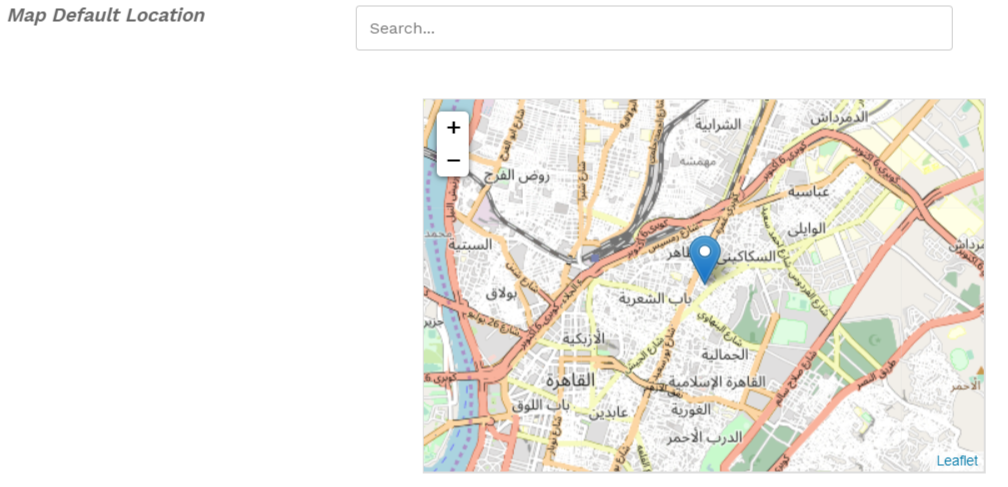
Step 9: Setup the default location to be show in the map from here:
PS: Store List page configuration- It’s important for the store to showcast the list of all the vendors along with their location. You can set the store-list page by reading it’s documentation from here. You will have to ensure that Store List radius option is checked so that the locations of the vendors can be seen as here:

Step 10: Click on the save button to incorporate the configuration.
3.Vendor Configuration
As a vendor, one can set the location of their individual store and here are the steps.
Step 1: Goto Vendor Dashboard -> Settings -> Location
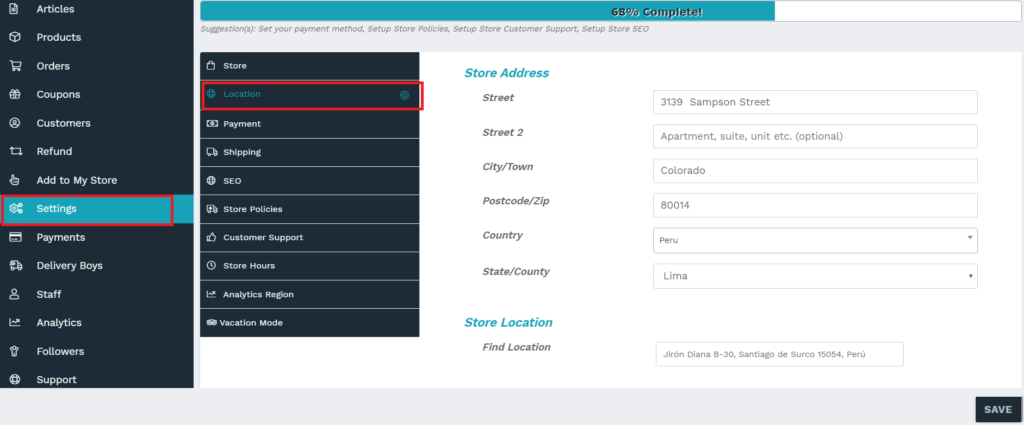
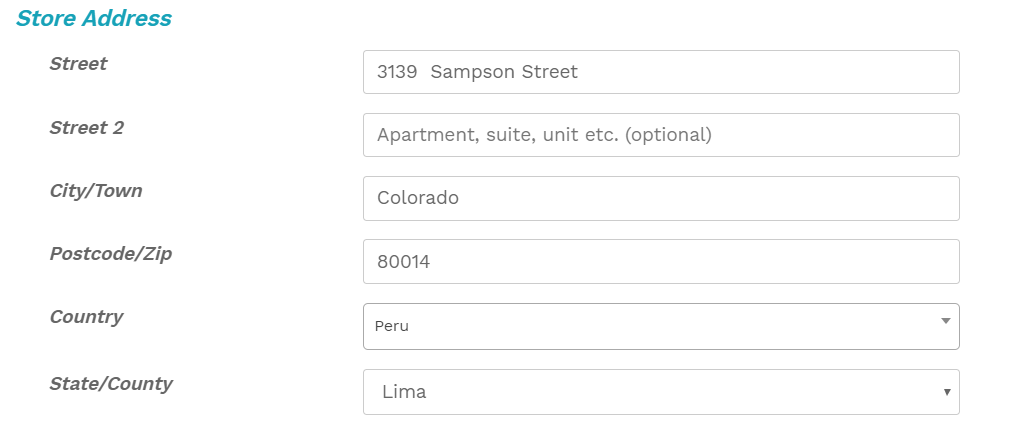
Step 2: From here, enter the address of the store from the “Store Address” section as shown below.
Step 3: As a next step, just point the store location in the Map by providing the correct address.

Once done, save the settings and allow the customers to search for this store by location from store-list page and vendor store page.
4.Geolocation Frontend Search
As discussed, WCFM will allow the users to search nearby product and vendors, in this section, let’s see how the search filter works from an end user’s ( or customer’s) perspective.
VENDOR SEARCH :
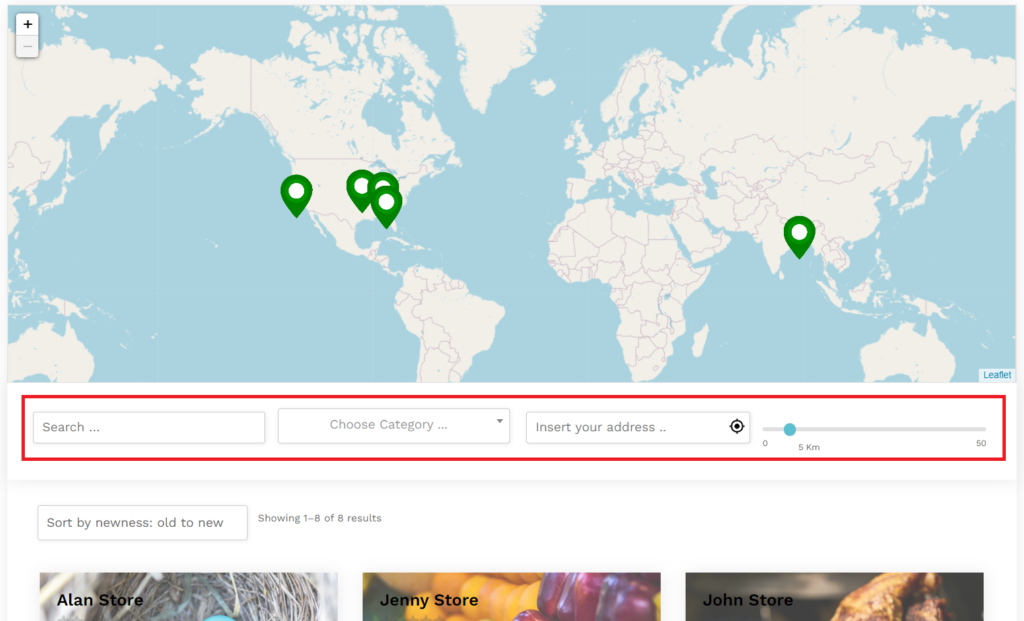
The users can locate their nearby vendors using the search filter in the store-list page as shown below:
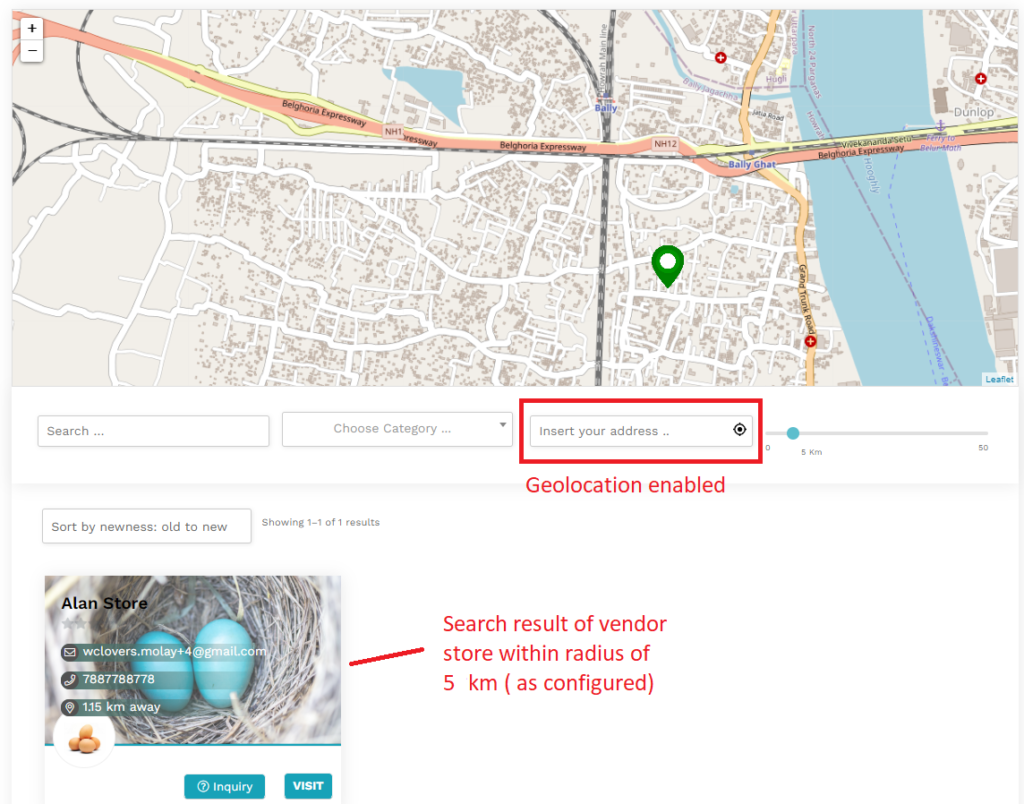
You can enter your address ( or enable location location tracking ) for filtering out the stores available in your nearest location. As an example, you can see the search result for location enabled feature as shown below:
Note: For further information on Store-list page setup, click here.
PRODUCT SEARCH
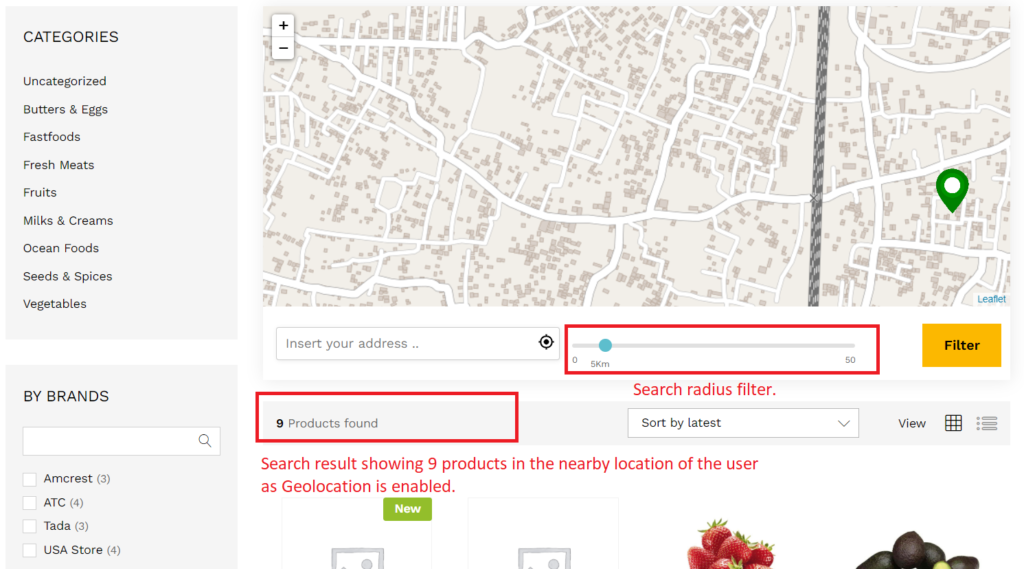
Users can also search the available products in his/her nearest location in the shop page. Similar to searching a vendor, the user here can enable it’s location tracker to filter out the products present in a radius of provided range. Here’s again a screenshot of the same showing product search.
Pic showing all 29 products with Geo-location enabled. 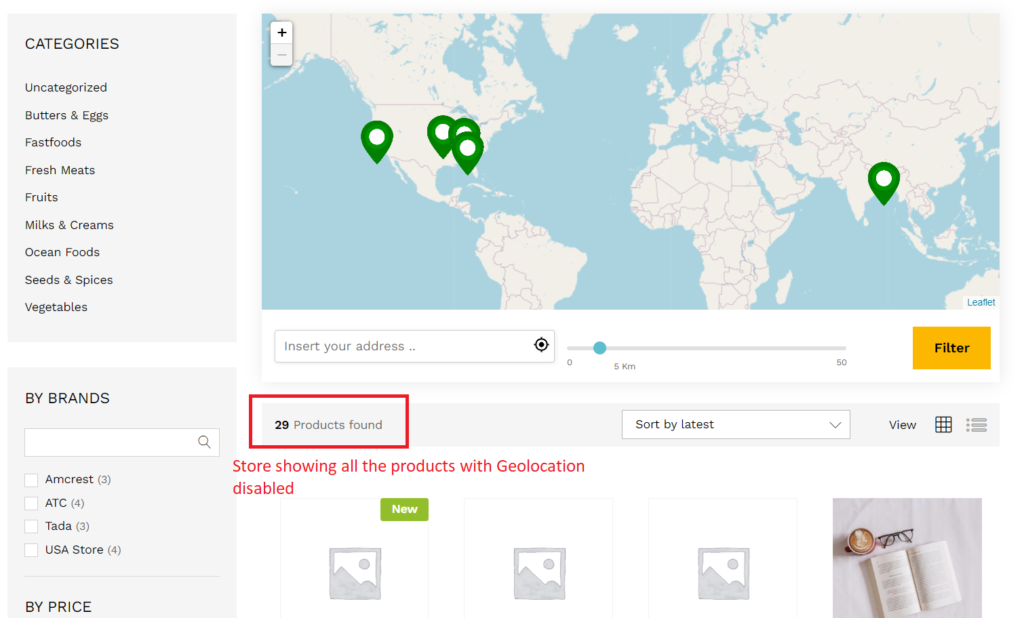
Turning ON the Geo-location will show the search result to 9 products as shown below: