
1.Overview
This document is going to go through the bare minimum steps you need to take to set up your multi-vendor eCommerce website and enable individual vendors to sell goods and/or services against a fee/commission.
The settings in WCFM Marketplace are either required (like how you want to pay vendor commission) or have sensible defaults that you don’t have to touch if you don’t want to. To keep it simple, WCFM Marketplace provides a setup wizard with required only settings, during installation. So, let’s start.
Follow the steps in this document and you should have an online marketplace at the end, ready for both vendors and customers.
Before you begin, make sure your hosting environment comply with the following system requirements to run WCFM Marketplace smoothly and efficiently:
2.Minimum Requirement
WordPress Version: 4.4 or greater
WooCommerce Version: 3.0 or greater
PHP Version: 5.6 or greater**
MySQL: 5.6 or greater
WordPress memory limit of 256 MB or greater
HTTPS support
**as per WooCommerce Official Minimum Requirements, you will need PHP version 7.2 or greater. Both, PHP 5.6 and PHP 7.0 reached its end of life and therefore are no longer maintained. Check the image below-

3.Installation
The most straightforward way to install WCFM Marketplace is from your WordPress admin area.
To install WCFM Marketplace:
1. Log into your WordPress site.
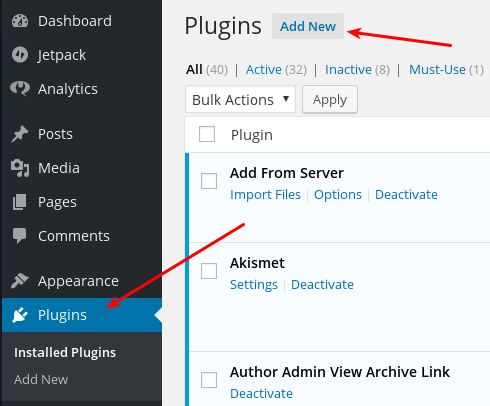
2. Go to: Plugins > Add New.
3. Search for WCFM Marketplace.

4. Select Install Now when you see it’s by WC Lovers.
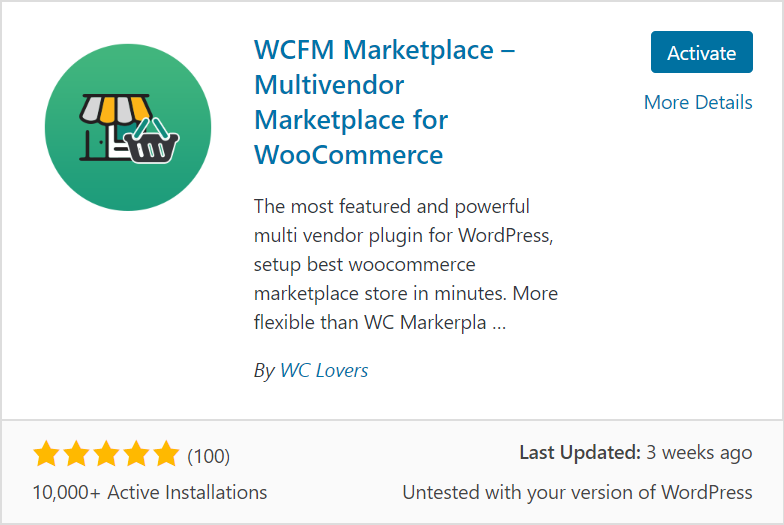
5. Select Activate Now and you’re ready for the WCFM Marketplace Wizard!

4.WCFM Marketplace Setup Wizard
When WCFM Marketplace is activated for the first time, the Setup Wizard helps you set up your marketplace. There are two parts of it, Dependency installations and Setup configurations.
4.1.Part 1: Installing Dependencies
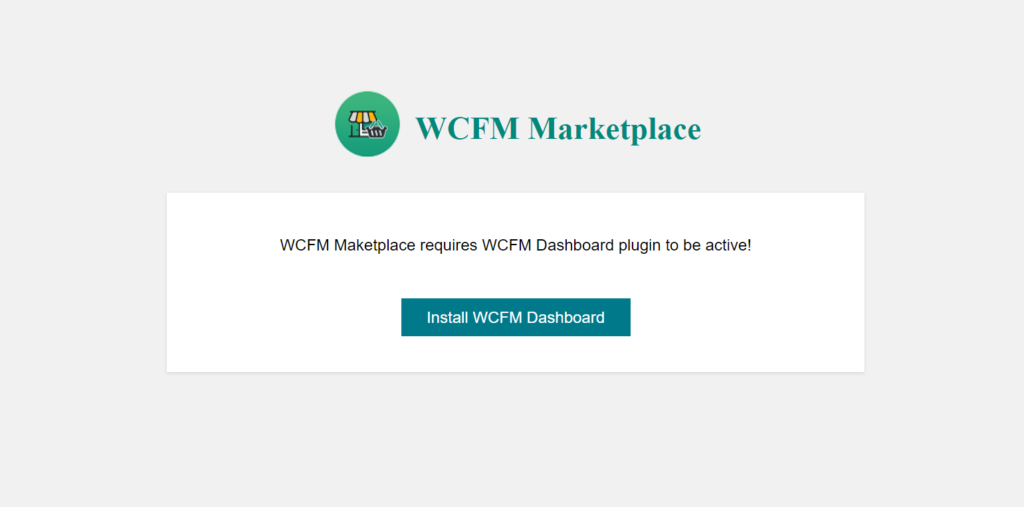
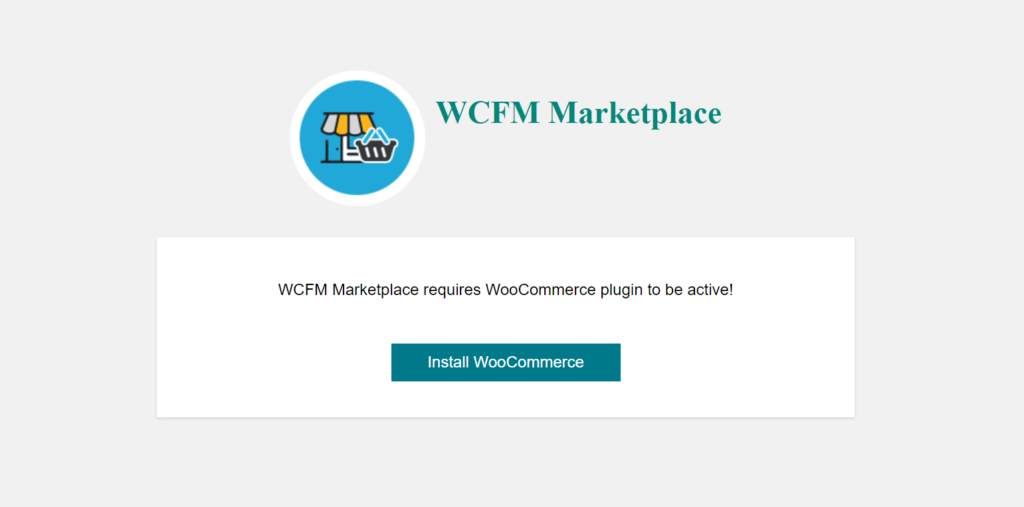
WCFM Marketplace requires WooCommerce, WooCommerce Frontend Manager (WCFM), and WooCommerce Membership plugin to be installed and activated in advance. If these plugins are installed previously, this step will skip automatically and jump directly to the configuration part.
No WooCommerce
WCFM and Membership dependency
4.2.Part 2 - Setup configurations
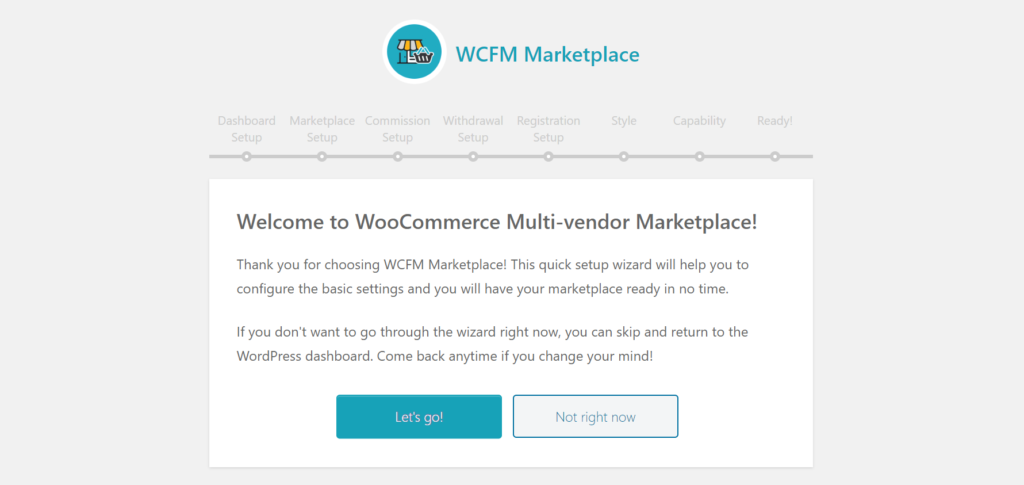
Select Let’s go! to get started. Or select Not right now if you prefer to manually set up your marketplace. For the purpose of this tutorial click ‘Let’s go!’.
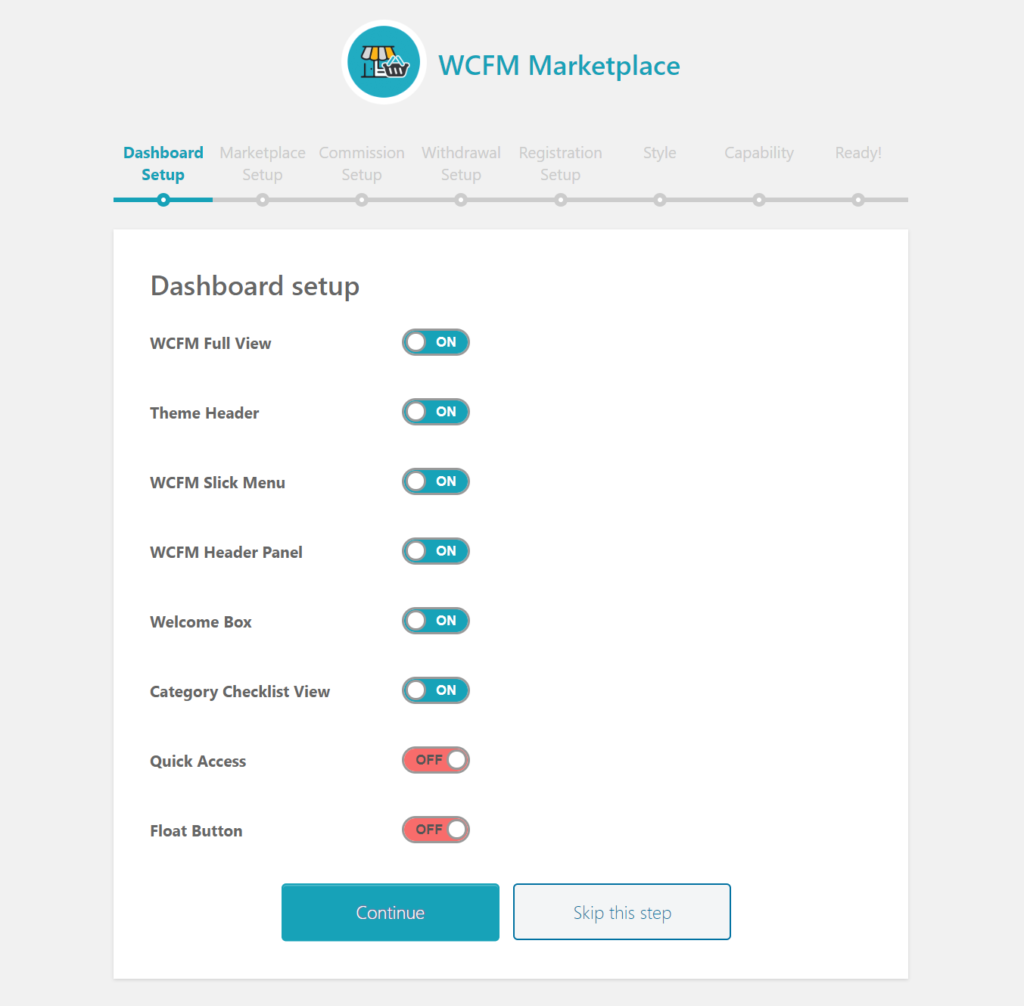
Dashboard setup – The dashboard setup is the first page of the setup wizard. All these settings here are related to the display of your WCFM dashboard and all come with suitable defaults. Keep it as it is or make your changes and simply click ‘Continue’.
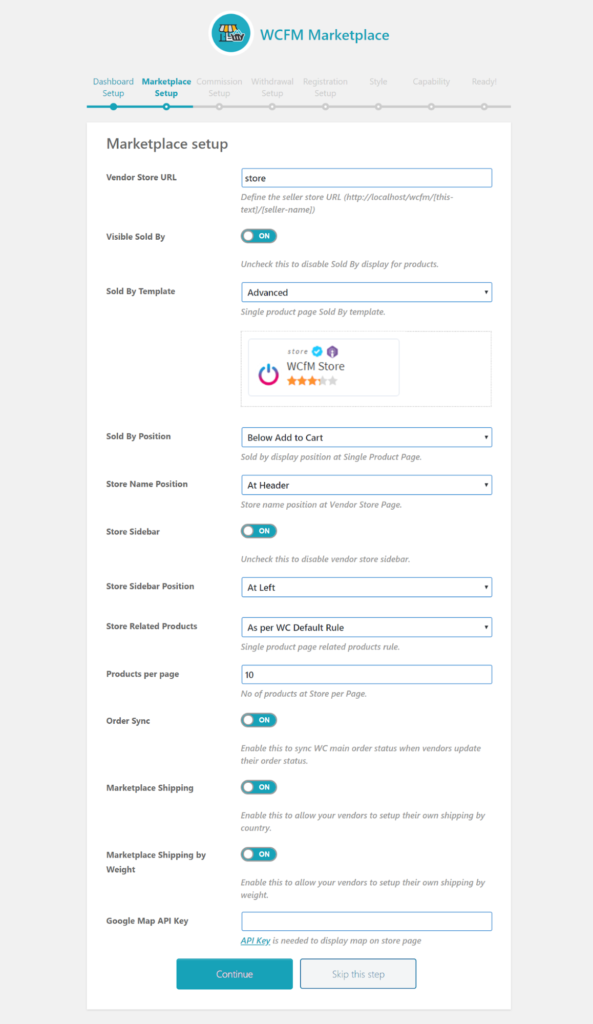
Marketplace setup – Next, we will need to set up generic marketplace settings from the Marketplace setup screen. The things you might want to set here are Store slug and Google Maps API key.
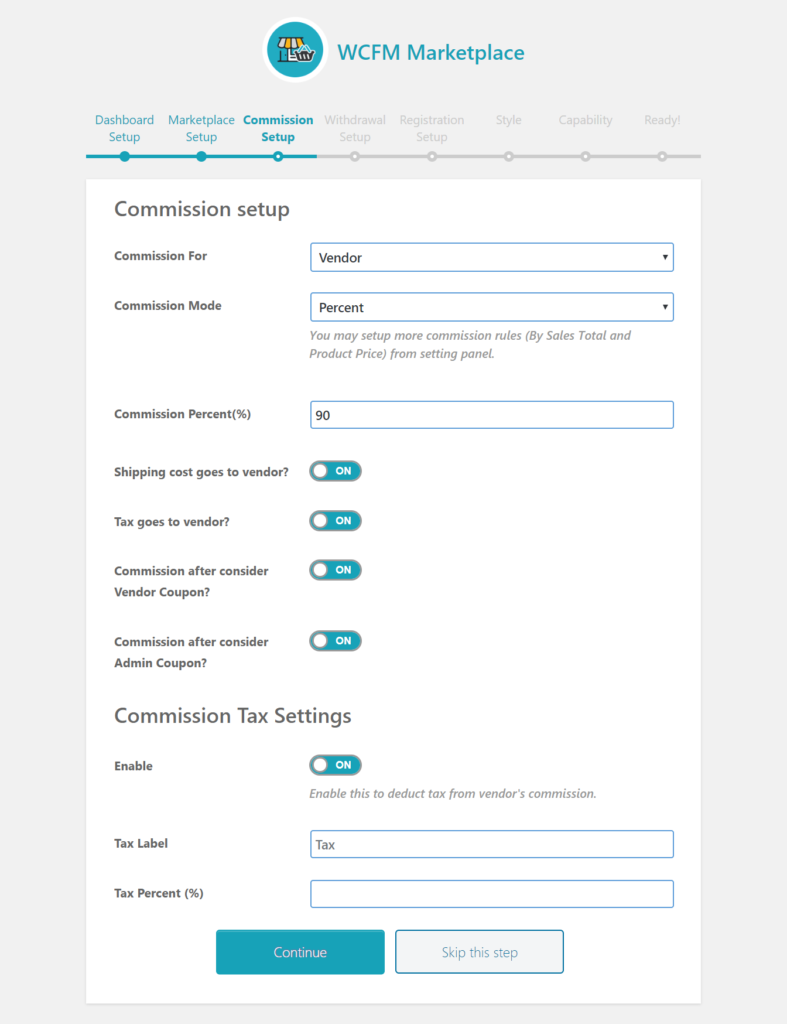
Commission setup- This is one crucial step and you need to give extra attention to fill in the details. The commission (also known as the fee, platform charges, selling charges, take rate, or rake) is the charges that will get deducted from the vendors’ order amount.
As per default settings, the vendor receives 90% of the selling price as their income. Change these values according to your marketplace model.
Before going to the next step, get a good look at the rest of the fields. You can change it later from your frontend dashboard via Settings -> Commission Settings. (Learn about all the commission settings in details from here)
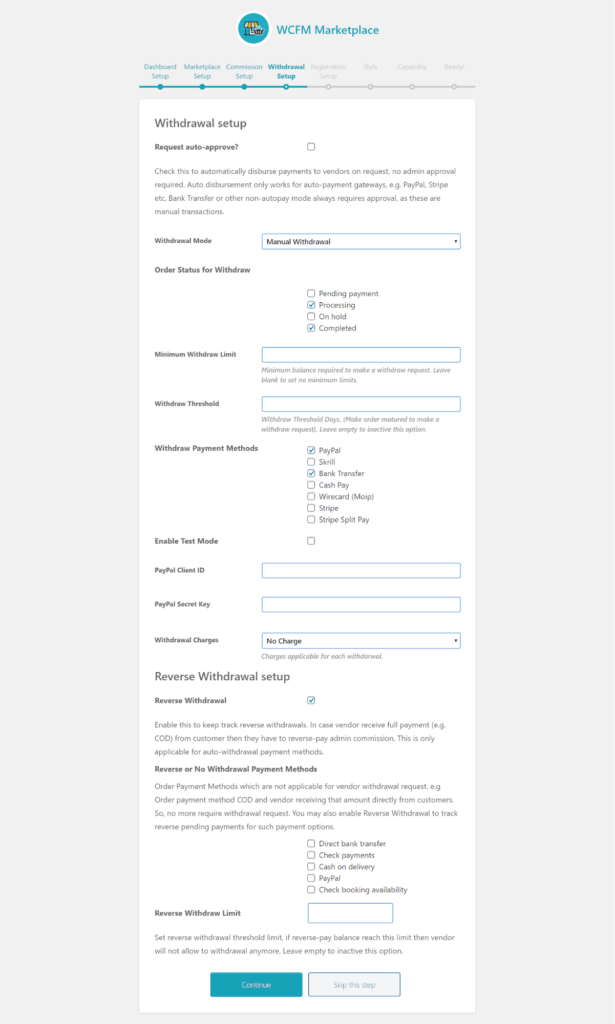
Withdrawal setup –This step configures, how your vendors got payment from the marketplace. Supported payment methods are-
Auto payment gateways- PayPal, Skrill, Wirecard (Moip), Stripe, Stripe Split Pay
Manual payment methods- bank transfer, cash payment
Your vendors will need to send a withdrawal request only if you set the withdrawal mode as Manual Withdrawal. Other options are Periodic Withdrawal and By Order Status.
For automatic withdrawal methods, you will also get the option of Reverse withdrawal. It is called reverse because here fund transfer is happening from vendor to marketplace. One scenario might be, where your vendors are shipping their products using COD (Cash on delivery).
You can later change these settings from Settings >> Withdrawal screen. To learn more about all the withdrawal options visit here.
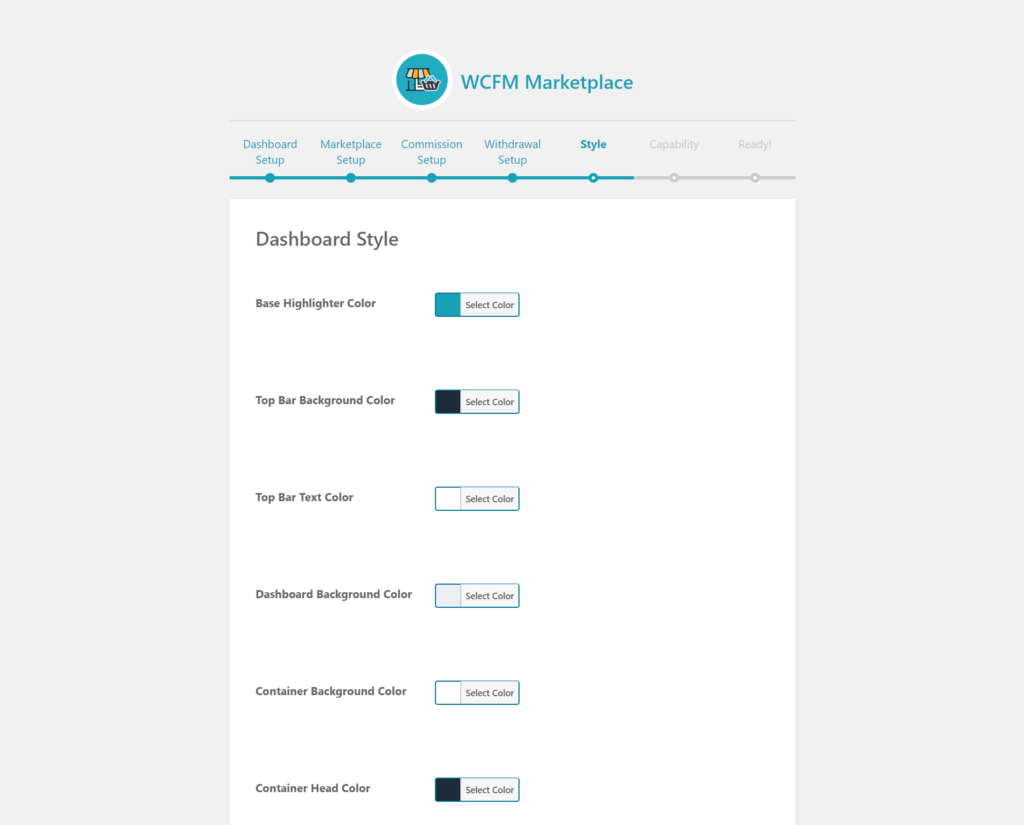
Dashboard Style- This step is all about appearance. From here you can change the color schema of your frontend dashboard to make it consistent with your theme.
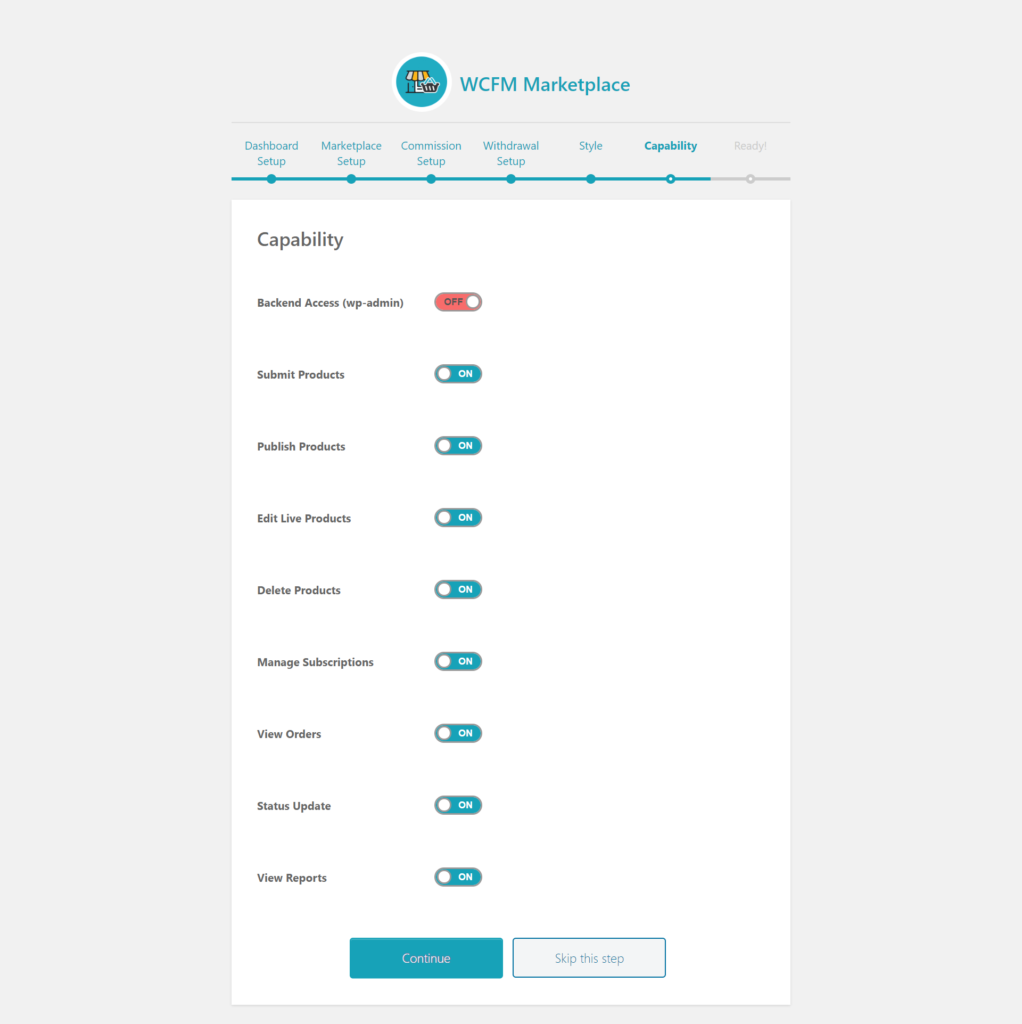
Capability- This step controls what your vendors are allowed to do in your marketplace. From here you can restrict features that you don’t want to give access to your vendors.
Note that, this is the global vendor capability rules, which can be further overridden via group capability or individual level vendor capability. You can learn more on this from here-
AND that’s it! You have successfully completed setting up the marketplace.
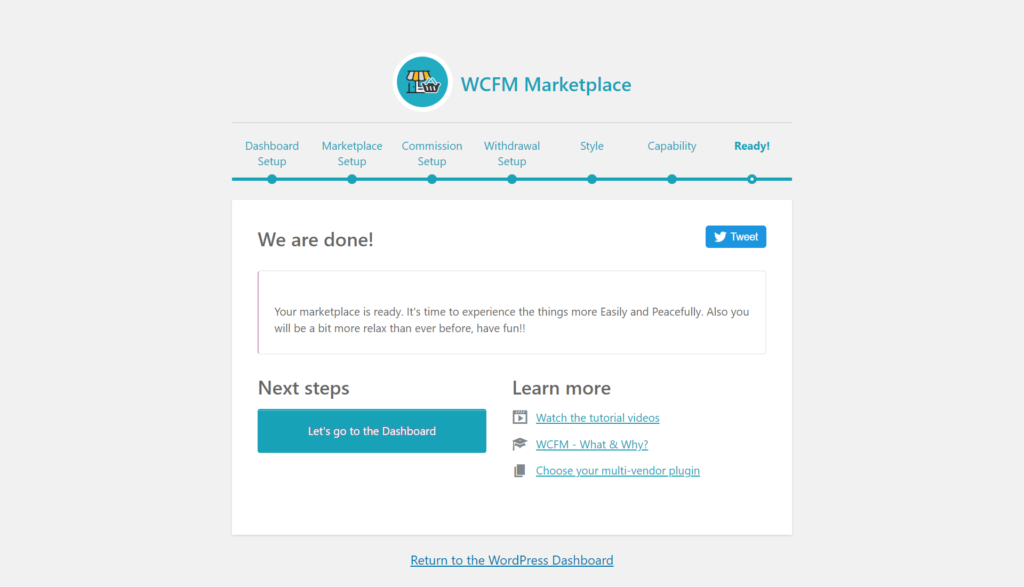
In the next topic, let’s explore the single-point-of-control to manage all aspects of your marketplace, the WCFM Frontend dashboard.