
1.Overview
It’s needless to say how apps are necessary for our business, and you will need an app solution to scale up your e-commerce business to next level.
WCFM Marketplace brings you series of apps for your vendors, customers and delivery personal to ensure smooth running of your marketplace just from your mobile!
So, here are the Apps we have:
1. WCFM Store Manager app – This primarily is a FREE app for your vendors, which will allow them to manage their business through this app.
2. WCFM Multivendor app- This is shop app for the customers and it supports the customer to purchase from the websites powered by WCFM.
3. WCFM Delivery app- It’s exclusively for delivery agents, allowing them to manage deliveries from their mobiles seamlessly.
In this documentation, we will discuss about the features provided by all these 3 apps in detailed manner. We do intend to add more features with time, till then Happy selling to you all!
2.System Requirements
To use this APP you have to install these require plugins to your site –
- WooCommerce
- WC Frontend Manager – WCFM Core
- WC Multivendor Marketplace – WCFM Marketplace
- WC Multivendor Marketplace – REST API – WCFM Marketplace REST API
- JWT Authentication for WP REST API – REST API Authentication
3.Auth Setup
The authentication of the App to the multivendor website is done by JSON Web Token (JWT) method.
For using this authentication system to work on your WordPress multivendor website you need to install and activate JWT Authentication for WP REST API plugin in your website.
Setting Up and Configuring the JWT Authentication for WP REST API plugin:
- Enable HTTP Authorization Header: The plugin requires HTTP Authorization Header to be enabled in your server. If it is not enabled by default you can ask the hosting provider for the same.
Most of the shared hosting disables the HTTP Authorization Header by default. To enable this option you’ll need to edit your .htaccess file adding the following
RewriteEngine on

RewriteCond %{HTTP:Authorization} ^(.*)

RewriteRule ^(.*) - [E=HTTP_AUTHORIZATION:%1]
WPENGINE
To enable this option you’ll need to edit your .htaccess file adding the following
SetEnvIf Authorization "(.*)" HTTP_AUTHORIZATION=$1 - Configuring the Secret Key: The JWT needs a secret key to sign the token this secret key must be unique and never revealed. To add the secret key edit your wp-config.php file and add a new constant called JWT_AUTH_SECRET_KEY
define('JWT_AUTH_SECRET_KEY', 'your-top-secret-key'); - To enable the Cross-origin Support, edit your wp-config.php file and add a new constant called JWT_AUTH_CORS_ENABLE
define('JWT_AUTH_CORS_ENABLE', true);
*NOTE: The JWT_AUTH_SECRET_KEY and JWT_AUTH_CORS_ENABLE should be defined before ‘WP_DEBUG’ definition in the wp-config.php preferably just after the NONCE_SALT definition.
4.Store Manager App
To start with, lets discuss how you (as an admin) can ease the life of your vendors and by allowing them to manage their products, analyze sales figures and track orders right from their mobile or tablet.
Here’s a glimpse of why you will need this app –
- Lets your vendors do business whenever they want and from wherever they are.
- Allows vendors to keep track of sales with real-time notifications.
- Vendors can edit product on the go and do functions like updating price, quantity or name of the product.
- Vendors can view all inquiries by customers.
- Vendors can view all orders received and update order status when required
For detailed feature list of the store manager you can check here.
Moving ahead let’s discuss further details of the store manager app and the modules it has.
4.1.APP Download & Install
Well, Store Manager APP is available both for Android and IOS and it’s totally FREE.
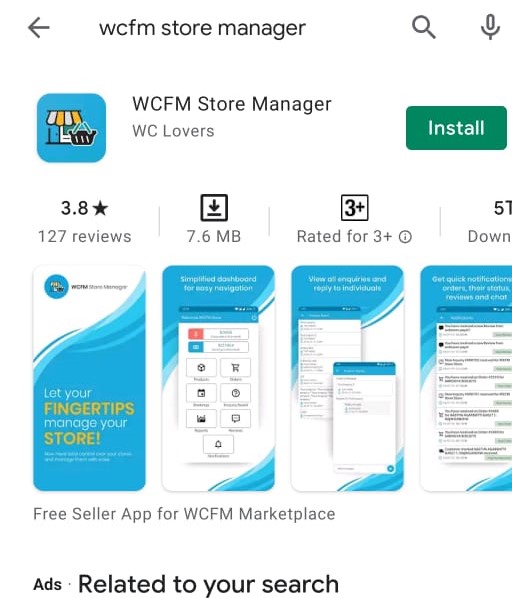
For Android: You may download this from Google Play Store to your android mobile very easily. You just have to go into Google Play Store app and search for “WCFM Store Manager“.
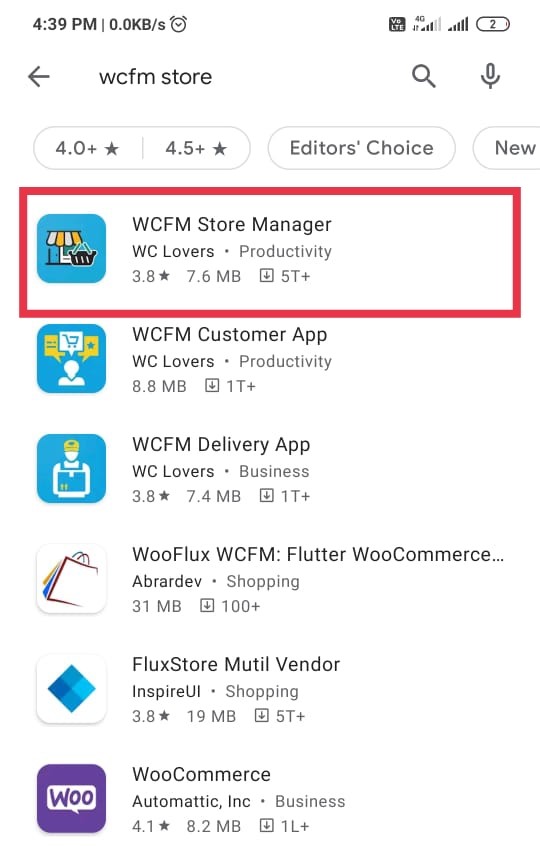
Now, Install this to your phone.
For IOS: Similar to android version, go to Apple app store from you iphone, write “WCFM Store manager” here and you will get the following screen as shown below:
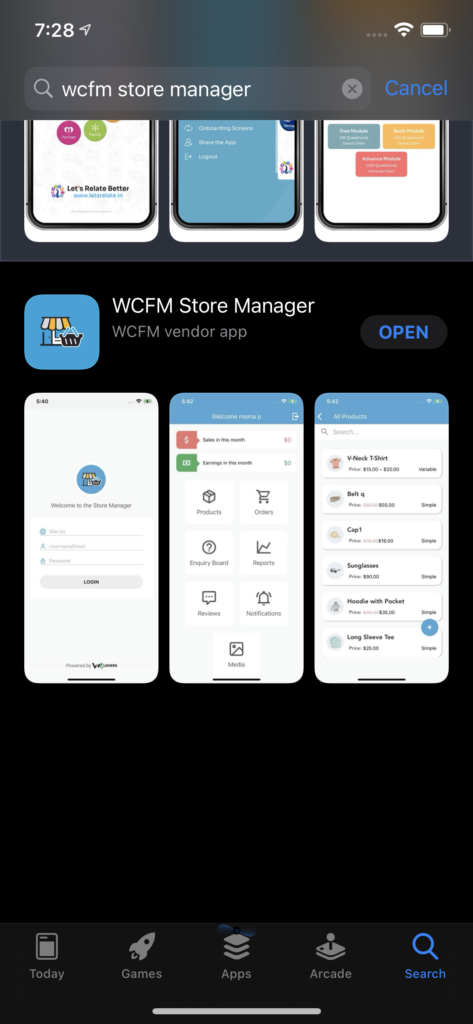
Then you can install the same by pressing the ” open” button as shown here:
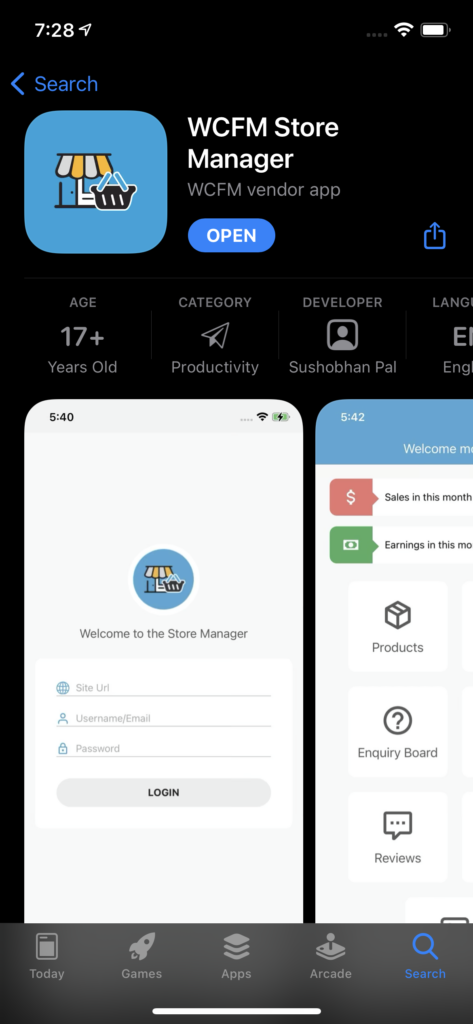
Now, this APP is already in your phone, option it. You will see a login form with three fields –
- Site URL – this should be your multi-vendor site URL
- Username – vendor user name
- Password – vendor user password
![]()
4.2.APP Modules
After login to the APP you will see Store Manager APP dashboard with it’s all components. You may go to other sections from here.
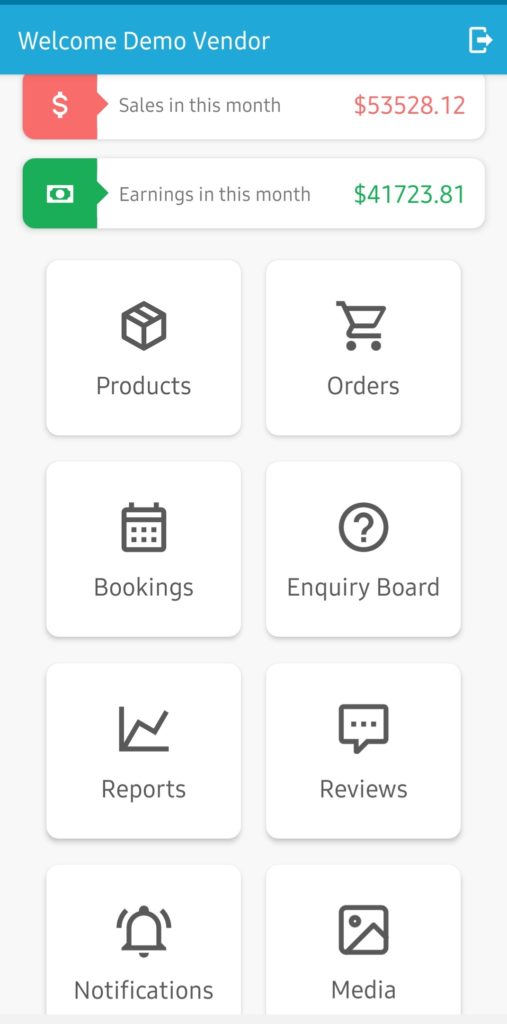
Available Modules –
- Products Listing
- Products Manage (Edit Basic Details)
- Products Add (Simple Products )
- Orders Listing
- Order Status Update
- Bookings
- Booking Status Update
- Enquiry
- Enquiry Reply
- Review View
- Reviews Approve/Reject
- Reports
- Notifications
- Media
4.2.1.Products
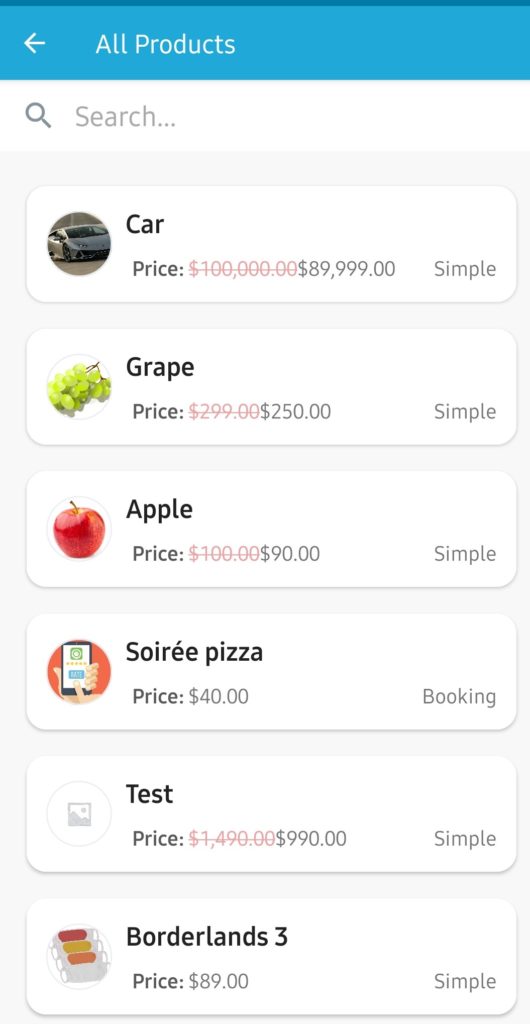
Vendors will see all their products under APP product section as shown below. They can also search for a particular product from the available search bar in the product listing section.
Clicking on any of the above products will allow the vendors to edit some important fields for the products such as Name, price, stock, product feature image, SKU, categories as shown below.
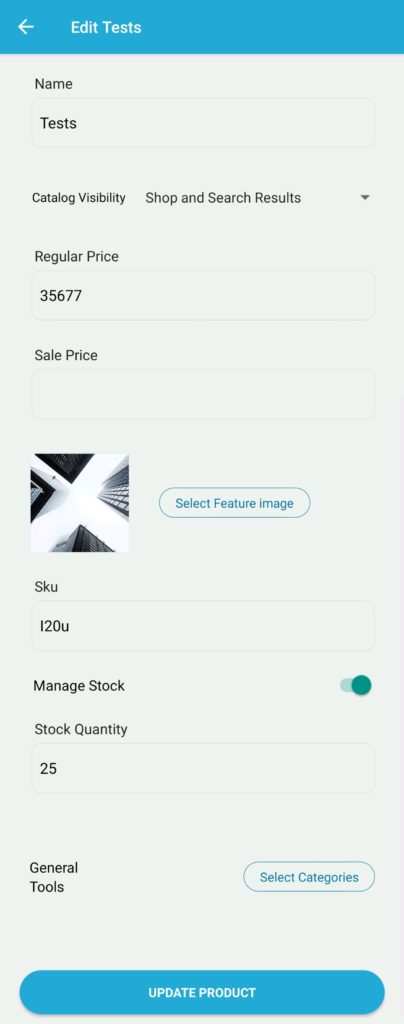
As seen in the above image, a vendor can do the following functions from the edit product page:
- Edit the name of the product.
- Edit catalog visibility.
- Manage price.
- Manage stock quantity.
- Assign categories for the product.
- Select feature image for the product.
4.2.2.Orders
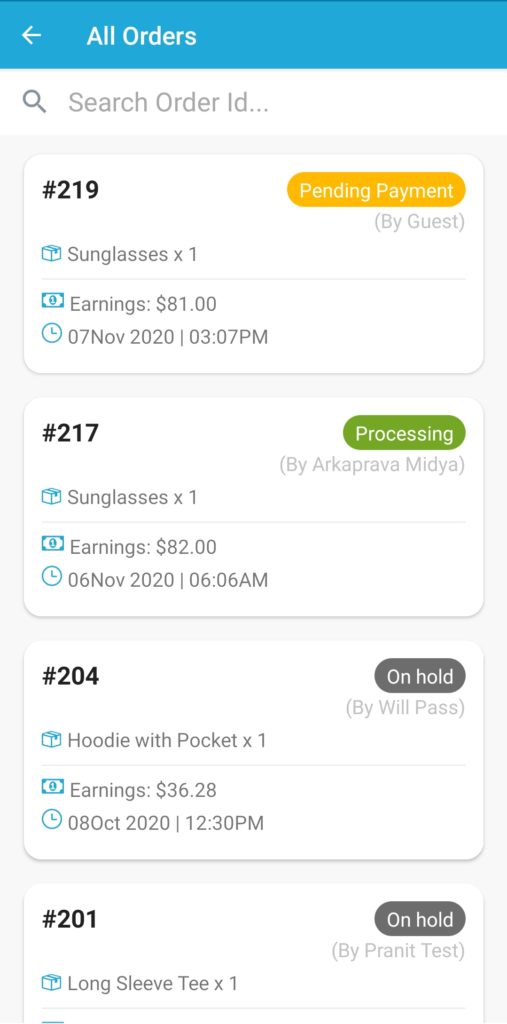
Order section will show list orders for their products and related details at a glance such as – order id, product(s) purchased, earnings, data & time, order status, customer name as shown below.
Once clicked on any of the order(s) the vendors will be able to see the detailed information of the order as shown below:
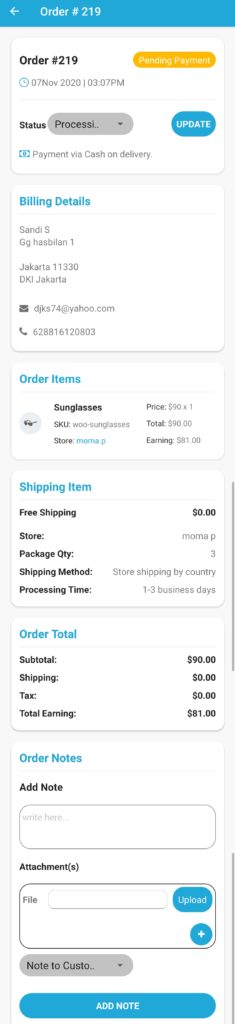
As seen from above, vendors can perform a number of functions and view information of the order which are briefly discussed below:
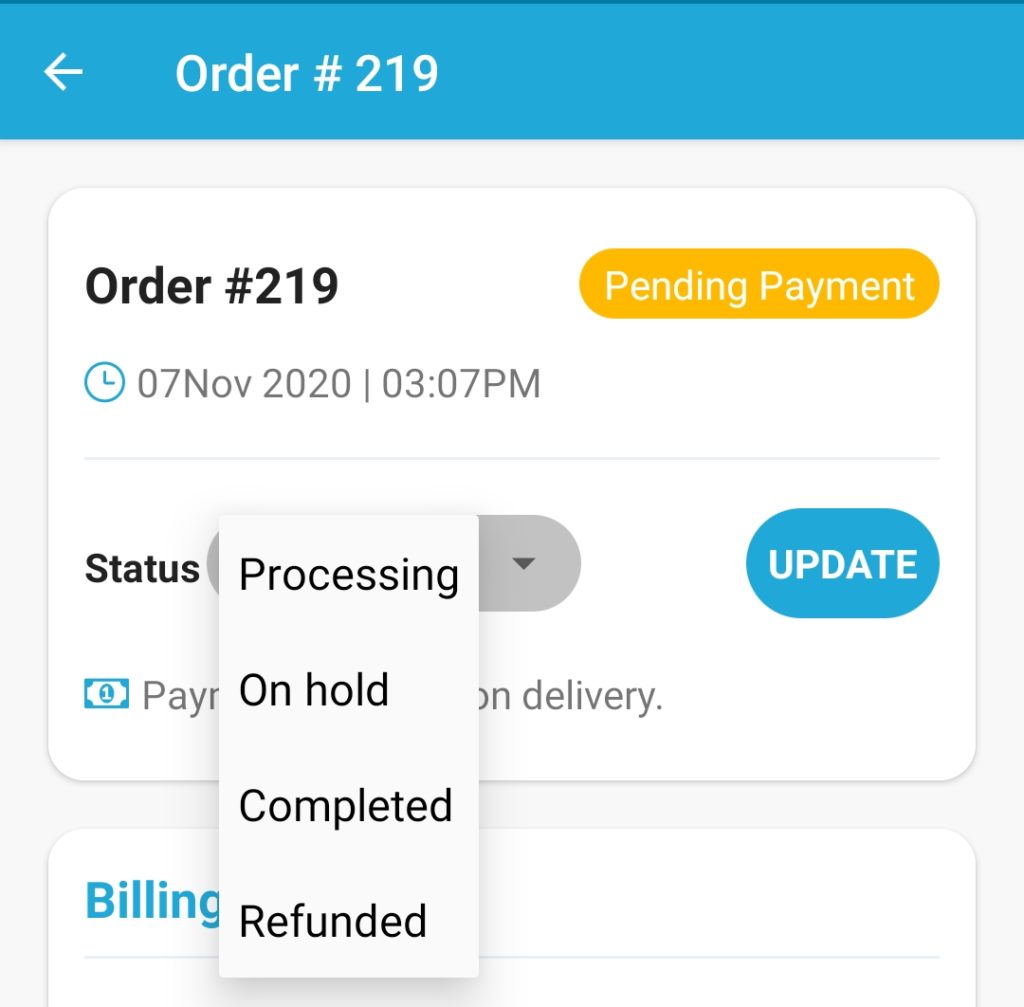
a. Change/manage or update the order status as seen here-
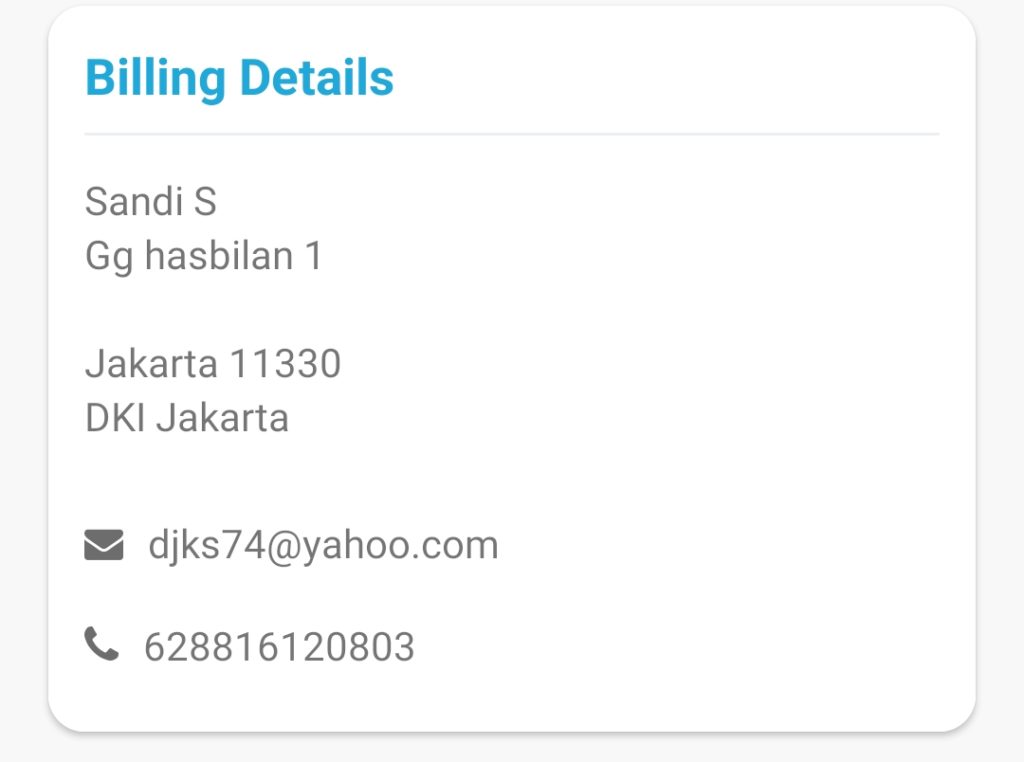
b. View Billing details of the customer.
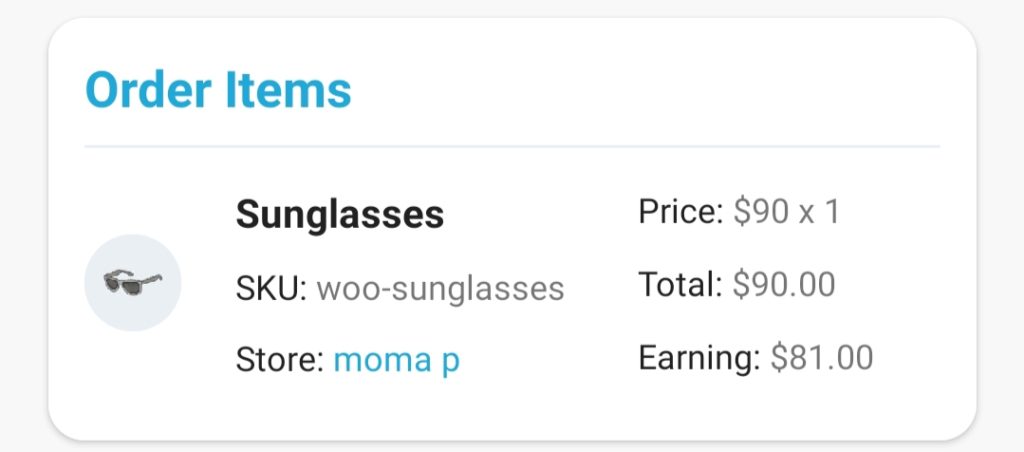
c. View the ordered items in details
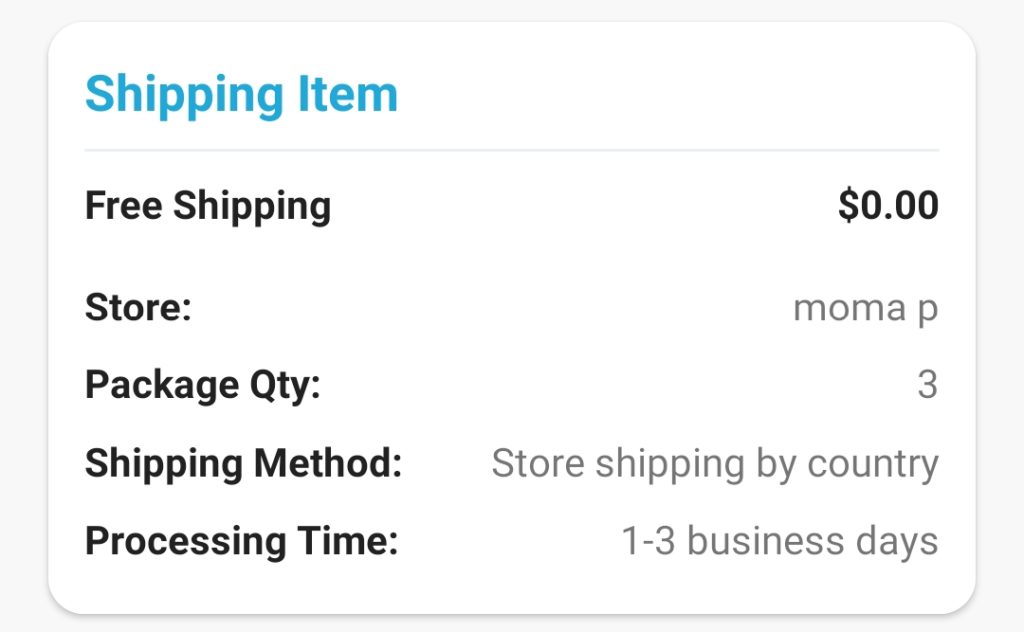
d. View shipping details and cost:
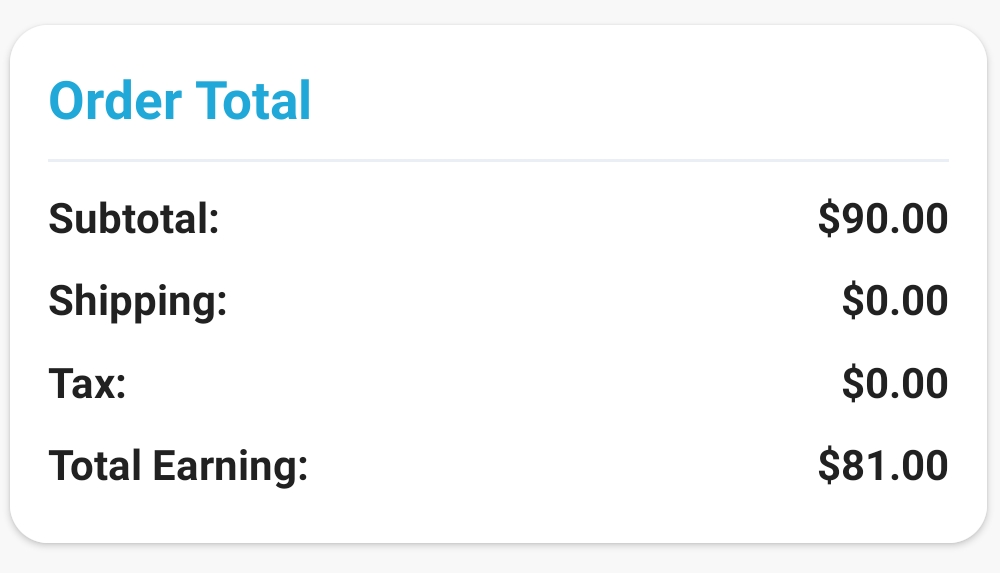
e. View order total.
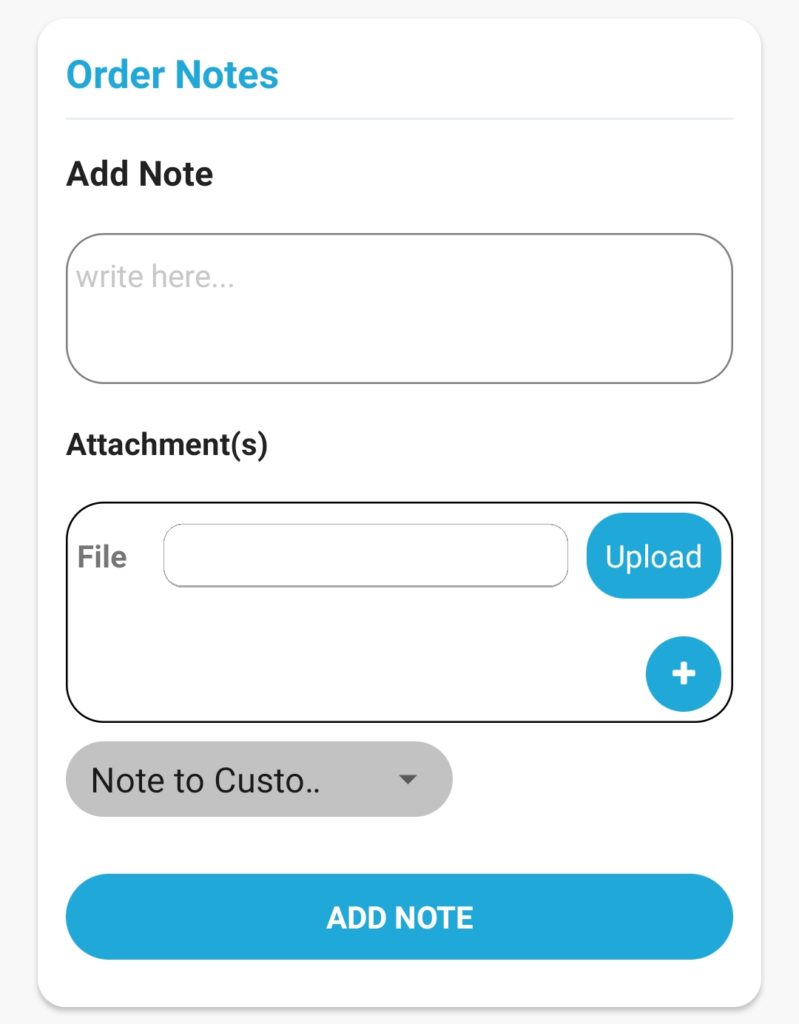
f. Vendors can also add note and upload an attachment along with the note as shown below from the app
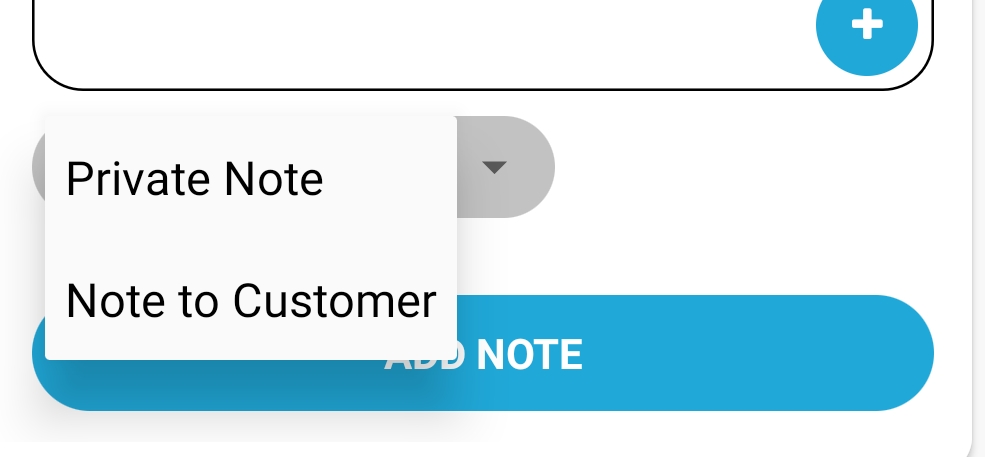
They can keep the note as private or send it to customer as required, this can be selected from the dropdown as shown below-
4.2.3.Bookings
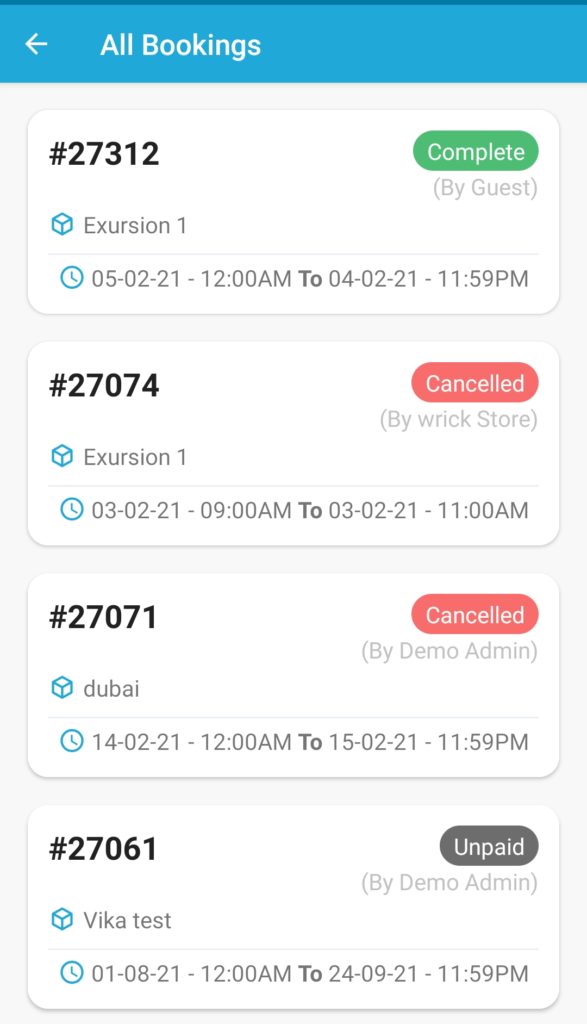
Well, if you are running a booking marketplace using WC Bookings plugin, then your vendors will have Booking section to check their product’s bookings. Here’s how they will see the list of all bookings in the app.
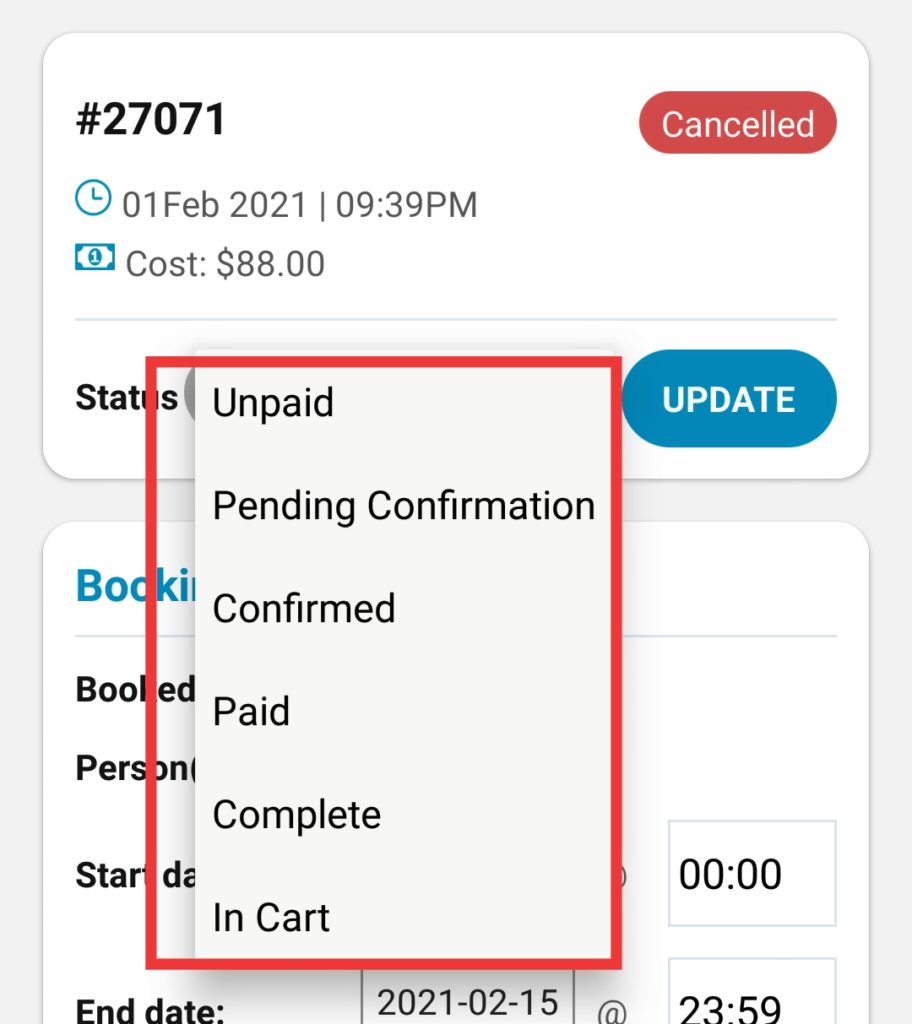
Upon clicking on these Bookings, vendors will be redirected booking details page as shown below:
![]()
Here are the functions which vendors can perform in details page via the app-
a. See order details and change the status of the Booking as shown below:
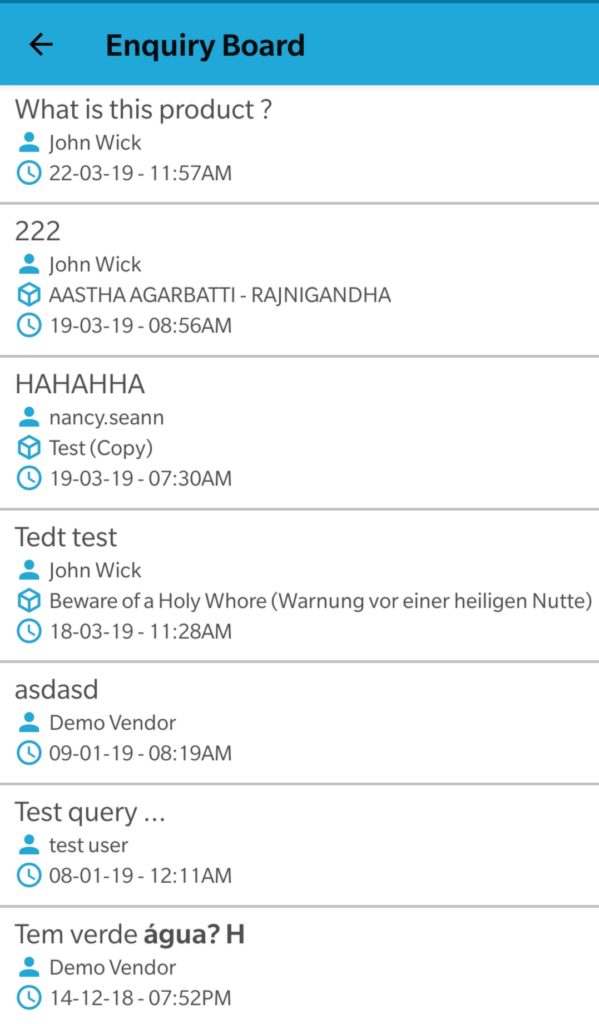
4.2.4.Inquiry
Enquiry section will show all enquiries for vendor’s products and his store.
4.2.5.Reports
Vendors also check their sales overview report from sales report section –
- Current week sales stat
- Current month sales stat
- Previous month sales stat

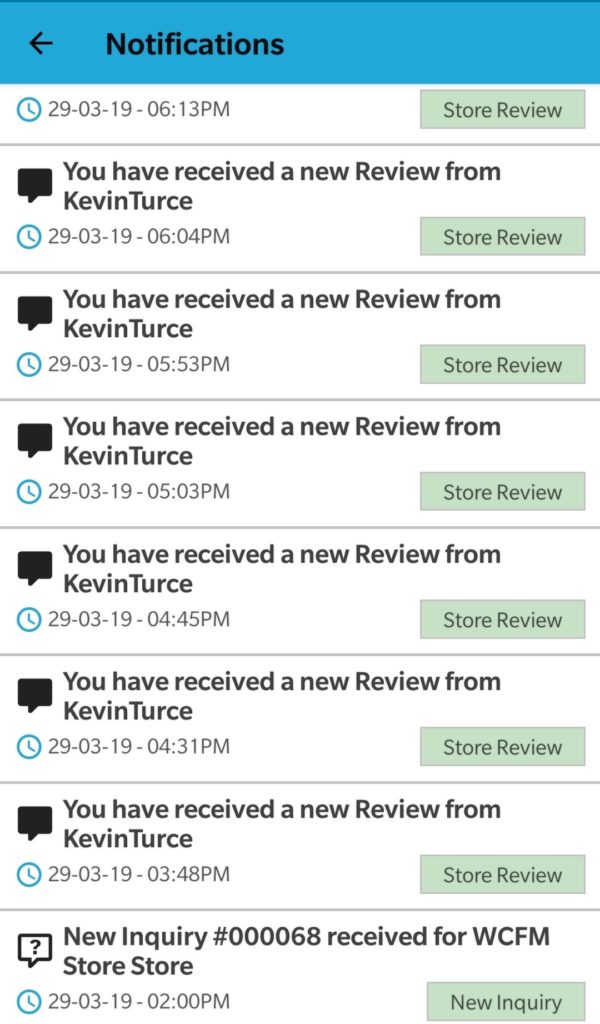
4.2.6.APP Notification
Notification is most important part of this. Vendors will receive all notifications to their phone as general Android notification.
They may also check notification details from Store Manager – Enquiry section
4.2.7.Media
This section allows your vendors to upload images for their products and store them accordingly. Checkout the Media screen available from the screenshot below and you will find “+” button using which Vendors can add images.
![]()