1.Overview
It’s needless to mention the importance of vendor registration in multivendor site, seamless registration process allows your vendor to sign-up to your site and hence allows you to more business.
With WCFM, vendors can be added manually by the admin or they can register themselves in your marketplace and in this section we will discuss the steps for vendor registration and it’s associated settings in our marketplace solution.
2.Admin Configuration
Firstly, to setup Vendor registration you must have WCFM Membership plugin installed and activated. Once you do that, your store will get a “Become a vendor” link in My-account page as shown below:

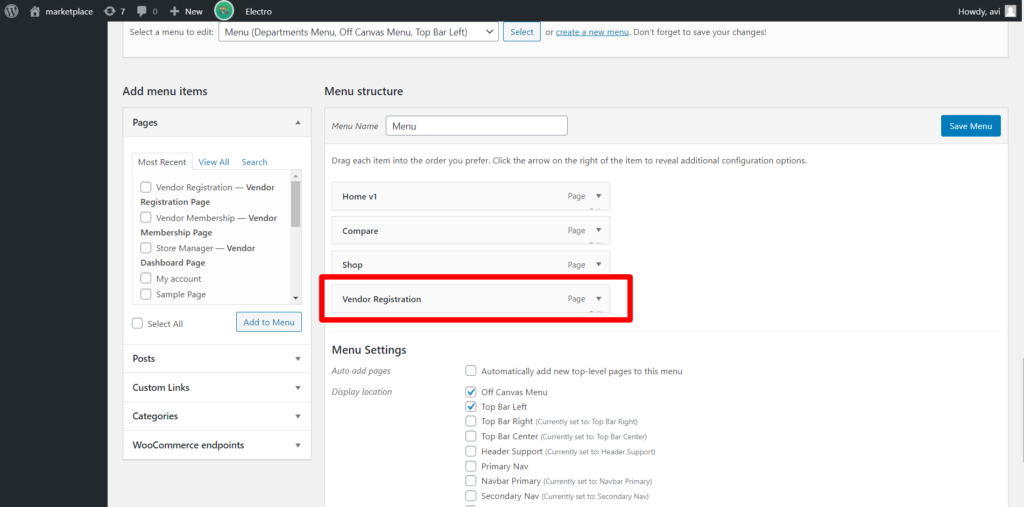
Additionally, you can add “Vendor registration” as a menu item from WordPress backend for displaying the registration section in the menu.
Pic 1: WordPress backend Menu section:
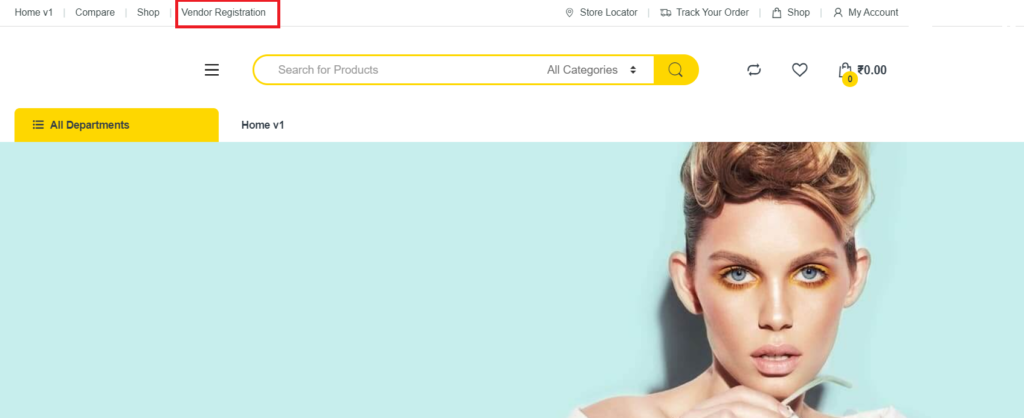
Pic 2: Registration option in front-end menu:
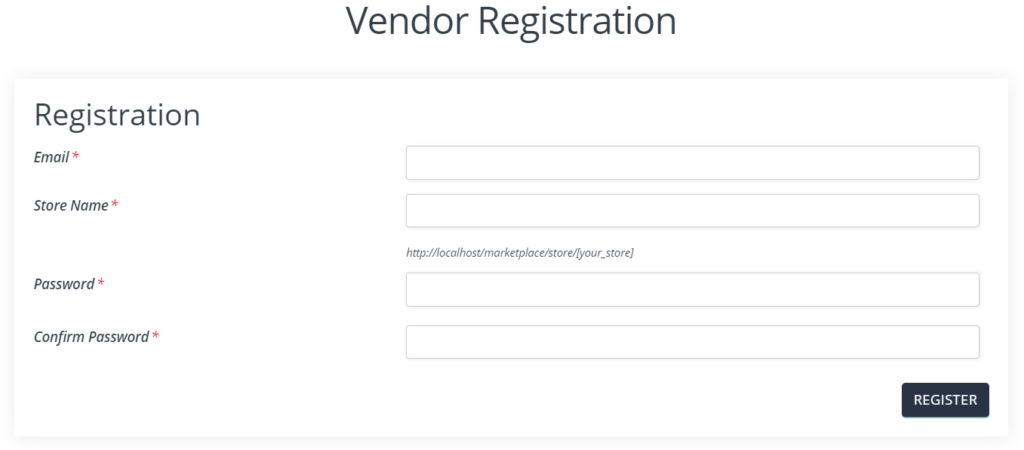
Once clicked, the user will be redirected to our default vendor registration form which has to be filled for vendor application. Here’s a screen-grab of default form you will see for vendors to register.
Note that if you do not want to associate membership with vendor registration and want general registration steps it’s better that the membership module is turned off from WCFM Admin Dashboard -> Settings -> Modules -> Membership (off)
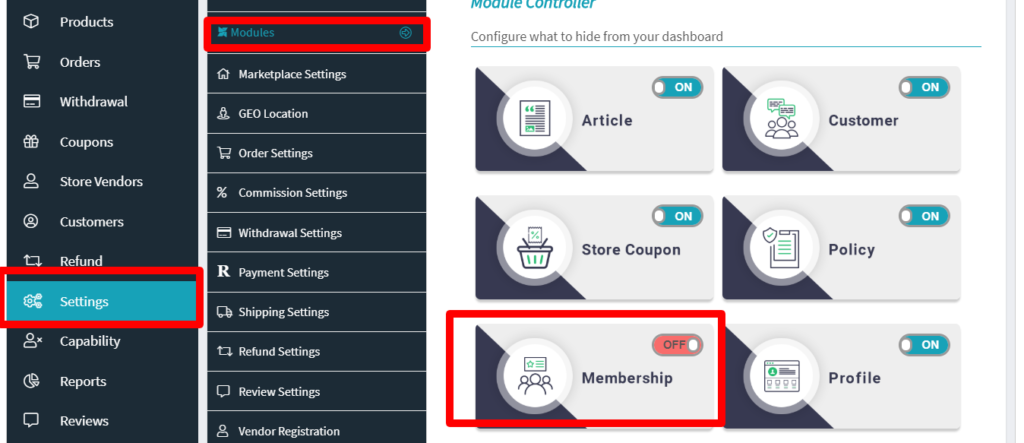
This will ensure that you won’t get additional settings options while configuring registration rules.
2.1.Form Fields.
The default form fields shown in above screenshot can be changed as well. Admin can add desired fields from here- Goto WCFM Admin Dashboard -> Settings -> Vendor registration- > Registration form fields( option)

This section provides a list of options to select which fields are to be kept/removed from the registration form. Here’s a briefing on the above options provided:
i) First name : Checking this will ensure that the First name is entered by the vendor while registering.
ii) Last name : Checking this will ensure that the last name is entered by the vendor while registering.
iii) User name: Checking this will ensure that an username is entered by the vendor while registering.
iv) Store Address: Checking this will ensure that the vendor provides the store address while registering.
v) Store phone: Checking this will ensure that the vendor provides the store’s contact details while registering.
vi) Terms & conditions: Checking this will ensure that the vendor(s) review the related terms and conditions of the store.
vii) Term page: You can select from the drop-down where you want to place the terms and conditions.
viii) Registration Form Custom Fields: Using this section you can add additional fields as per your requirement and set the field type as well.
2.2.Store Registration Settings
As an admin, you can set the flow of vendor registration using the following options. You can configure this from here: Goto WCFM Admin Dashboard -> Settings -> Vendor registration and here’s a glimpse of options provided-

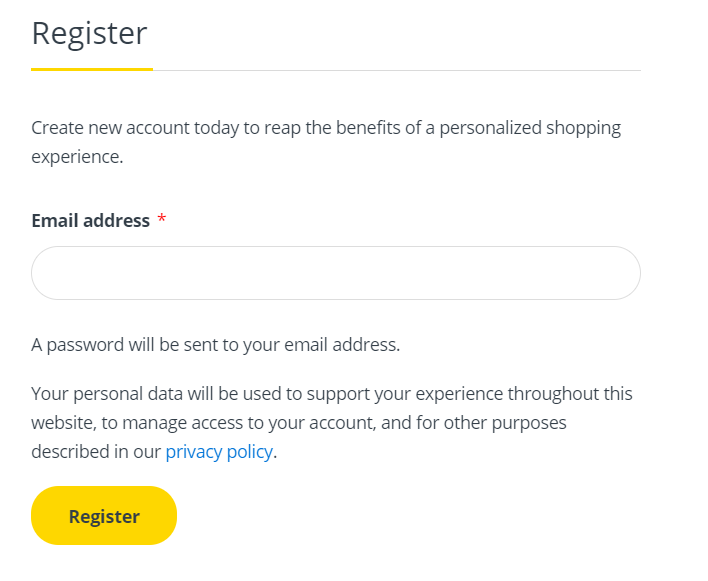
i) Hide “ Become a vendor” : Checking this option will hide “Become a vendor” option from your site and hence vendors will get an option as “register” in login page for registering as a vendor as shown below:
ii) Required Approval: Checking this option will ensure that the admin will approve the list of vendor applications manually from his/her dashboard.
iii) Email verification: Checking this option will enable an email verification process for the vendors wherein a code will be sent to the registered email id and the vendor is prompted to enter this code for completing the verification process.
2.3.Advanced Settings
In addition to basic settings provided, the admin will also have more options to control/customize the registration process as per his/her requirement. In order to do so, admin can check into the following “Registration Advance” settings option as shown here:
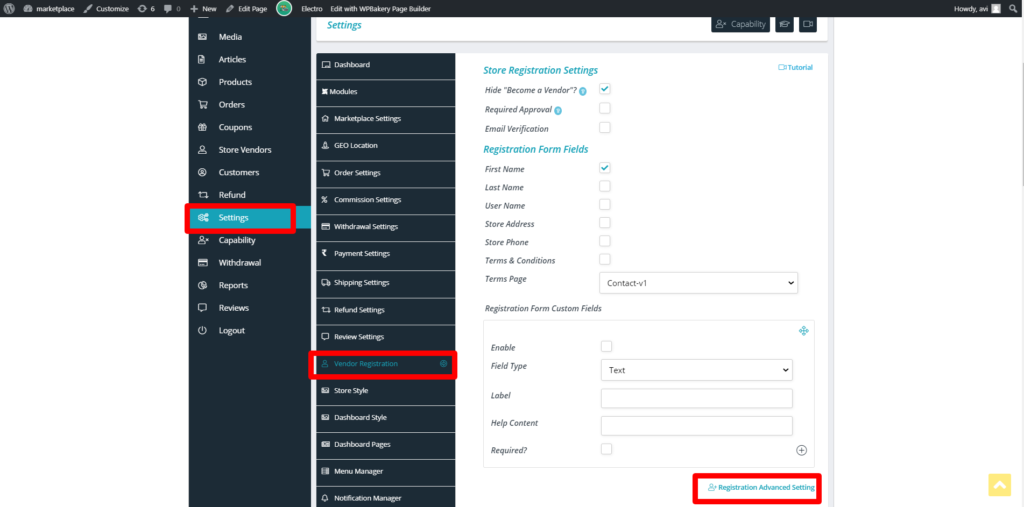
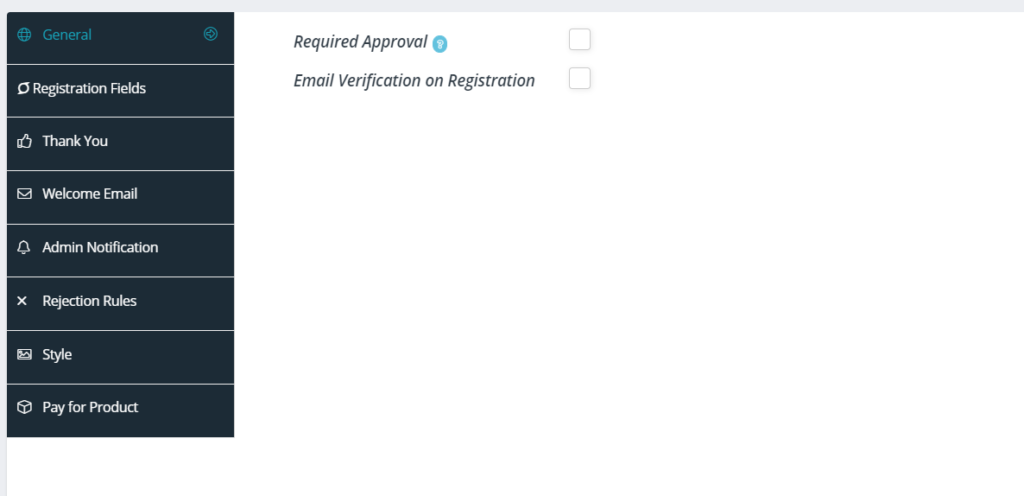
Clicking on Registration Advance settings will redirect you to Settings page as shown below where you will have the following options ( marked in red box ) to configure basic registration without any membership plans ( discussed here)
Let’s discuss the options provided in details:
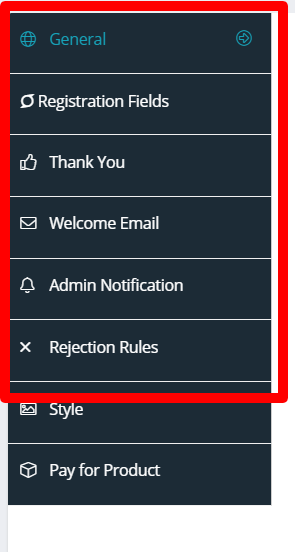
a. General: Admin can enable “Required approval” option if the users needs admin’s approval for becoming a vendor. Additionally, it can also be set if the vendors require email verification by checking the option provided.
b. Registration fields: Similar to the basic options provided, the admin can set which fields are to be added and can also add any custom fields if required.

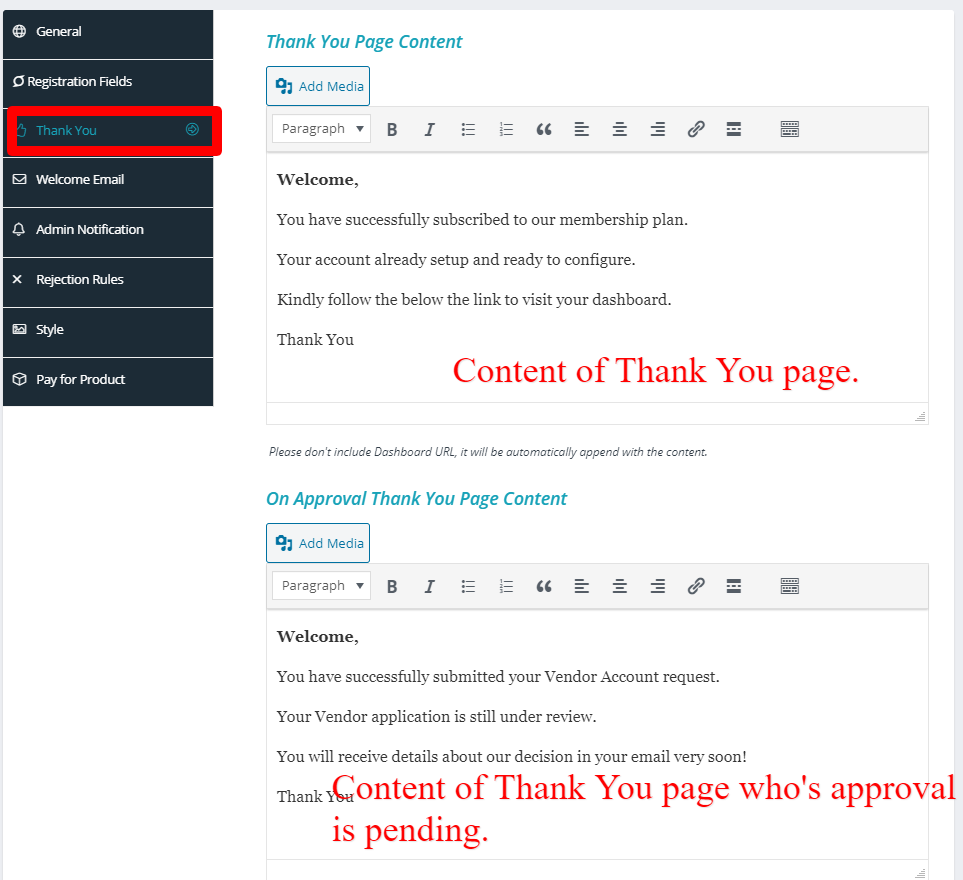
c. Thank You: This section allows you to edit/add the content of the Thank You page after successful registration.
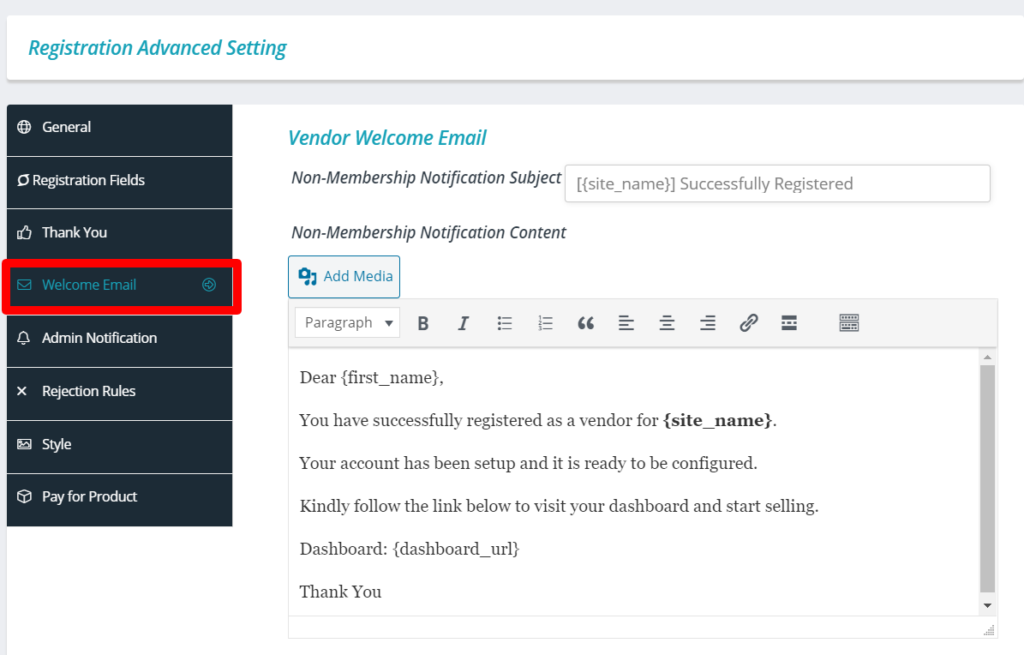
d. Welcome Email: From here the admin can set the content and the subject of the Welcome email which is triggered once’s a vendor is successfully registered and approved.
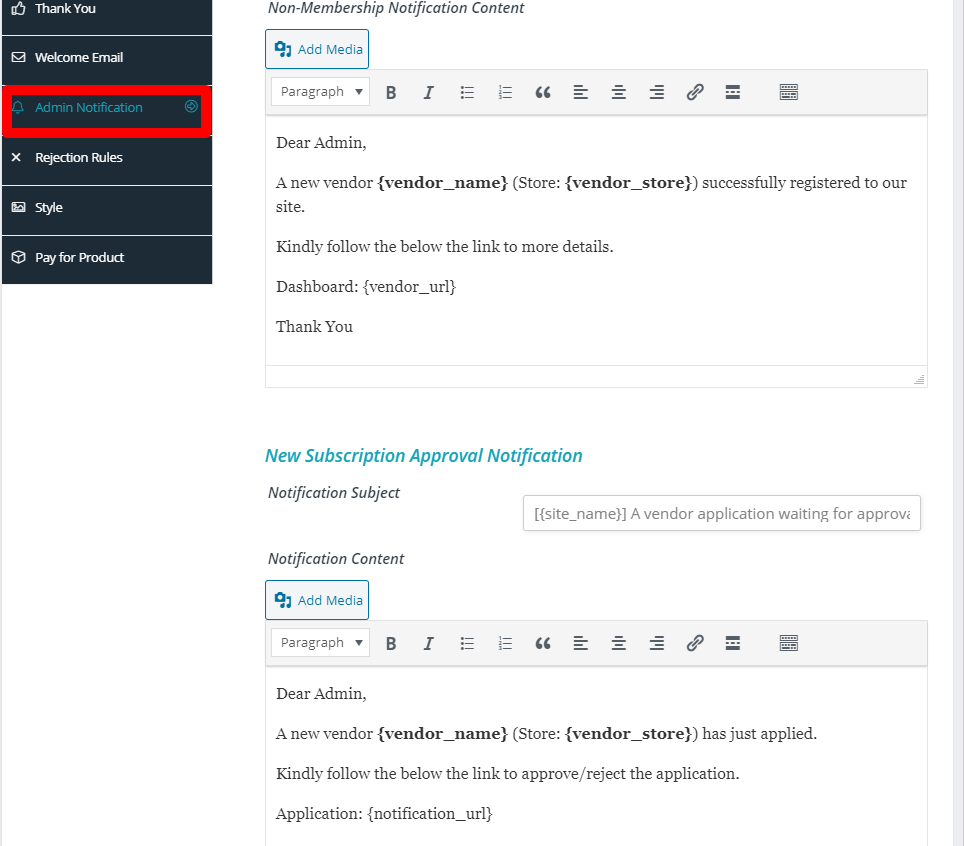
e. Admin Notification: From here the admin can setup the notification emails which are triggered for new vendor registration and for approval.
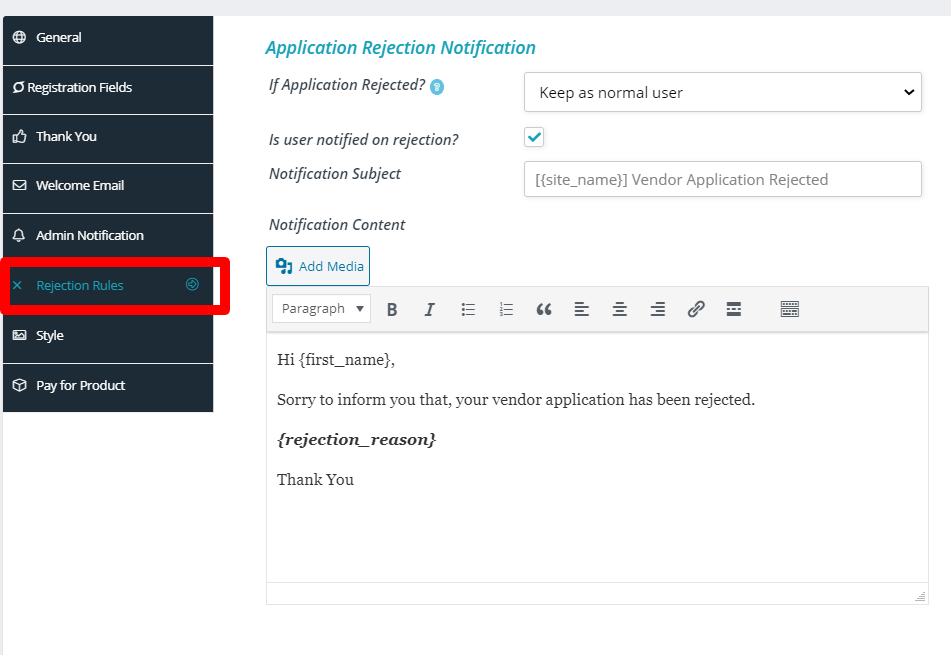
f. Rejection rules: With this option the admin can declare set of rules for the users who have been denied of being a vendor. Admin can also edit/frame a rejection mail along with subject for vendors who have failed to get approval. Here’s a glimpse of the same:
Note: Incase you have membership module enabled you will see additional setting options, thus if you want general registration process it’s recommended to turn off the Membership module from “Modules” section.
3.Vendor Registration Flow
Step 1: As a user who wants to get registered as a vendor, they will get a default form as shown below:
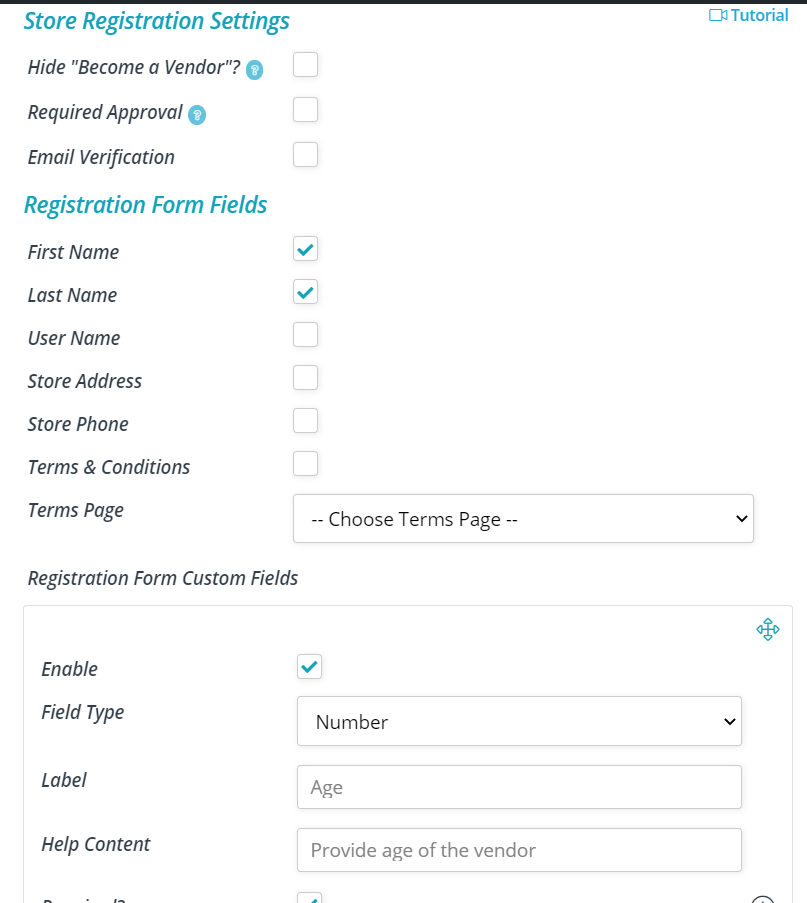
Note that, the fields of this form can be added by admin, here’s an example of the same:
Pic 1 : Admin adds a custom fields “Age” and enables field names as “First name” and “Last Name” as shown in the screenshot below:
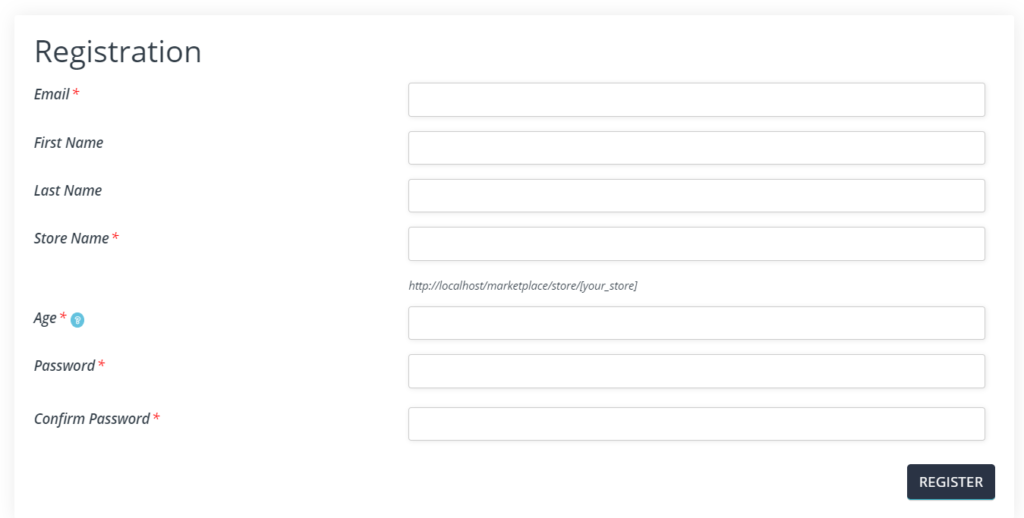
Pic 2: Here’s a look of the form with additional fields:
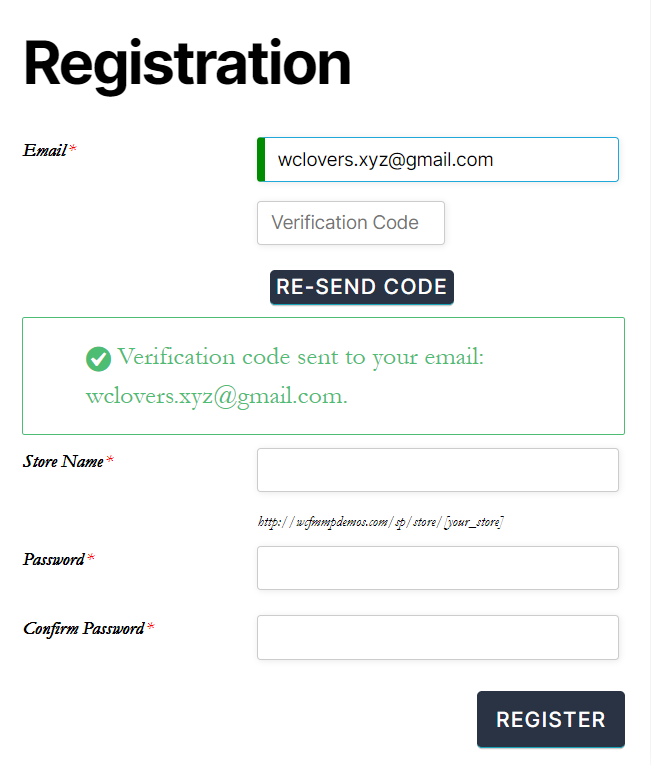
Note: Incase you have set Email verification option from the backend, then a verification code will be sent to user’s email Id for verification as shown below:
Pic 1: Verification option enabled form screenshot:
You will receive a mail with code as shown below:
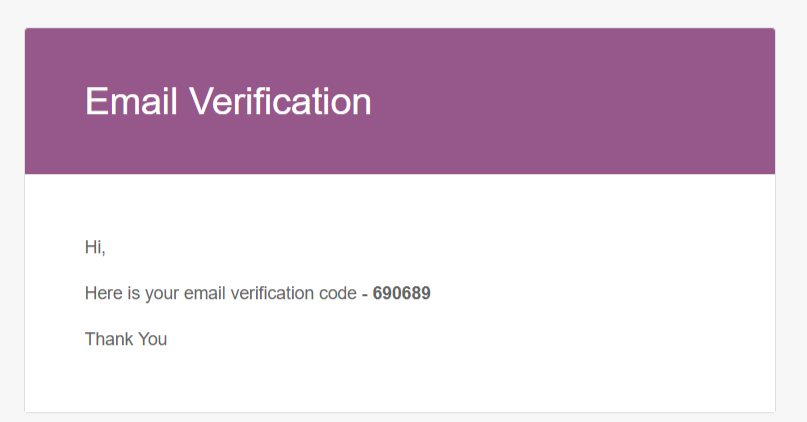
Once the code is entered along with relevant details, they can move to step 2.
Step 2: After submitting the form, either the vendor can directly enter their dashboard, or they will have to wait for final approval from the admin. This can be configured from required approval option in Admin settings as shown below:

If required approval option is enabled, then the user will get the following message on the screen:
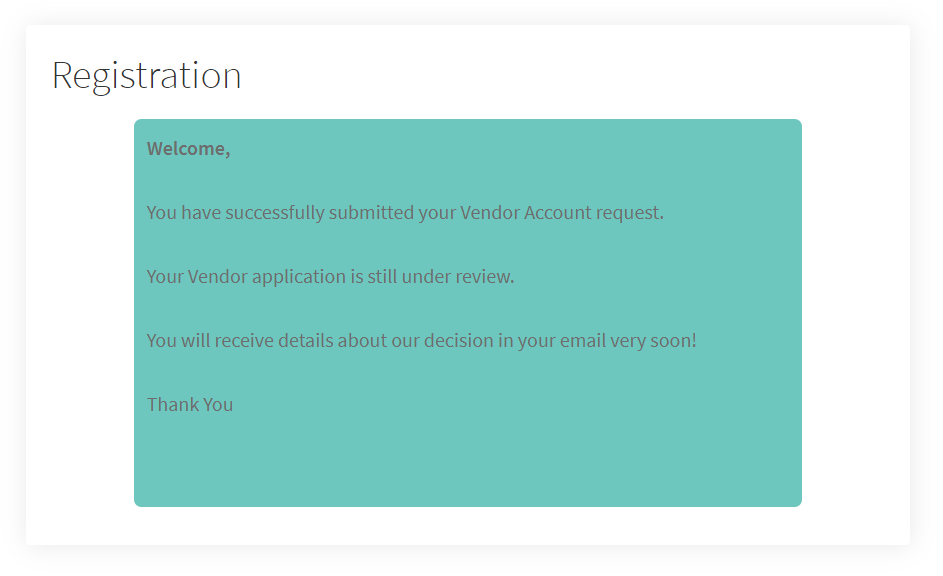
Note: You can change the content of this Thank you mail from here- Goto WCFM Admin Dashboard-> Settings-> Vendor registration -> Advanced registration settings-> Thank You
Admin will get a mail notifying a vendor application which they will have to approve for allowing this user to be a vendor. Here’s a glimpse of the mail received.
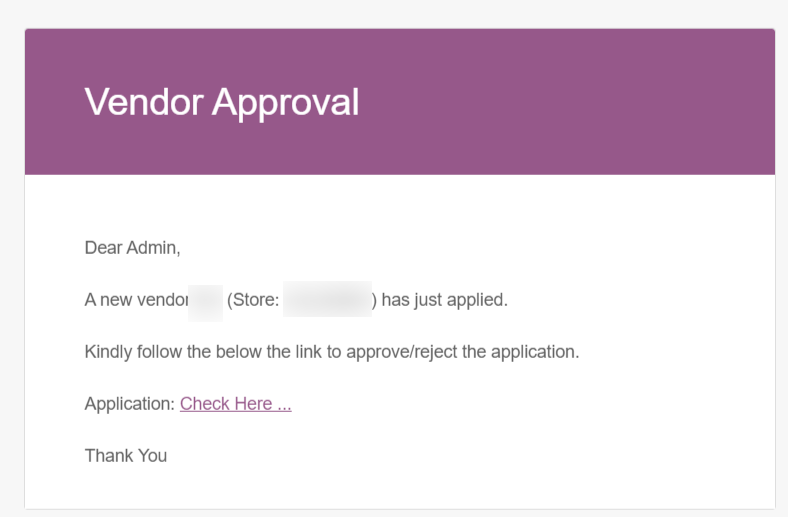
The content of the above mail can also be changed from here – Goto WCFM Admin Dashboard-> Settings-> Vendor registration -> Advanced registration settings-> Admin notification.
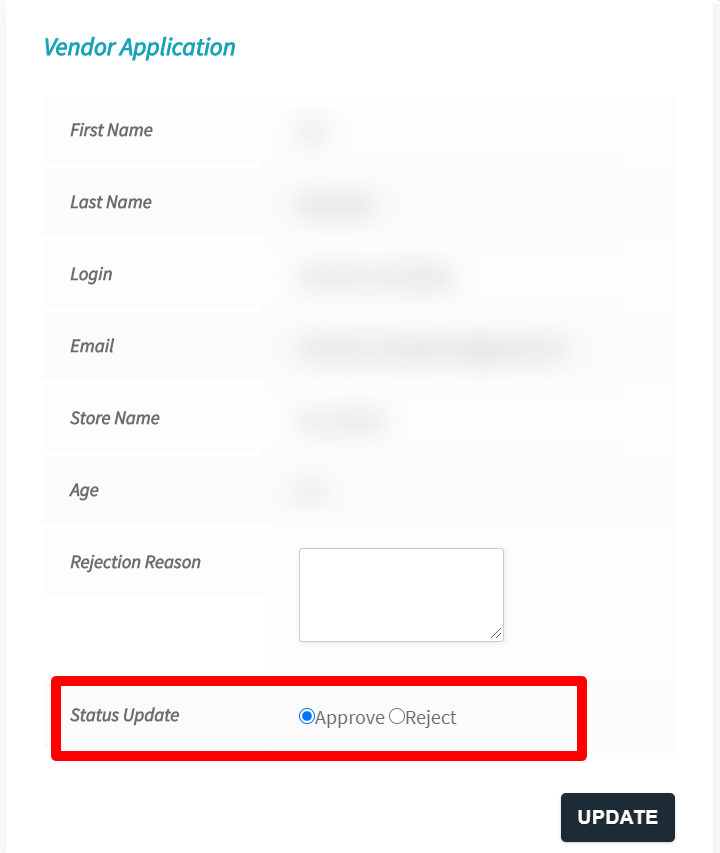
Upon clicking on “Check here” option the admin will be redirected to notification tab from where they can approve or reject the application as shown below:
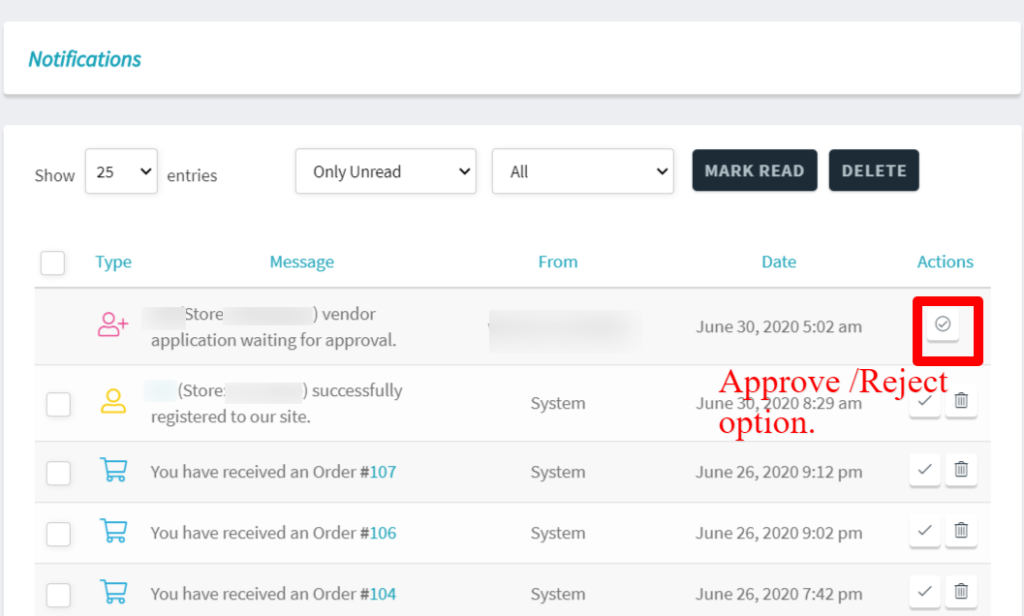
Clicking on action button will open up the following pop-up for final approval or rejection. The admin has to perform suitable actions from the following table as shown below:
Step 3:
If Approved : After approval from the admin ( if required approval option is enabled) the vendor receives a mail for final confirmation as shown below. The same mail is also triggered is there is no approval process involved, in that case the application is directly approved and the vendor gets direct link of the dashboard –
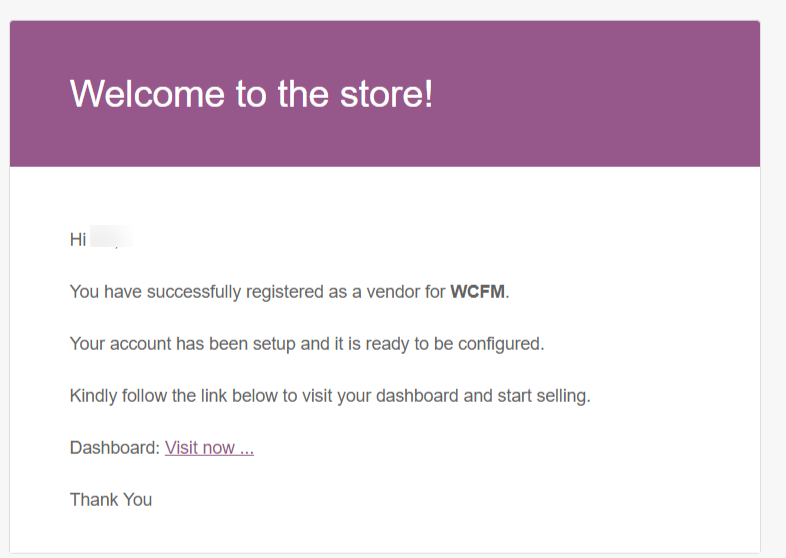
Note that the content of the above mail can also be changed from here – Goto WCFM Admin Dashboard-> Settings-> Vendor registration -> Advanced registration settings-> Welcome Email
If rejected: Incase the application is rejected then the following mail is triggered:
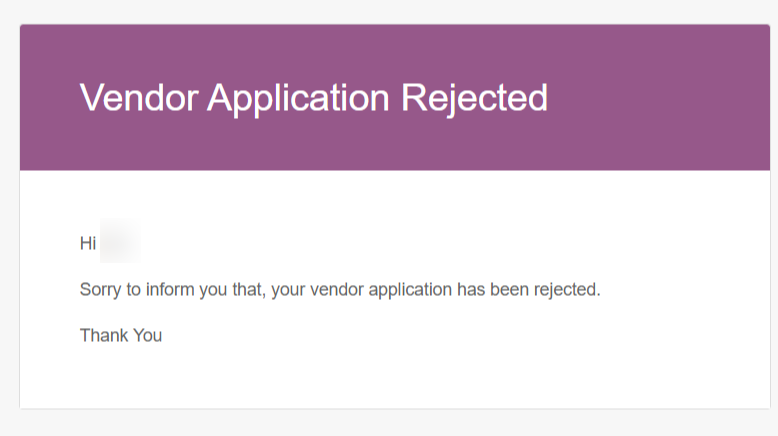
As an admin one can set the content of the above mail and configure other rejection rules from here: Goto WCFM Admin Dashboard-> Settings-> Vendor registration -> Advanced registration settings-> Rejection Rules.
Step 4: On being approved and clicking on Dashboard link ( shown in step 3), the vendors will be promoted to setup the store by a setup-wizard, here they can enter payment details, store policies etc step-wise manner as shown below.
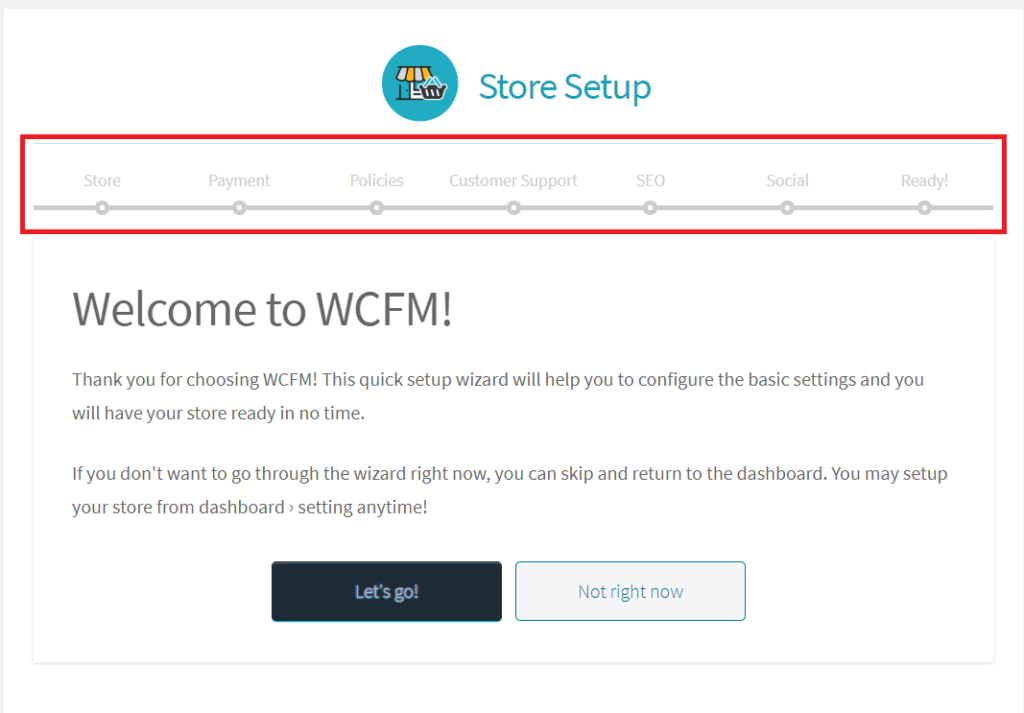
They can choose to skip the steps and setup the store from WCFM Vendor Dashboard as well, else they can prefill the data which will get reflected in their Vendor Dashboard.
Here’s a glimpse of Vendor Dashboard which can be seen after the registration and setup process is completed!

Now, the vendor can add products, setup their store and sell as per store rules. Enjoy selling!
4.Manual registration ( by admin):
Admin can also add the vendors manually from the admin dashboard by following these steps:
Step 1: From WordPress backend go to admin dashboard by clicking on “Marketplace” option.
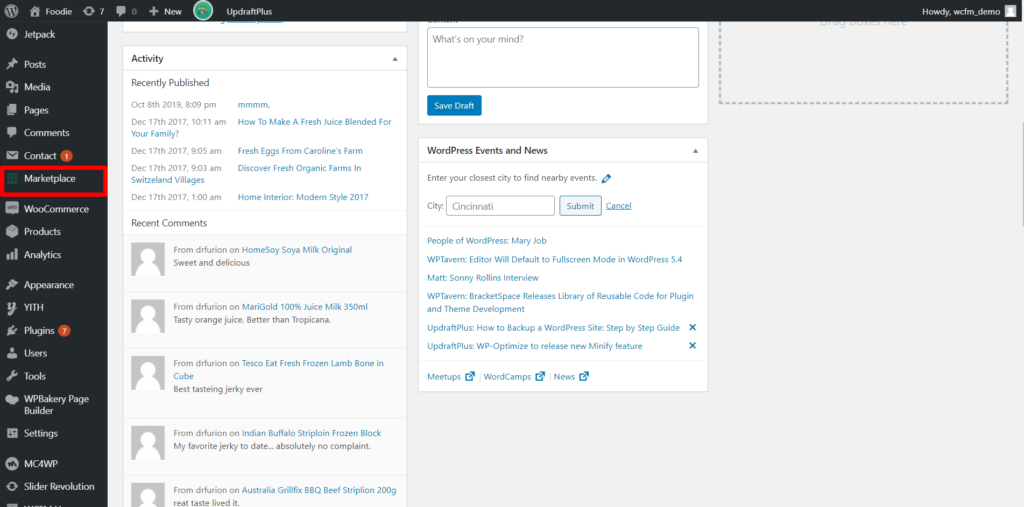
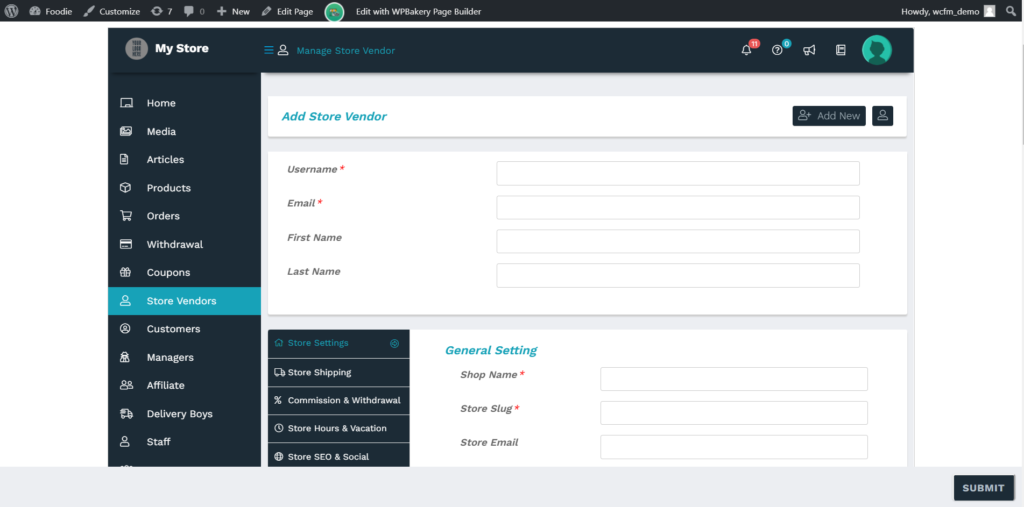
Step 2 : From Admin Dashboard, click/hover on “Store vendor” option which will show you “Add new” option as shown here:

Step 3: Clicking on the “Add new” button will redirect you to a page wherein you will be promoted to add various details of the vendors like Store settings, commission settings, store hours etc ( as shown below)