Posted on Leave a comment

Assigning badges to membership level

Similar to the badges being assigned to vendors, you can also assign it membership levels. To do the same GO to WCFM admin dashboard -> Manage membership section and assign badges from there as shown below:

Enabling the above option will make the badges visible at membership table as well, so that vendors will be interested to go for the more badges’ packages. Here’s a screenshot of the same:


Posted on Leave a comment

Store badges- Creating badges

In addition to the conditional logic which automatically assigns the badges to the vendor, you can also manually create badges and assign it to the vendor.

Here’s a glimpse how and where you can create the badges:

The above screenshot shows how to create custom badges, you will need to check the enable button, and add the badge icon ( preferably of size 32*32 px) and name.

These custom badges can now be assigned to the vendors manually from WCFM Admin dashboard -> Store Vendors-> Manage store vendor page -> Badges option as shown below :

Here, click on the checkbox to enable the badge for the vendor and update it accordingly, Once done this will be reflected in the vendor store page as shown below :

Additionally the badges will be reflected beside the vendor’s name in the store page as well as shown below:

Infact, the badges will be available throughout the store beside the respective vendor name.


Posted on Leave a comment

Store badges – Conditional settings

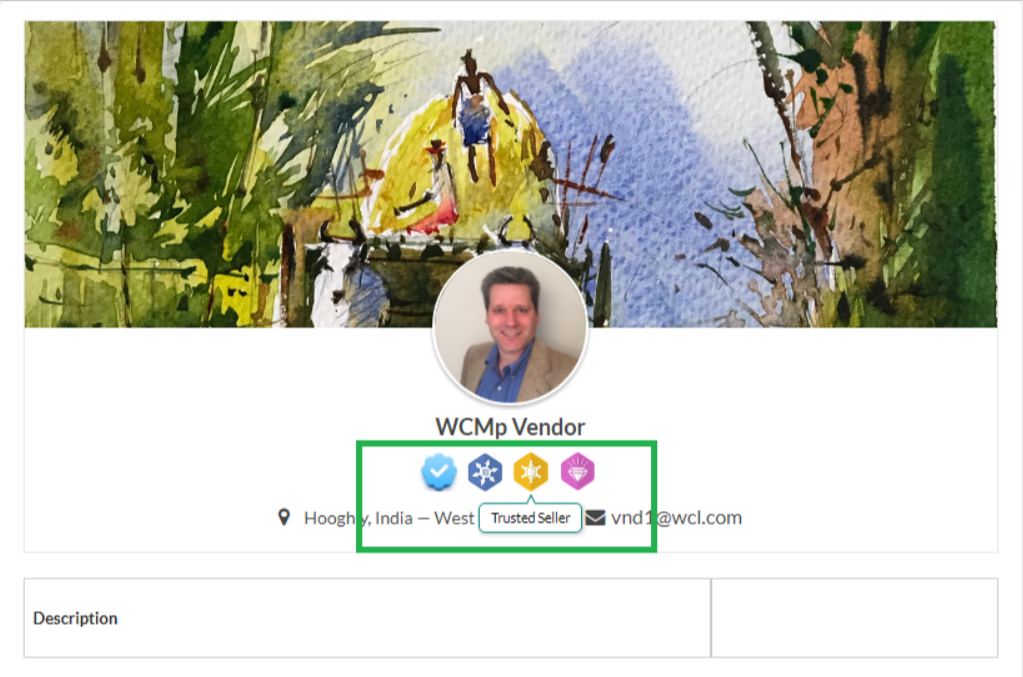
You can set different conditions based on which badges will be provided to vendors automatically, say suppose you want to give ” trusted seller” badge to a vendor whose sales is more than USD 1000, using this section you can easily configure such logic and the badge will be awarded to the vendor automatically.

Let’s now check the options provided sequentially:

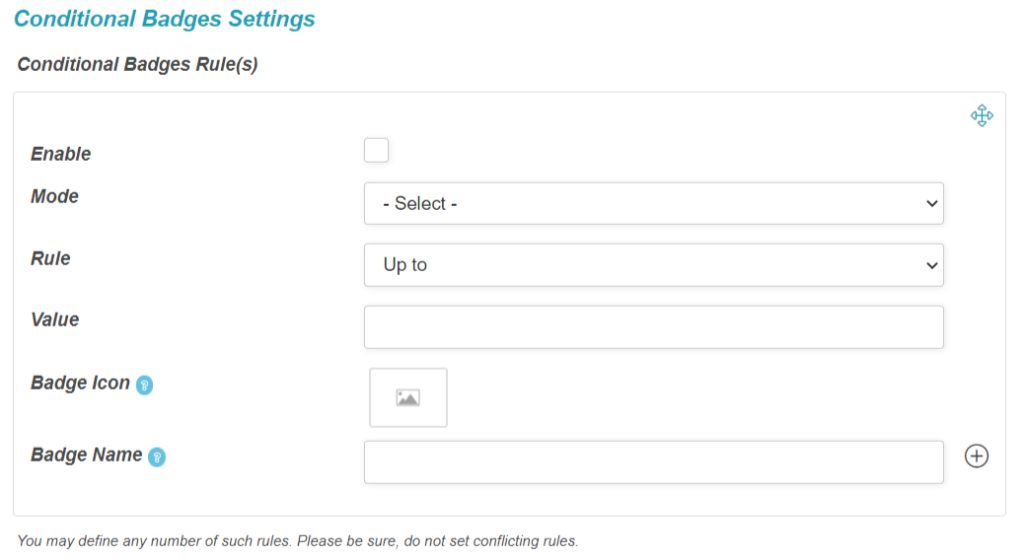
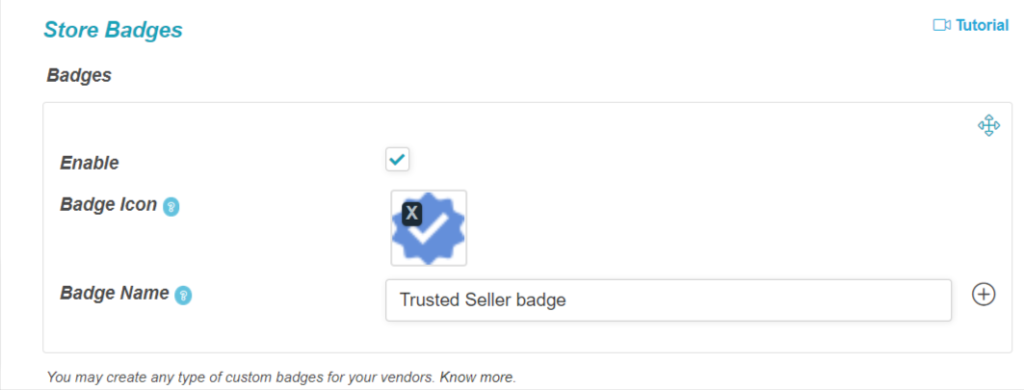
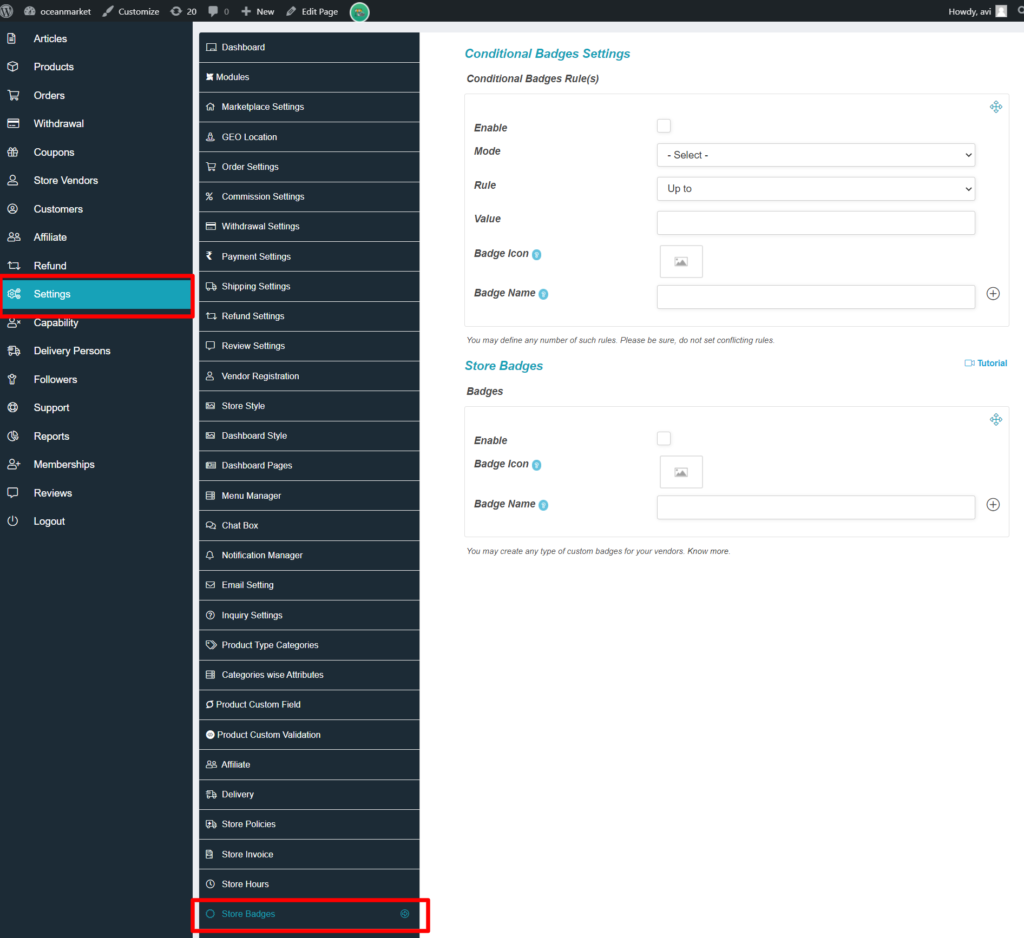
Enable Option:  You will need to check this to apply/activate this conditional badges settings.

Mode: This options allows you to select the criteria upon which the badges will be awarded. You will find 3 criteria which you can choose to offer the badges:

a. Based on total sales

b. Total orders completed

c. No of days since the vendor has registered to your site.

Rule: Using this you can set the rule, i.e if the value of the criteria ( or mode) should be ” more than” or ” up to” the declared value. Here’s a glimpse of the same:

Value: Here you can declare the value of required mode. So for example if you want to create a badge for vendors who are having sales more than USD 2000, here’s the settings you need to configure:

Badge Icon :  So, from here you can set the image of the badge to be awarded, the size of this image should be 32*32 px for best view.

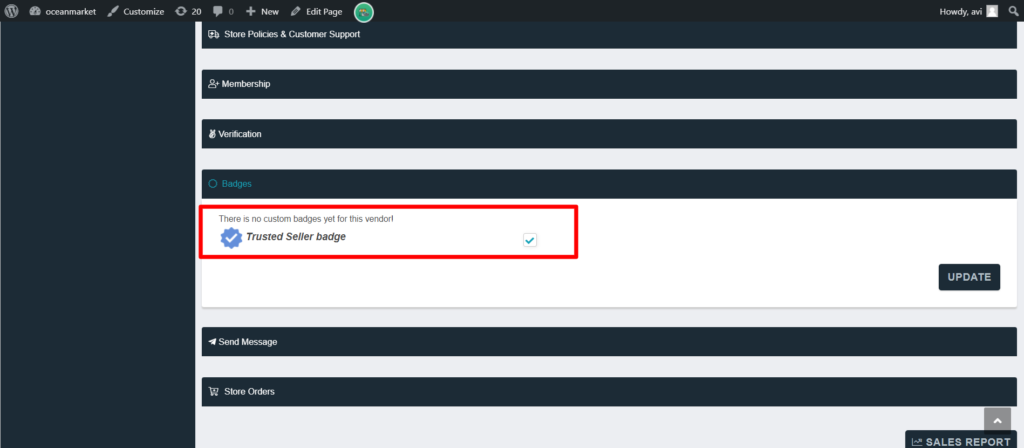
Badge Name: Lastly, you can name the badge from this option