Posted on Leave a comment

Vendor Setup: Step 5- SEO of vendor store

With WCFM the vendors get the feasibility to set their store’s social and  SEO related settings from here as well. They can enter the following points as listed below

*SEO Title
*Meta Description
*Meta Keywords
*Facebook Title
*Facebook Description
*Facebook Image
*Twitter Title
*Twitter Description
*Twitter Image

Here’s again a screenshot of the same:

Posted on Leave a comment

Review-Listings & Management for Vendor

Similar to Admin, the vendor can also manage their store reviews from here: Goto WCFM Vendor Dashboard -> Reviews.  Here, they will be able to check the store and product reviews solely for their store. Here’s a screen-grab of review listing for vendor(s)

Similar to admin, the vendor can check individual listing of reviews of their store and product separately. Note that the only difference is, admin will have the list of all reviews in the store, and vendors can only see the reviews related to his/her store and product. Following is the image of the button which allows the vendors to switch over to product review list or store review list.

Action buttons: Unlike admin, vendors are allowed only to approve or disapprove a review for their store/product. They cannot delete a review and that ability is only provided to admin.

Here’s a screenshot focusing on action buttons for better understanding:

Posted on Leave a comment

Review- Listings & Management for Admin

As stated before, admin will be able to manage the listing from the following section : Goto WCFM Admin Dashboard-> Review. Following is an image of the section:

Admin can check both the product reviews and Store reviews from here by clicking on the “Product review/Store review” button as shown below.

Pic 1: Store reviews:

Pic 2: Product review- showing the list of products which has been rated.

Action Buttons: Admin can perform the following functions from the review list:

a. Delete review: Clicking on delete option will delete the review from the product as well as the store.


b. Approve: When auto-approve option is disabled then the admin will get the following status to approve the review.

c. Unapprove : Admin can also unapprove a review by using this status.

Posted on Leave a comment

Vendor Registration- Form Fields.

The default form fields shown in above screenshot can be changed as well. Admin can add desired fields from here- Goto WCFM Admin Dashboard -> Settings -> Vendor registration- > Registration form fields( option)

This section provides a list of options to select which fields are to be kept/removed from the registration form. Here’s a briefing on the above options provided:

i) First name : Checking this will ensure that the First name is entered by the vendor while registering.

ii) Last name : Checking this will ensure that the last name is entered by the vendor while registering.

iii) User name: Checking this will ensure that an username is entered by the vendor while registering.

iv) Store Address: Checking this will ensure that the vendor provides the store address while registering.

v) Store phone: Checking this will ensure that the vendor provides the store’s contact details while registering.

vi) Terms & conditions: Checking this will ensure that the vendor(s) review the related terms and conditions of the store.

vii) Term page: You can select from the drop-down where you want to place the terms and conditions.

viii) Registration Form Custom Fields: Using this section you can add additional fields as per your requirement and set the field type as well.

Posted on Leave a comment

Capability Article

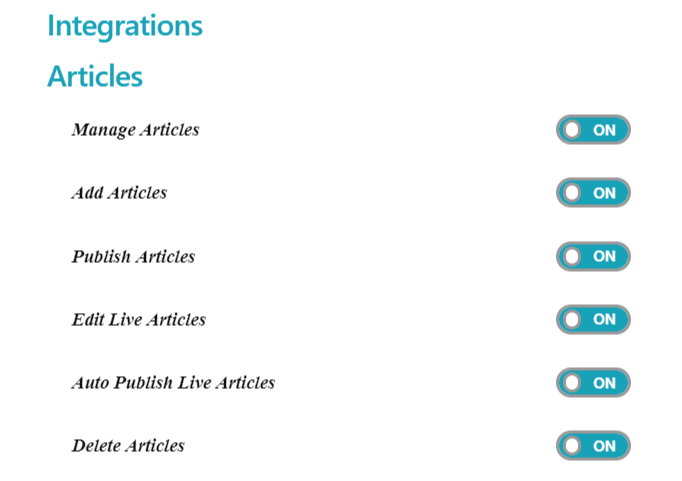
i) Manage Articles: This option gives admin the capability to allow/disallow the user(s) to manage ( add/edit/delete) the articles published in their store.

ON: User(s) can manage the articles published in their store.
OFF: User(s)  can’t manage the articles published in their store.

ii) Add Articles: This option gives admin the capability to allow/disallow the user(s) to add articles for their store.

ON: User(s) add articles in their store.
OFF: User(s) can’t add articles in their store.

iii) Publish Articles: This option gives admin the capability to allow/disallow the user(s) to publish the articles for their store.

ON: User(s) can publish the articles for their store.
OFF: User(s) can’t publish the articles for their store.

iv) Edit Live Articles: This option gives admin the capability to allow/disallow the user(s) to edit live articles of the store.

ON : User(s) can edit live articles of the store.
OFF: User(s) can’t edit live articles of the store.

v) Auto Publish Live Articles: This option gives admin the capability to allow/disallow the user(s) from automatically publishing live articles.

ON:  User(s) can automatically publish live articles.
OFF: User(s) won’t be able to automatically publish live articles.

vi) Delete Articles : This option gives admin the capability to allow/disallow the user(s) to delete the articles from their store.

ON: User(s) can delete the articles which are published.
OFF: User(s) won’t be allowed to delete the articles which are published.