Vendors has to configure their ShipStation order export option from their Store Manager Dashboard -> Setting -> ShipStation V2 –
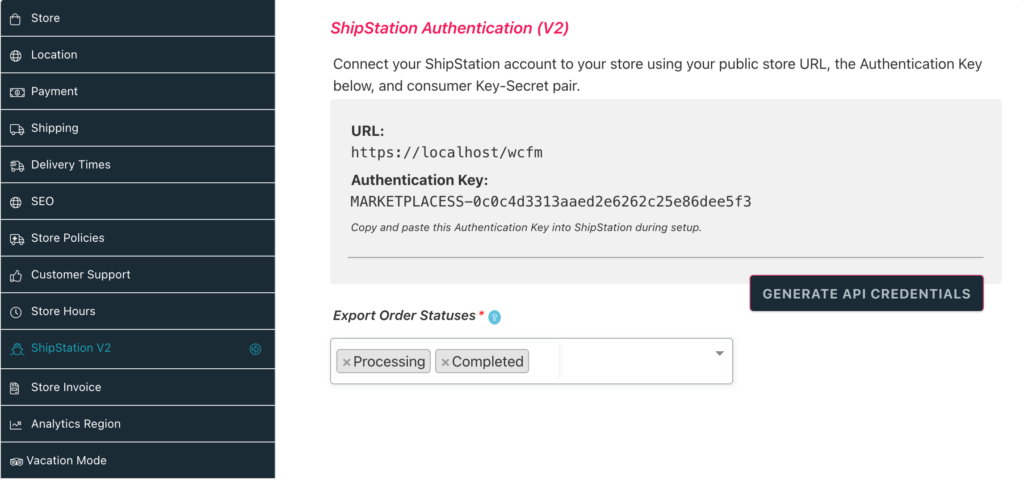
URL and Authentication Key are the first thing you’ll see here. This is generated for you and can’t be changed here. It’s a unique key that you’ll use when connecting your store to ShipStation.
Generate API Credentials
Vendors need to click on the Generate API Credentials button for the first time to generate their unique Consumer Key and Consumer Secret.
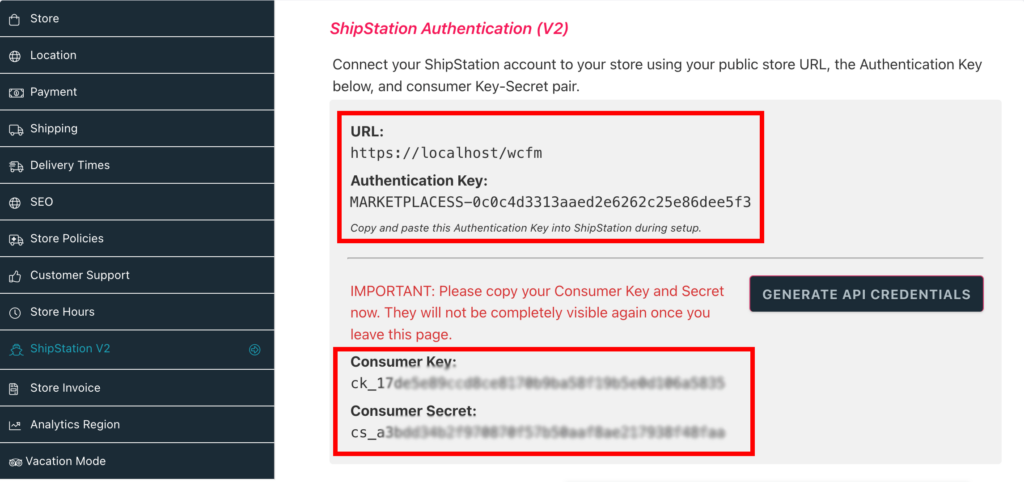
Vendors need to keep a note of the Key-Secret pair as this information won’t be visible from the next time due to security reasons. These two values along with the Authentication Key and URL will be required in vendor’s Shipstation account.
Export Order Statuses
Select the WooCommerce orders with statuses you want sent to ShipStation. We recommend sending only orders that have been paid for, those being: Processing, Completed, and possibly On-Hold/Cancelled.
Sign up with ShipStation
With the plugin setup we need to now connect your store to your ShipStation account. If you don’t have one yet, sign up for an account at the link below. Next you’ll be prompted to pick a ‘Selling Channel’ that will let you to connect to your WooCommerce store.
If you’re an existing ShipStation user, you can find this at: ShipStation Account Settings > Selling Channels > Store Setup. Click the Connect a store button.

After selecting WooCommerce we’re ready to set up the connection between your store and ShipStation account.

Enter the Consumer Key, Consumer Secret, Authentication Key, and URL found on your site at: Settings > ShipStation V2. This allows ShipStation to securely connect to your store. Click Connect to finish the setup.
