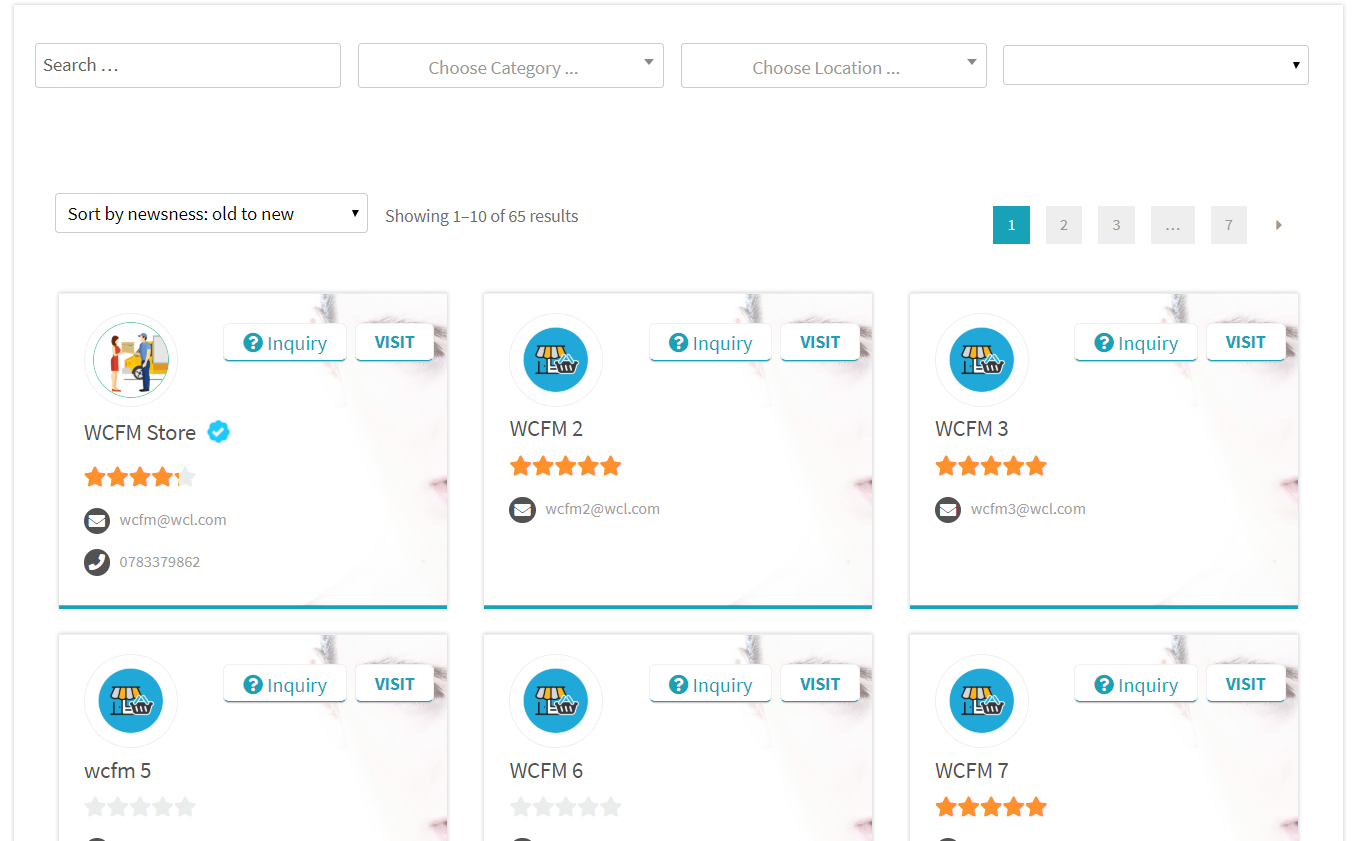
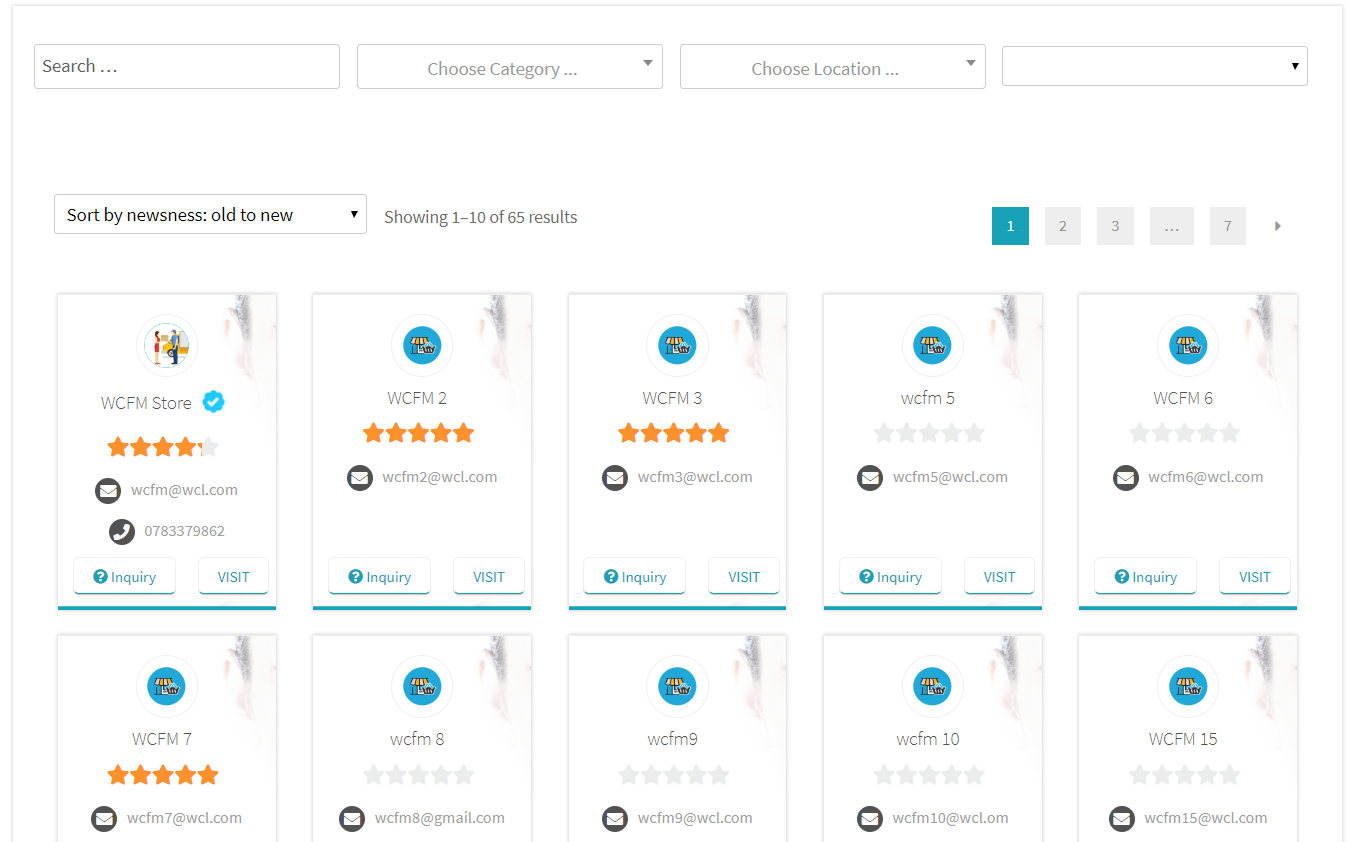
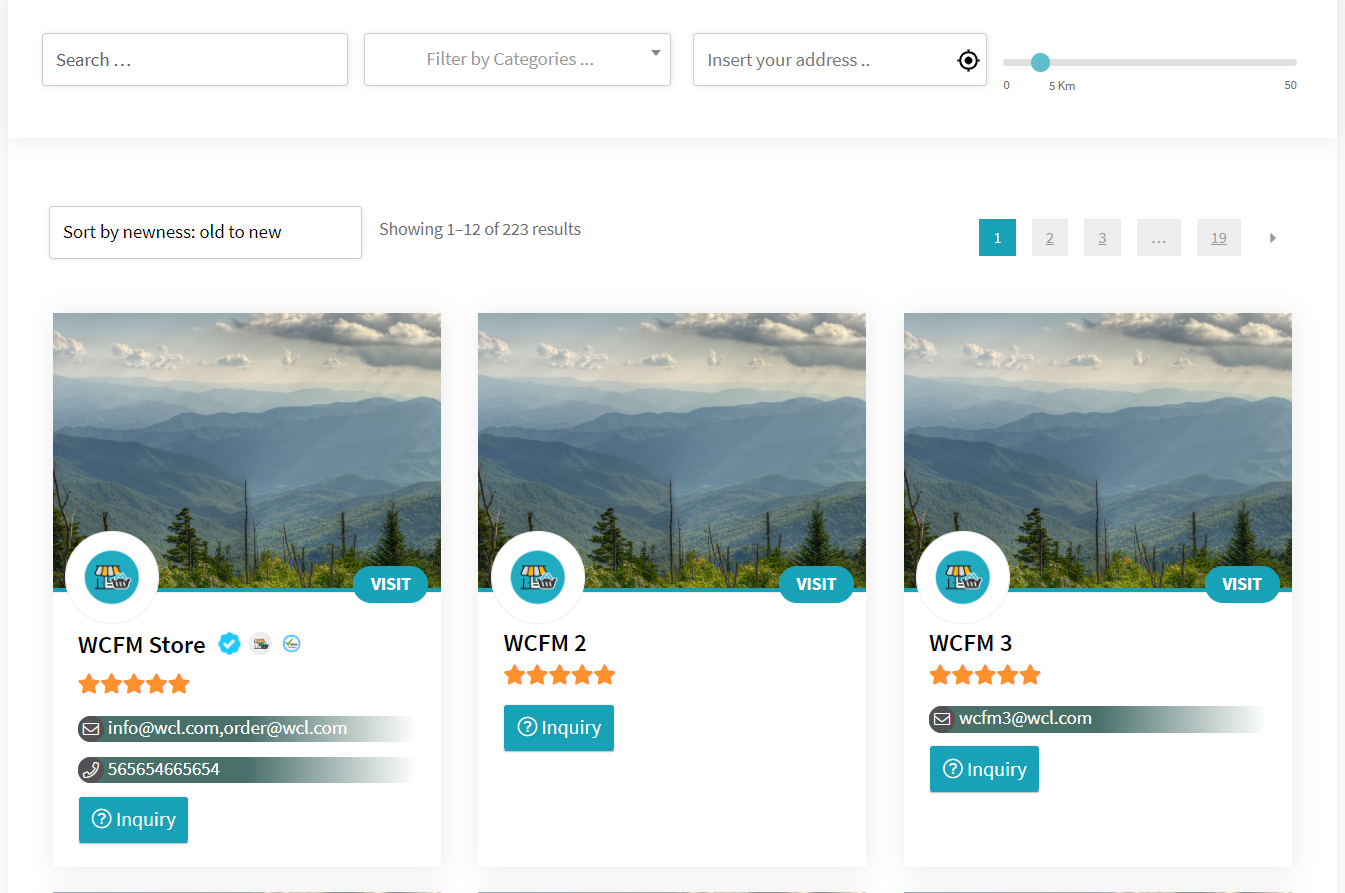
Store List page theme : Compact and Per Row: 4
To use this theme you have to add theme=”compact” attribute to your store list page short code –
[wcfm_stores theme="compact"]
You may change “Per Row” to 3
You may change “Per Row” to 5
To use this theme you have to add theme=”compact” attribute to your store list page short code –
[wcfm_stores theme="compact"]
You may change “Per Row” to 3
You may change “Per Row” to 5
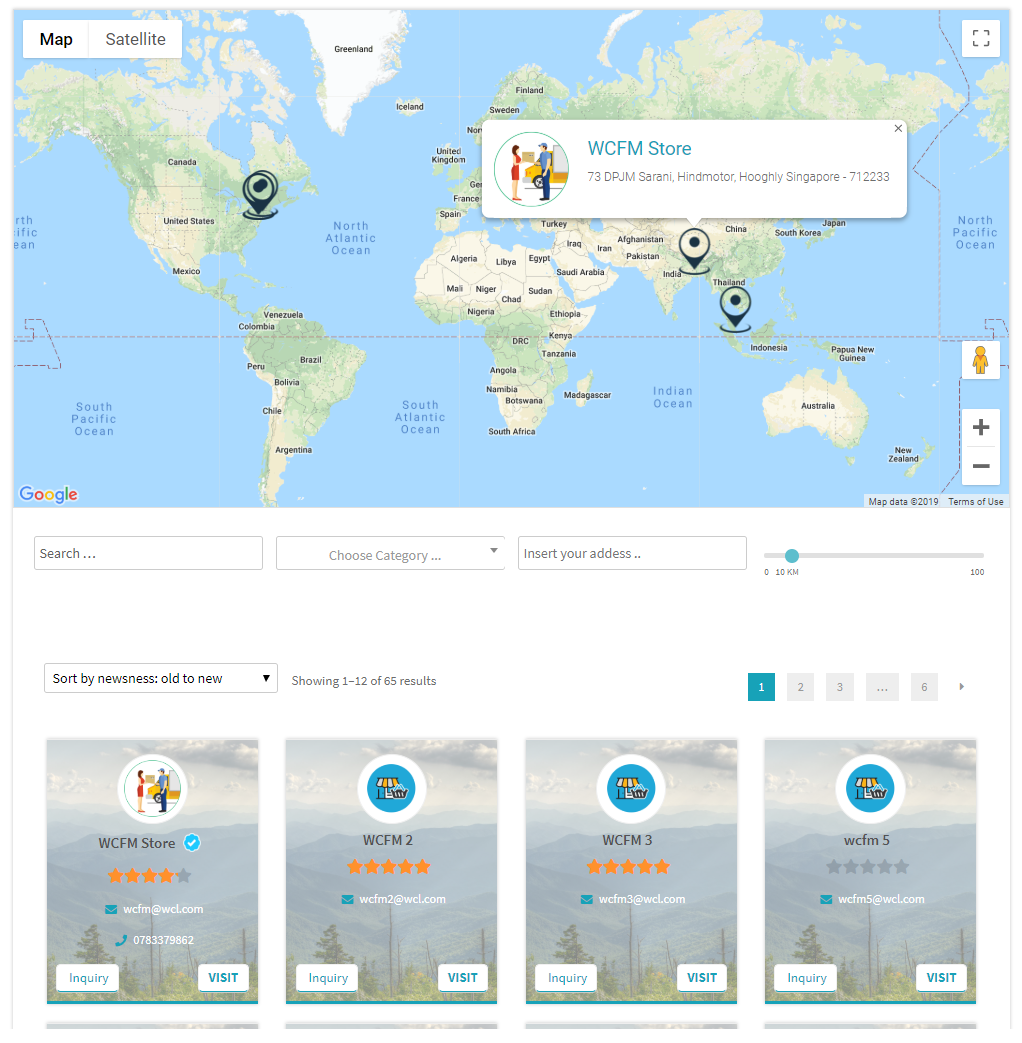
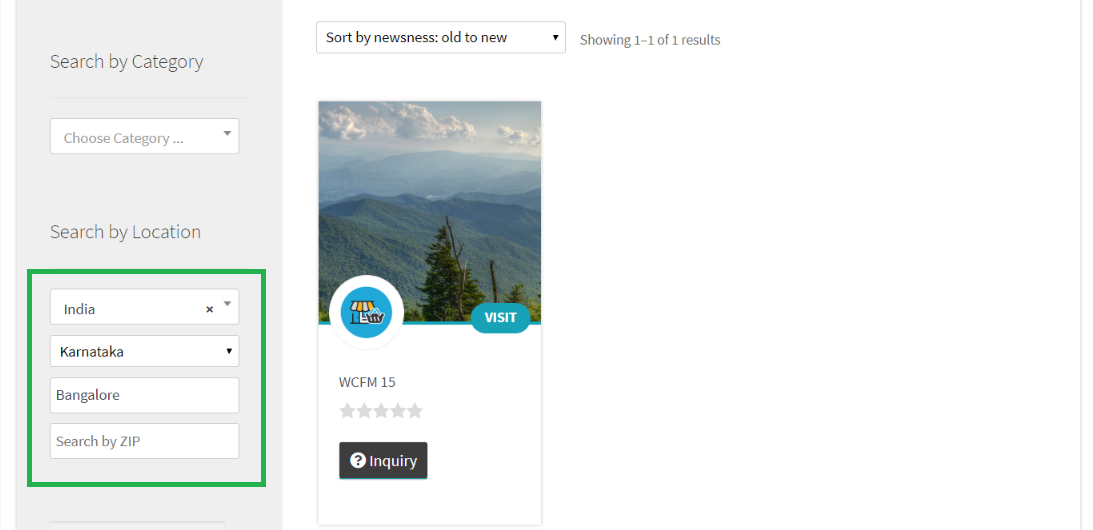
You may also setup “Radius Search” filter for store list. It allows you to search within 100 KM radius.
If you are using Store List sidebar then you have to setup this using widget. Go to wp-admin -> Appearance -> Widgets -> Add “Store List” Radius Search” widget under Store List sidebar –

Now, you will see Radius Search option under store list sidebar –
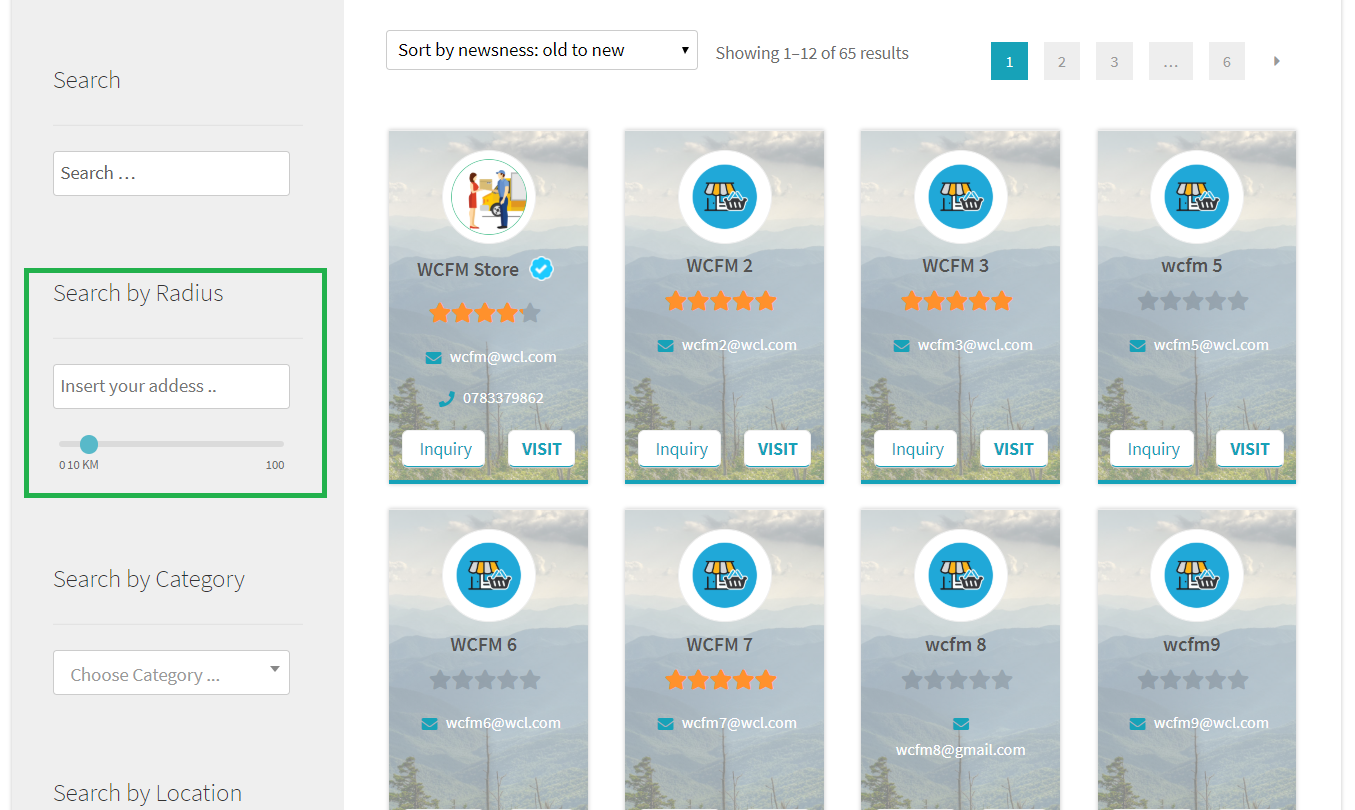
Just insert your address and set radius for search, it will show you stores available within set radius.
If you are not using store list sidebar and have default filter then also you may use radius filter. You just have to specify this with store list short code –
[wcfm_stores has_radius="yes"]
Now, you will see radius filter –
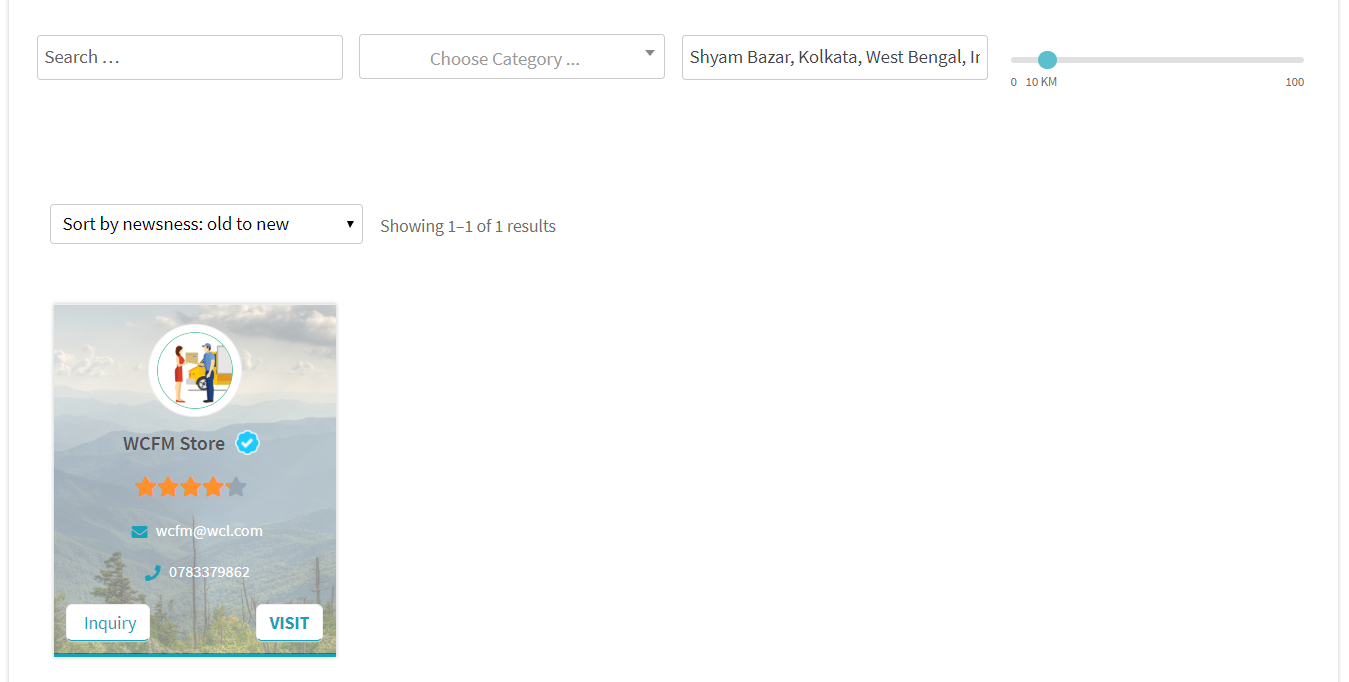
Well, if you are using radius filter then country and state filter will be auto-hidden.
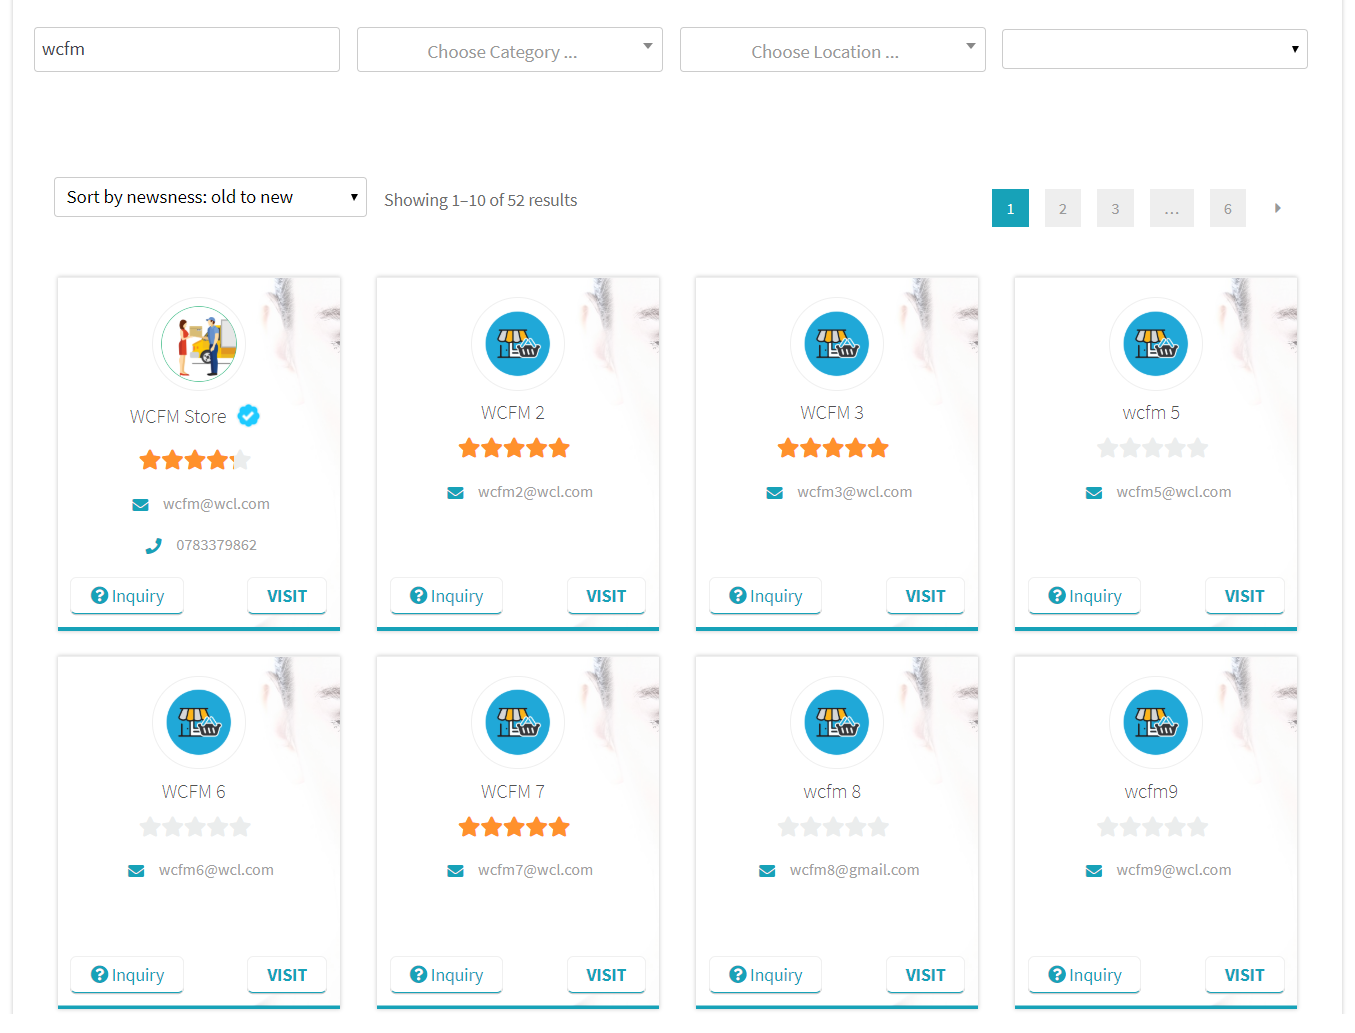
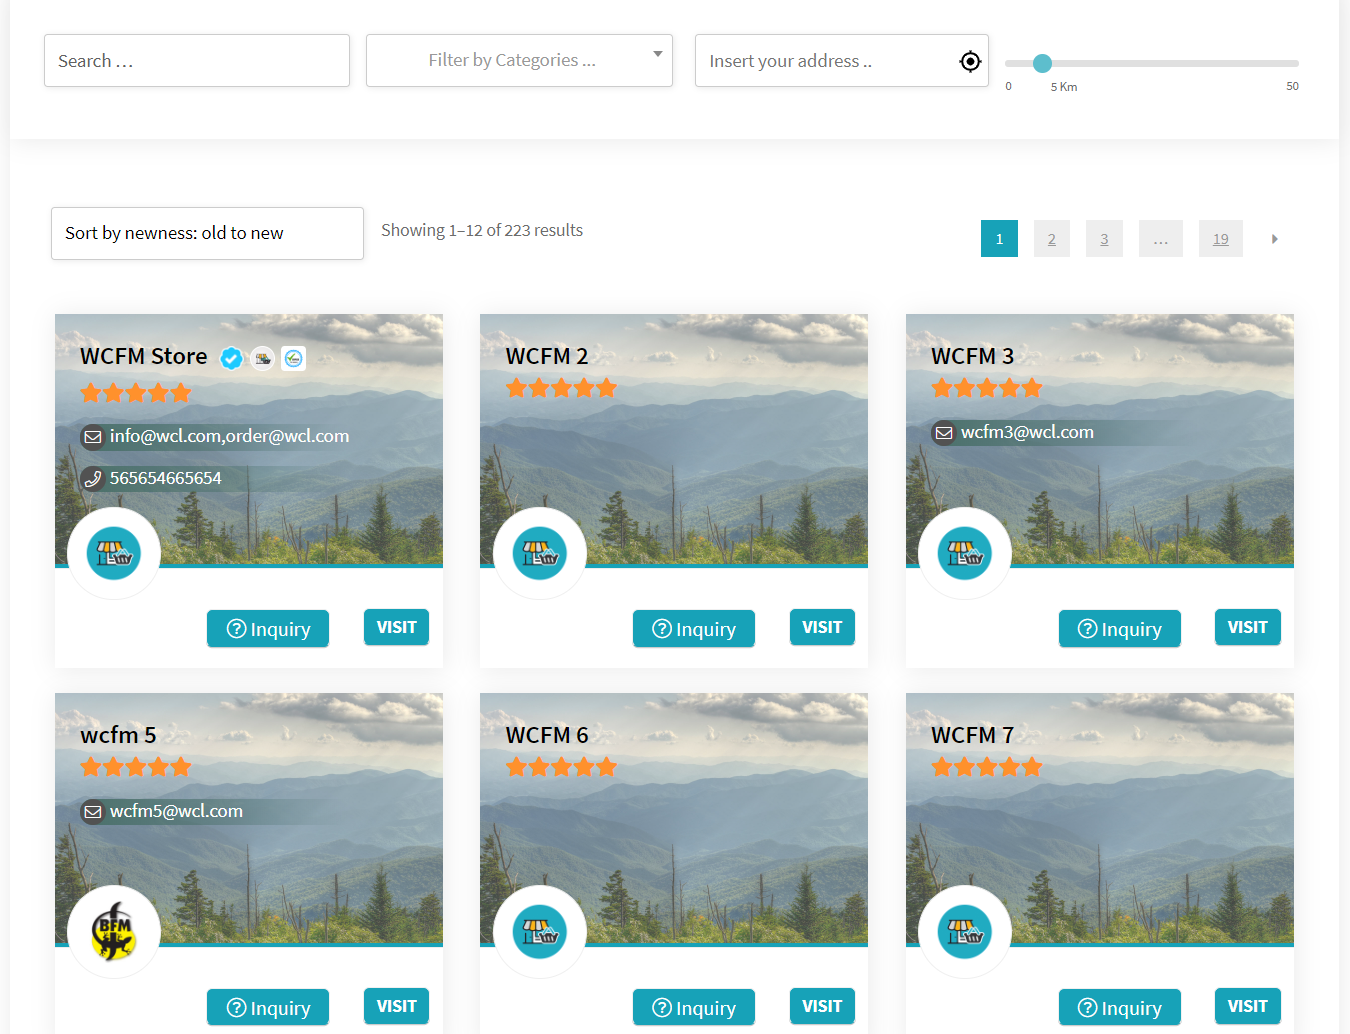
Alternate Theme: Simple, Per Row: 3
To use this theme your short code will be ->
[wcfm_stores theme="simple"]
While it’s true that your IP address doesn’t reveal your address or identity, it can reveal to someone what city or even general area you are in…within several miles in some instances. And it does it in an instant. (Remember—only people with some technical know-how can do that. The average person won’t have a clue.)
That amazing technological feat is made possible by something called geolocation software. Like something from a movie, geolocation software first zeroes in on your country, and then your region, city, and often finally your ZIP code.
Now, we are using same technology to show relevant stores to a customer by filtering his/her location. Well, first you have to enable this module from WCFM Admin Setting -> Marketplace Setting Tab -> GEO Locate

If this module enabled hence customer’s location will auto-populate at store list location filter and store visible only for those locations –
Store List page has a special sidebar are, that’s only for this page. You will find this at wp-admin -> Appearance -> Widgets
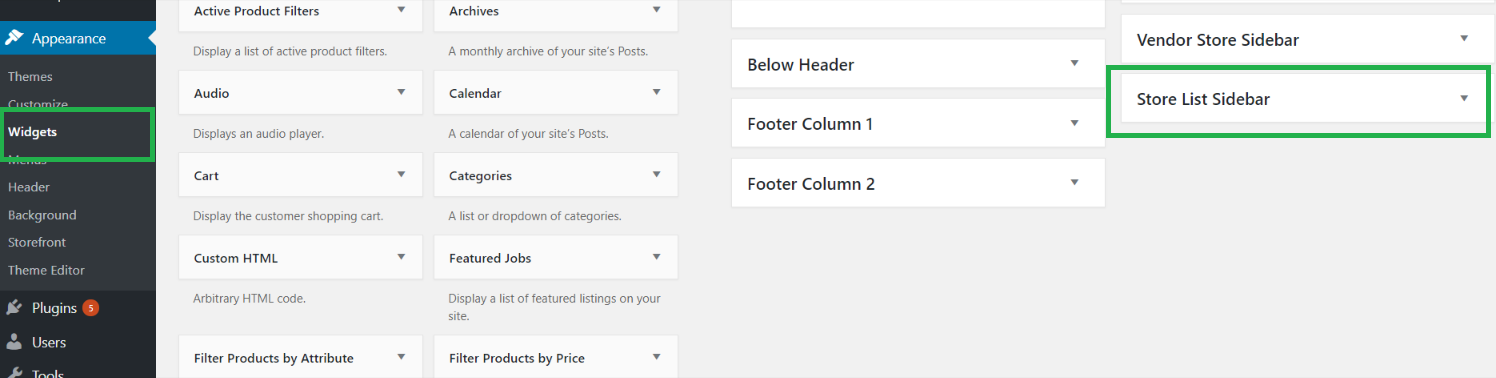
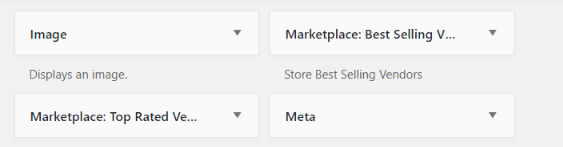
There has some special widgets only for this sidebar as well.

These widgets are mainly for filtering stores list. Well you may add any other widgets in this sidebar as well.
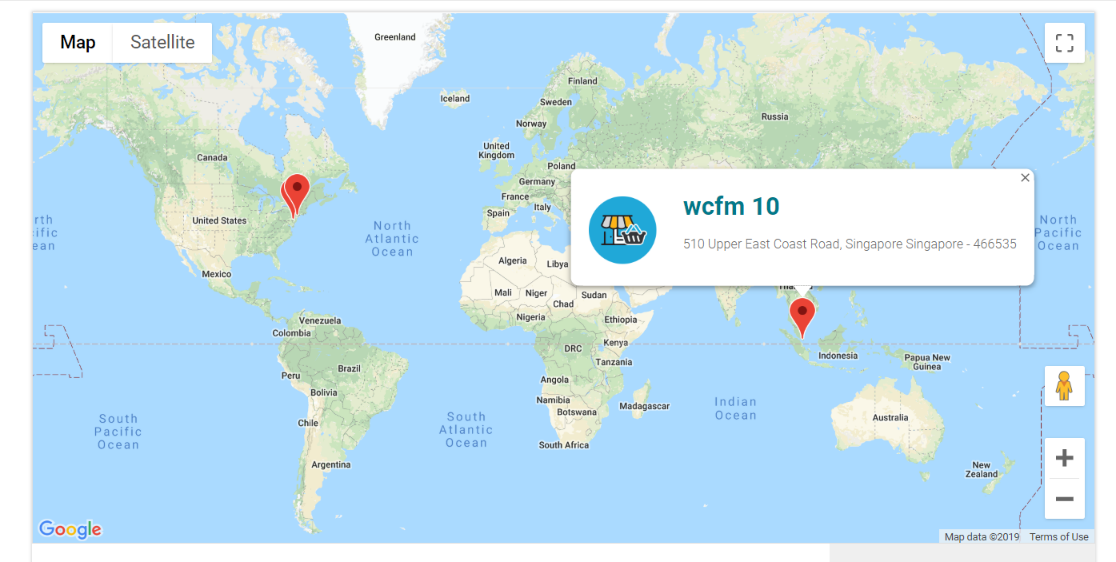
Store List page comes with a map at top of the page. It shows listed stores locations in map. As you know you may disable this using short code attributes. But this map will only visible if you add Google Map API key at WCFM Admin Setting -> Marketplace Setting Tab

You may generate API key from here – https://developers.google.com/maps/documentation/javascript/
Now, vendor has to set their location in map from WCFM Vendor Dashboard -> Setting -> Store
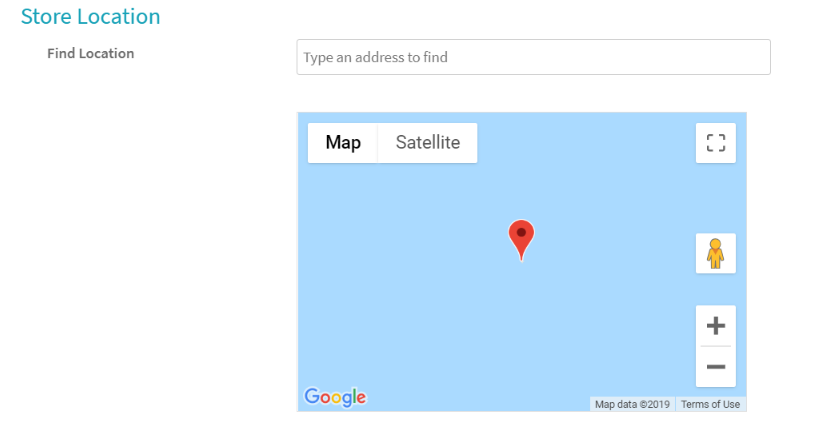
As Admin you may also set this from WCFM Admin Dashboard -> Vendors -> Vendors Manager -> Store Setting
Now you will see stores locations in map –
You may tweak few things from settings panel as well.

You may disable store list sidebar from WCFM Admin Setting -> Marketplace Setting Tab

You may change sidebar display position, whether left of right!
Well, in mobile view by default sidebar comes under store lists. Now you may tweak this and show sidebar first and then stores. But there is no setting option for this. You may achieve this by adding a small code snippet to your child theme’s functions.php –
add_filter( 'wcfmmp_is_allow_mobile_sidebar_at_bottom', '__return_false' );
Well, by default this page comes with 12 stores in each page and 3 stores per row, and off course all active vendor’s stores.
Now, you may change this page display and listed stores. Here is list all supported short code attributes –
Filter attributes: this will help you to setup filters for this page –
Well, don’t get confused on the uses of these parameters, here’s how your short code will look like –
[wcfm_stores search_category="9,12" has_product="yes" has_radius="yes"]
More Use Cases
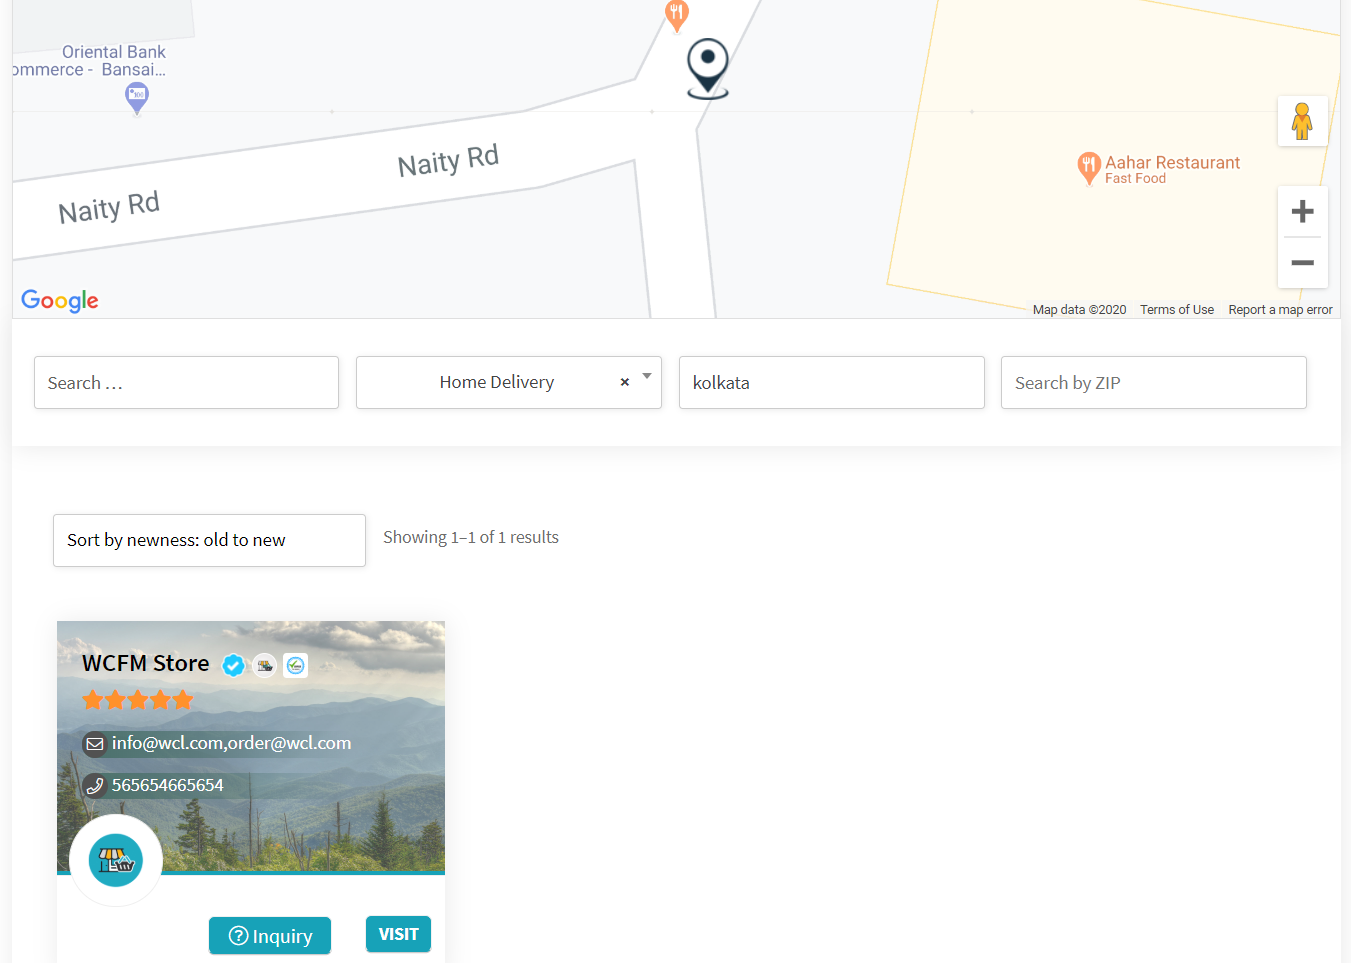
Store List for “kolkata” city and category “Home Delivery” –
[wcfm_stores has_radius="no" has_country="no" has_state"no" has_city="yes" has_zip="yes" search_city="kolkata" store_category="12"]
Do not add space between double quotes (“).
Store List is a page where you may list all your site vendors. Now this has many features, filters, maps and many other aspects. So let’s start with very basics, how you will have a “Store List” page?
Well, it’s very simple, you just have to create WP page from your site’s wp-admin -> Pages -> Add New
You may add any title for this page, no restriction at all. But in page content area you have to add this short code –
[wcfm_stores]
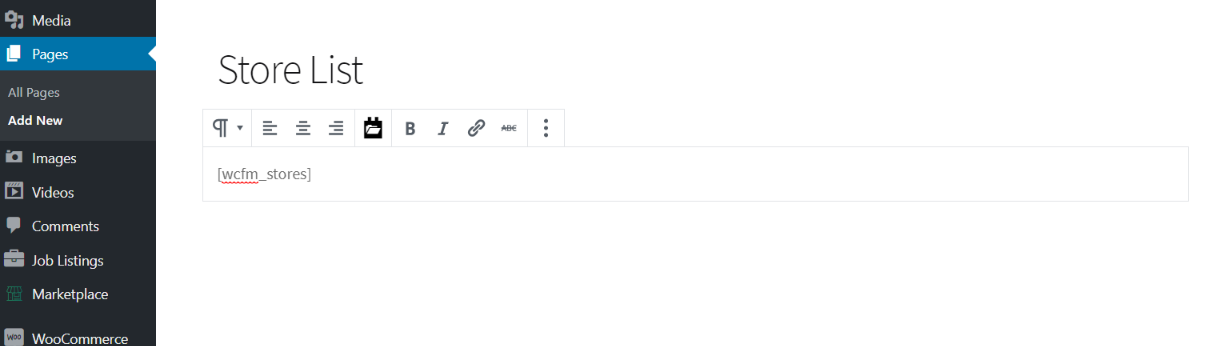
You will see a page like this –