Step 1: As a user who wants to get registered as a vendor, they will get a default form as shown below:
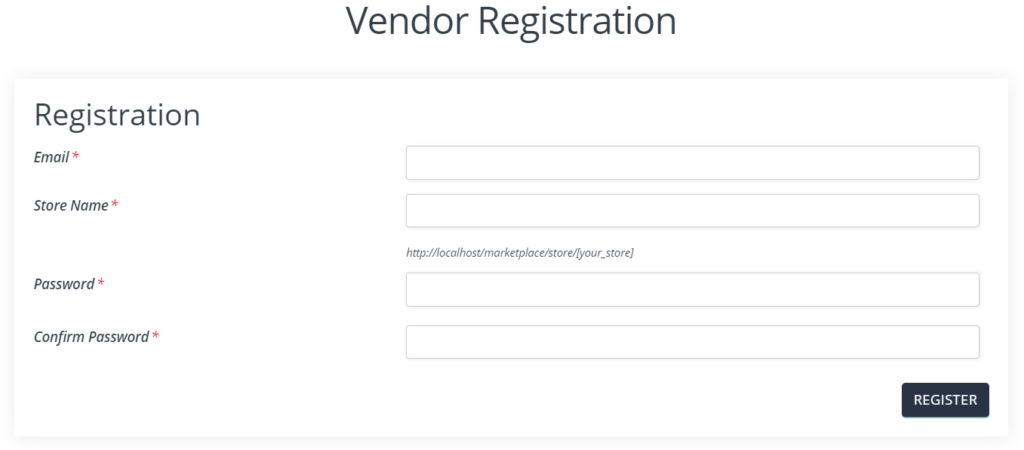
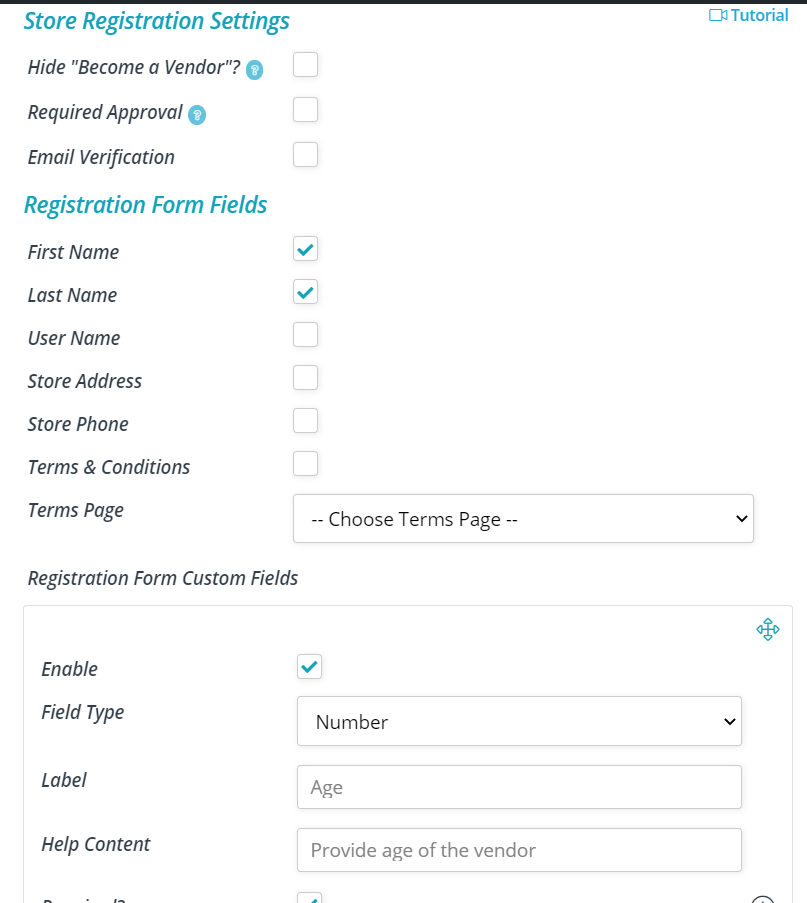
Note that, the fields of this form can be added by admin, here’s an example of the same:
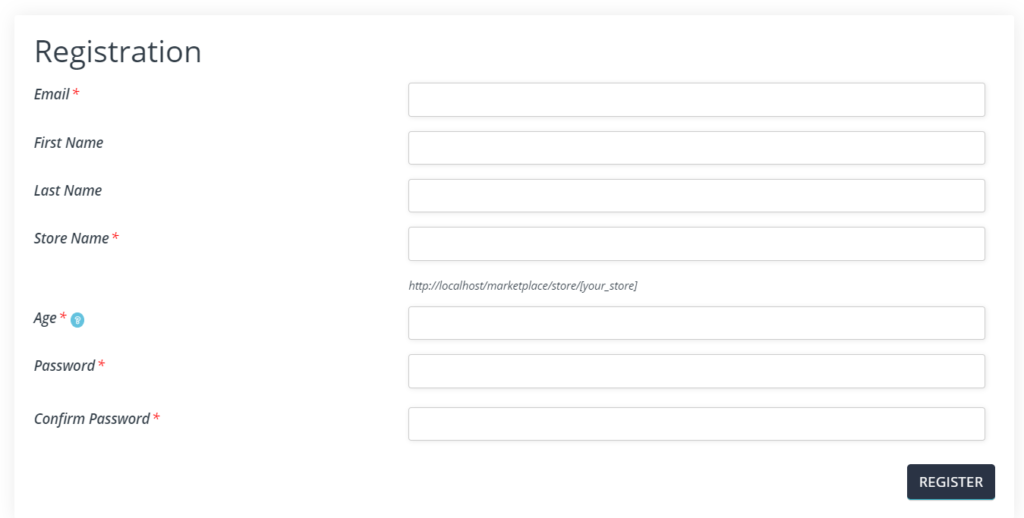
Pic 1 : Admin adds a custom fields “Age” and enables field names as “First name” and “Last Name” as shown in the screenshot below:
Pic 2: Here’s a look of the form with additional fields:
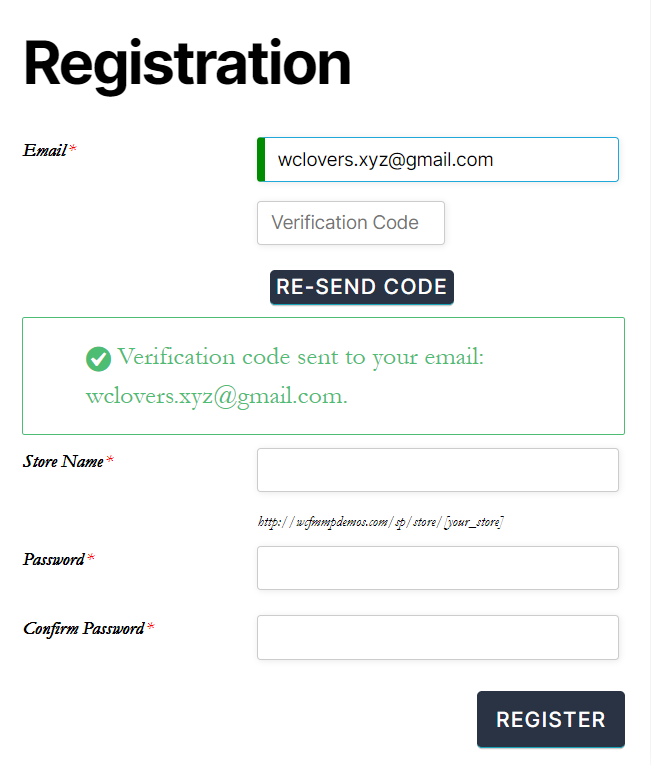
Note: Incase you have set Email verification option from the backend, then a verification code will be sent to user’s email Id for verification as shown below:
Pic 1: Verification option enabled form screenshot:
You will receive a mail with code as shown below:

Once the code is entered along with relevant details, they can move to step 2.
Step 2: After submitting the form, either the vendor can directly enter their dashboard, or they will have to wait for final approval from the admin. This can be configured from required approval option in Admin settings as shown below:

If required approval option is enabled, then the user will get the following message on the screen:
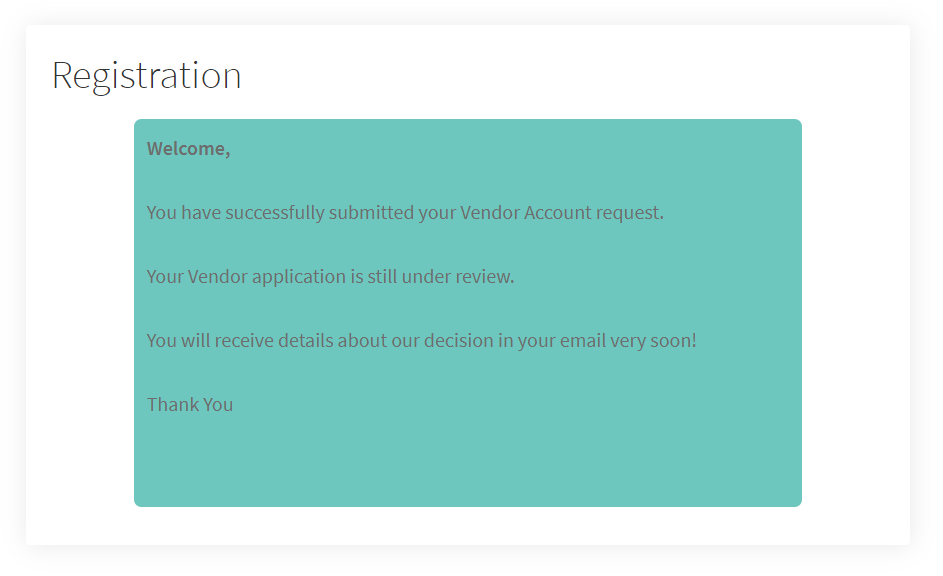
Note: You can change the content of this Thank you mail from here- Goto WCFM Admin Dashboard-> Settings-> Vendor registration -> Advanced registration settings-> Thank You
Admin will get a mail notifying a vendor application which they will have to approve for allowing this user to be a vendor. Here’s a glimpse of the mail received.
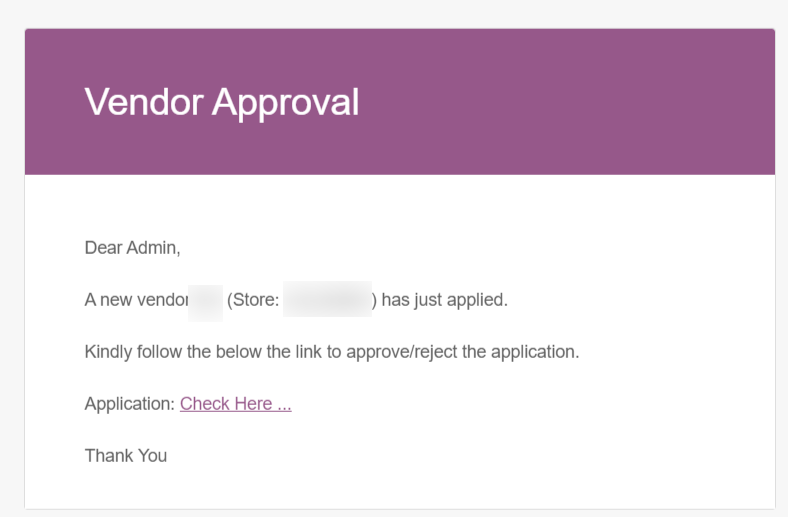
The content of the above mail can also be changed from here – Goto WCFM Admin Dashboard-> Settings-> Vendor registration -> Advanced registration settings-> Admin notification.
Upon clicking on “Check here” option the admin will be redirected to notification tab from where they can approve or reject the application as shown below:
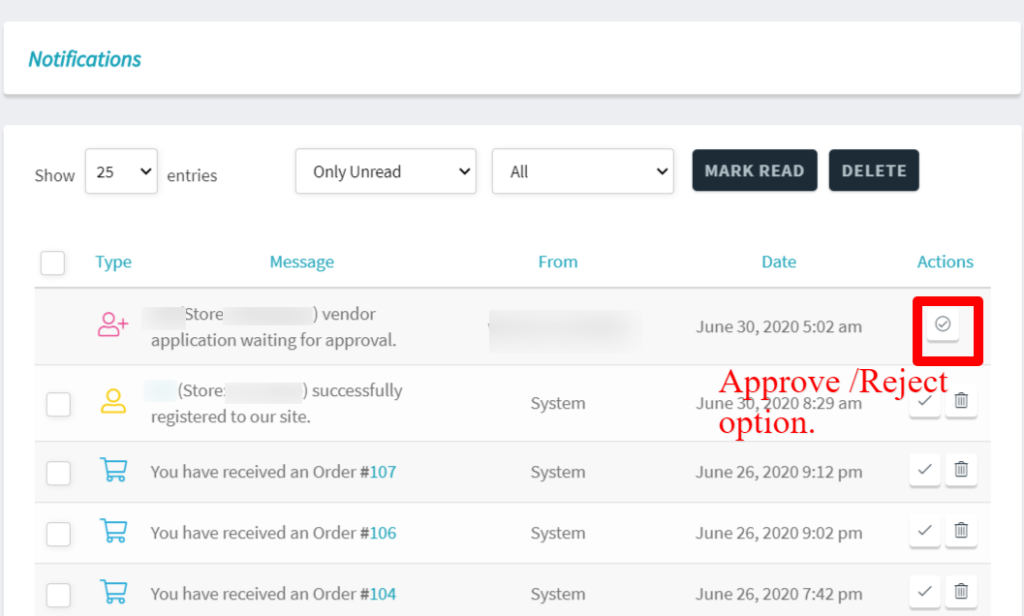
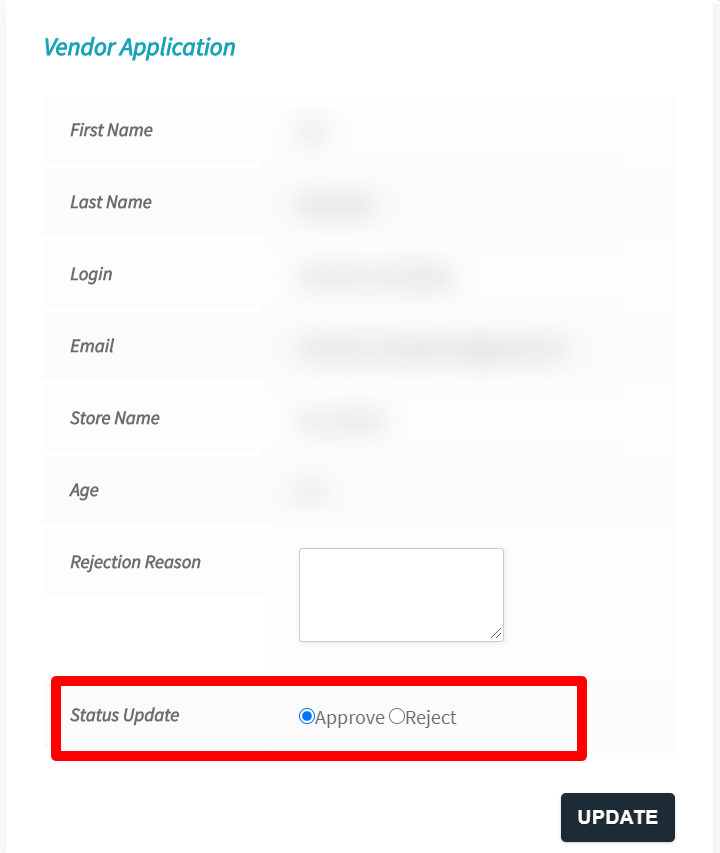
Clicking on action button will open up the following pop-up for final approval or rejection. The admin has to perform suitable actions from the following table as shown below:
Step 3:
If Approved : After approval from the admin ( if required approval option is enabled) the vendor receives a mail for final confirmation as shown below. The same mail is also triggered is there is no approval process involved, in that case the application is directly approved and the vendor gets direct link of the dashboard –
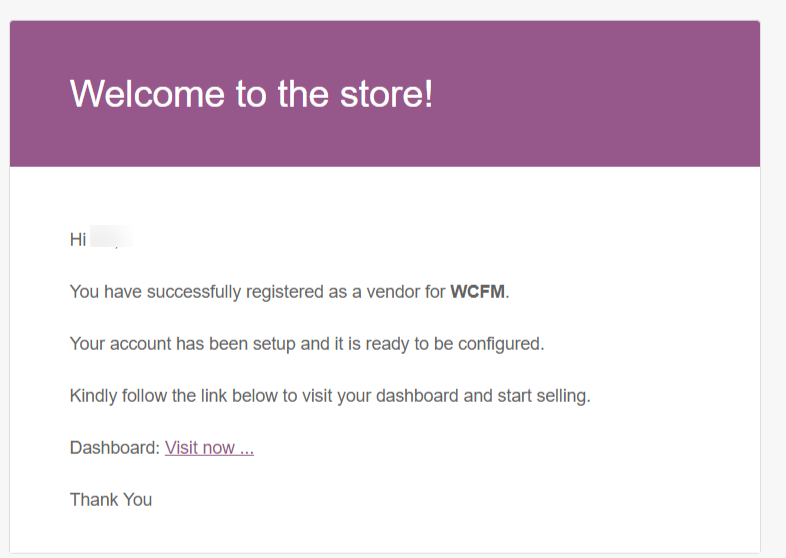
Note that the content of the above mail can also be changed from here – Goto WCFM Admin Dashboard-> Settings-> Vendor registration -> Advanced registration settings-> Welcome Email
If rejected: Incase the application is rejected then the following mail is triggered:
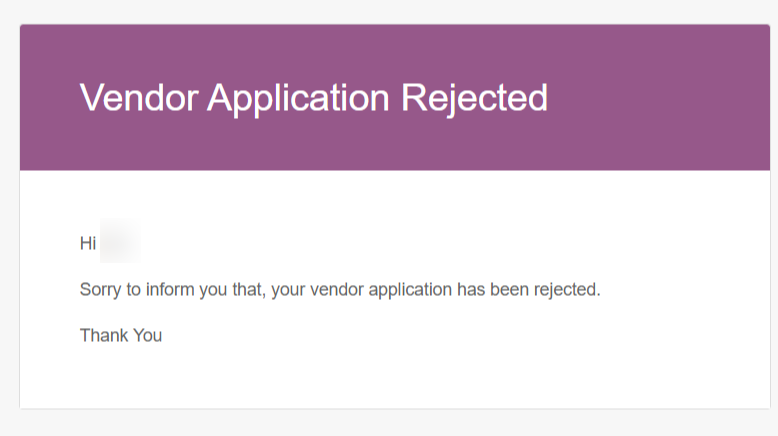
As an admin one can set the content of the above mail and configure other rejection rules from here: Goto WCFM Admin Dashboard-> Settings-> Vendor registration -> Advanced registration settings-> Rejection Rules.
Step 4: On being approved and clicking on Dashboard link ( shown in step 3), the vendors will be promoted to setup the store by a setup-wizard, here they can enter payment details, store policies etc step-wise manner as shown below.
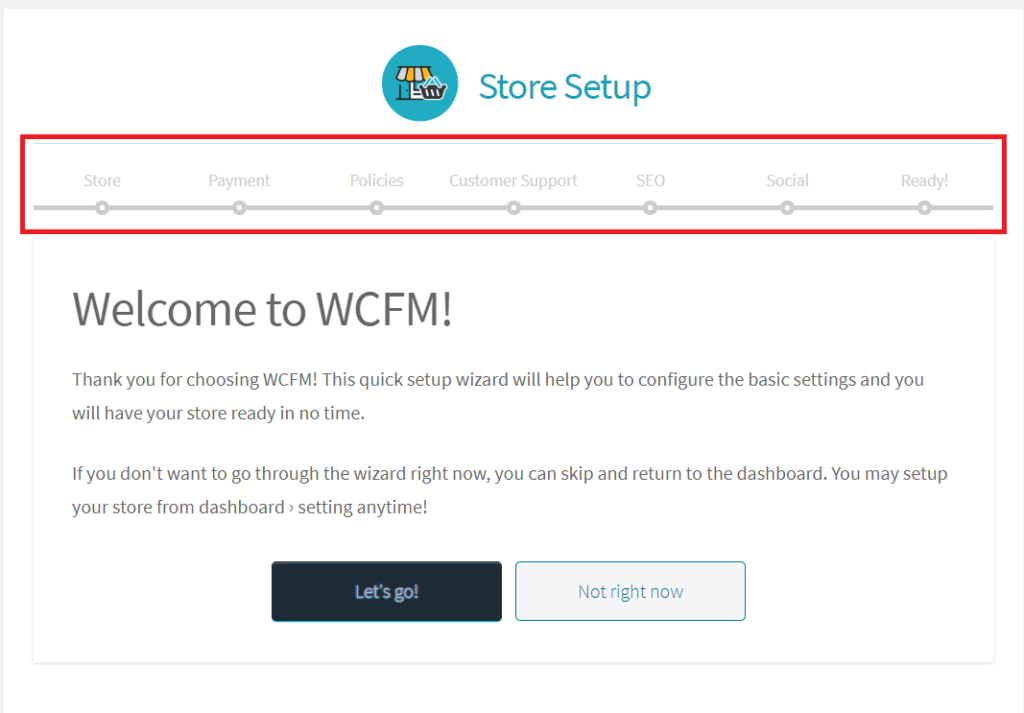
They can choose to skip the steps and setup the store from WCFM Vendor Dashboard as well, else they can prefill the data which will get reflected in their Vendor Dashboard.
Here’s a glimpse of Vendor Dashboard which can be seen after the registration and setup process is completed!
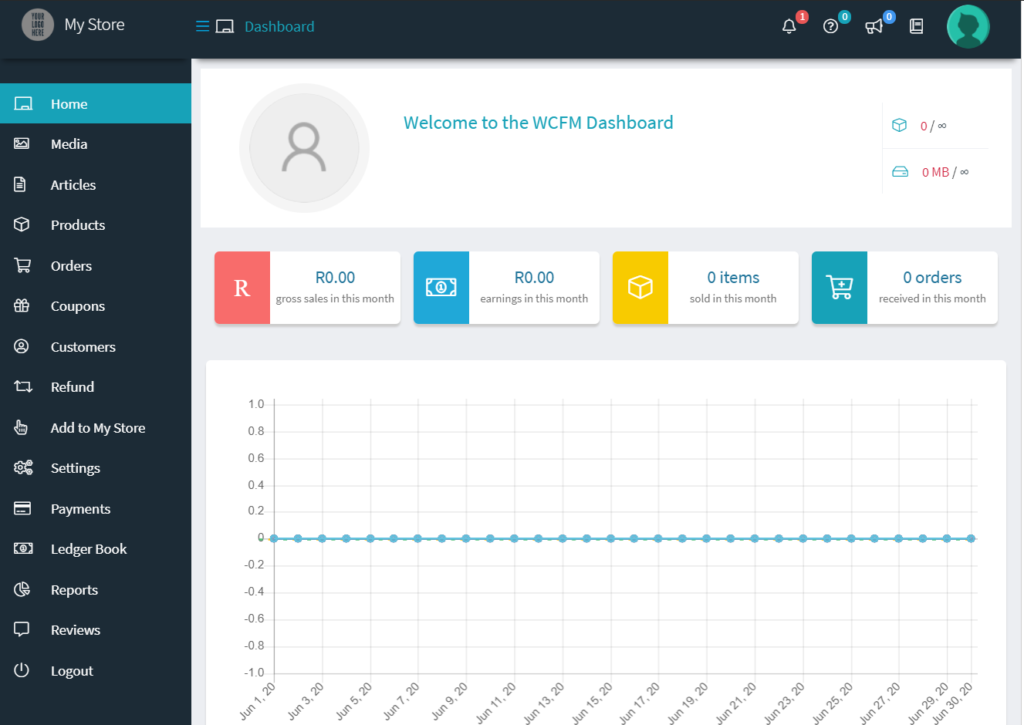
Now, the vendor can add products, setup their store and sell as per store rules. Enjoy selling!
