Step 1 : Go to Firebase.com
Step 2 : If you have a Firebase account, Sign in, else create an account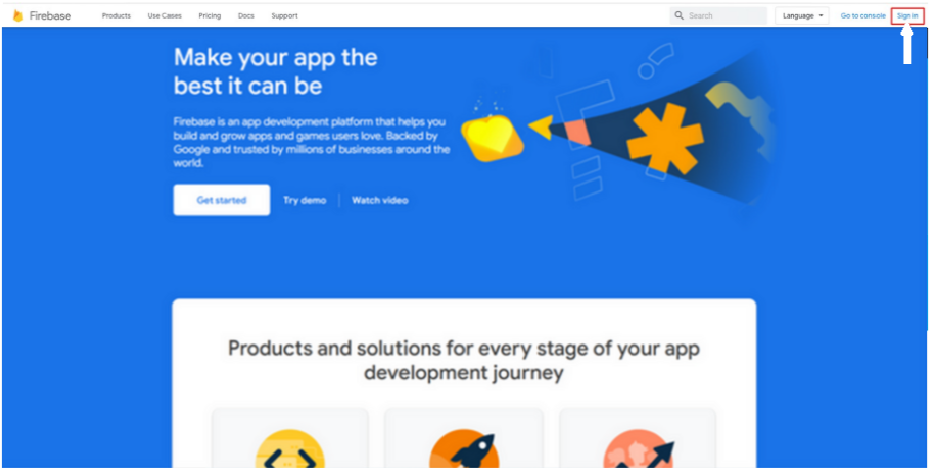
Step 3 : Click on Get Started 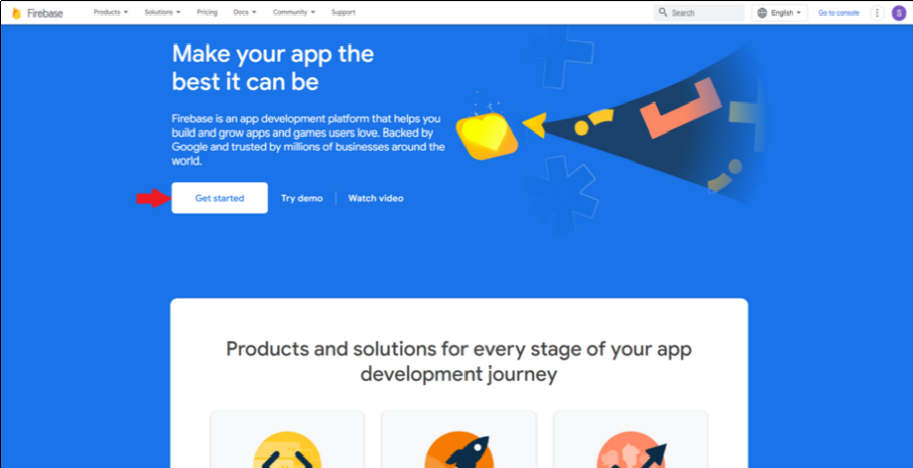
Step 4 : Click on Create a Project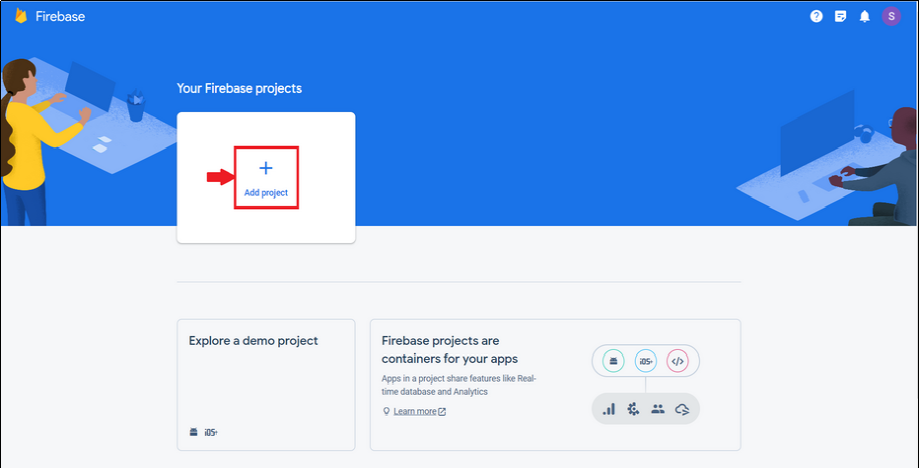
Step 5 : Enter Project name and tick mark the checkbox to accept Firebase terms.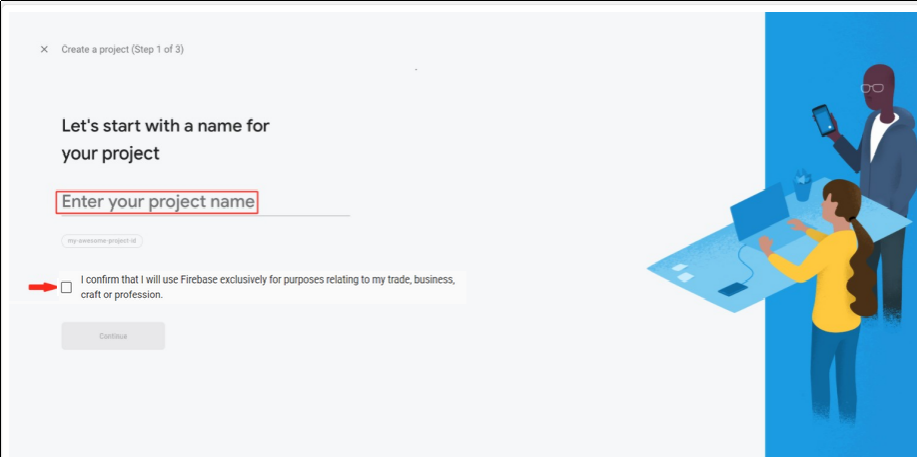
Step 6 : Click on Continue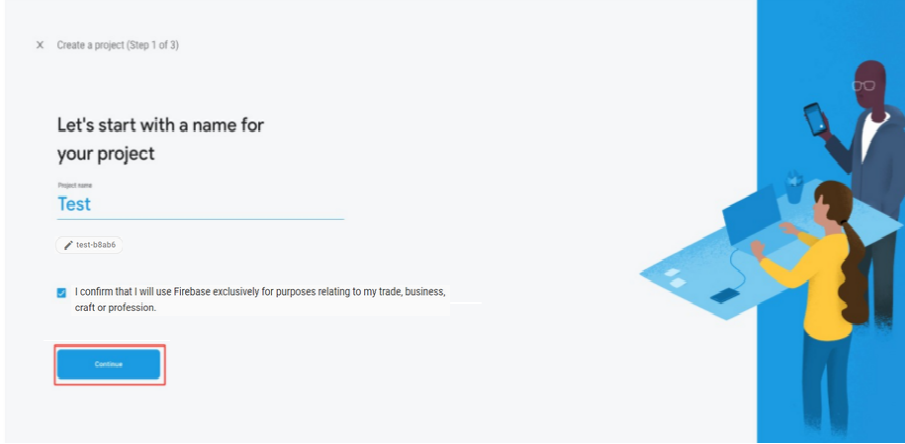
Step 7 : Select “Set up Google Analytics for my project” and click on Continue
Step 8 : At the Configure Google Analytics screen, select the options as represented on the screenshot below if you are intending to create the project on the default Firebase account, and hit Create Project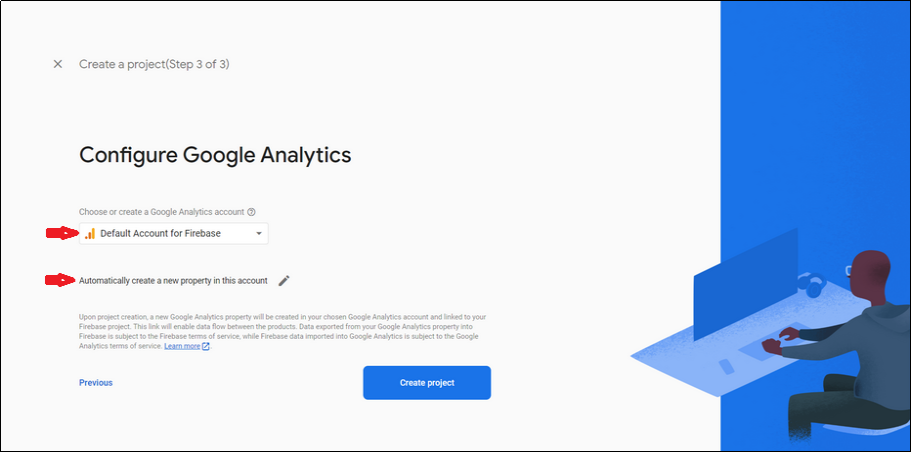
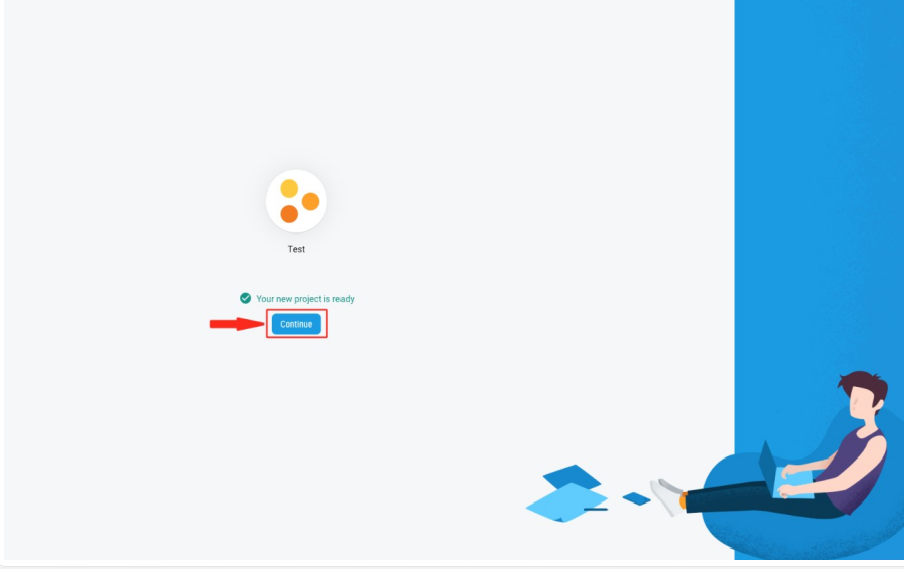
Step 9 : Click on Continue
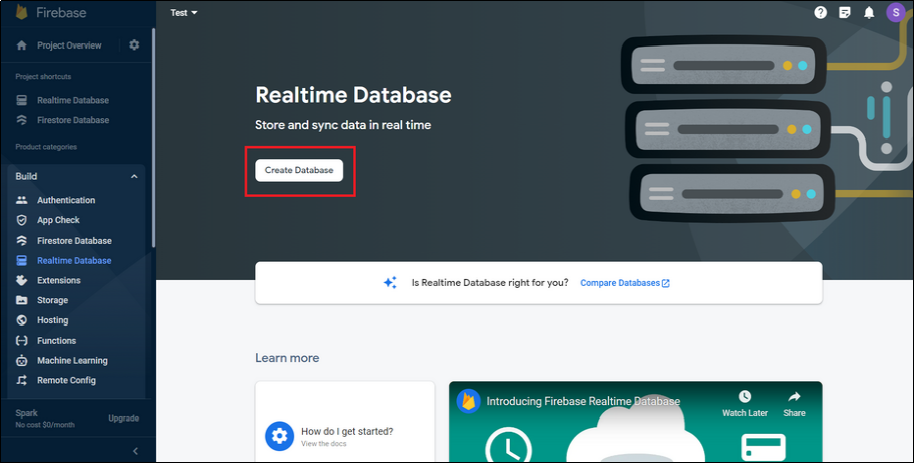
Step 10 : In the Build menu on the left hand side panel, click on Realtime Database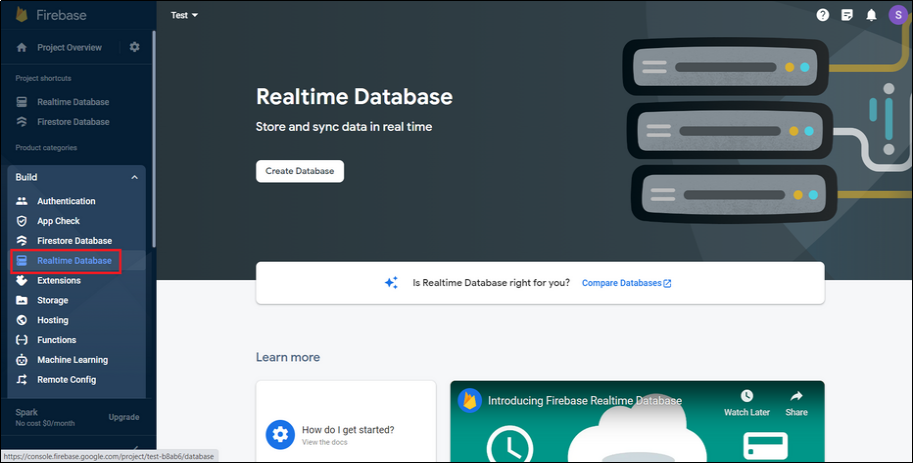
Step 12 : Click on Next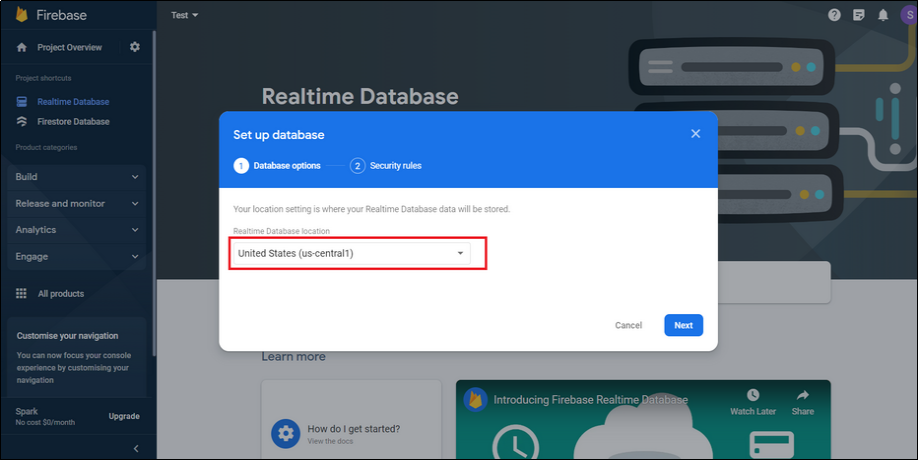
Step 13 : Click on Enable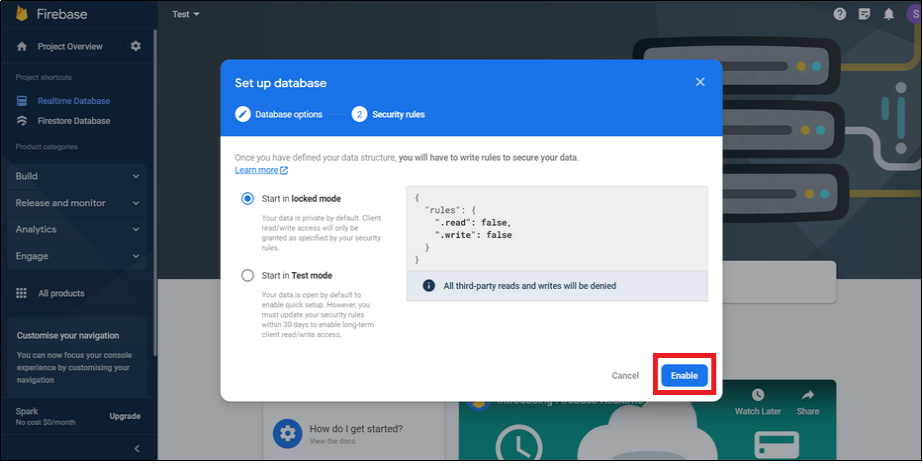
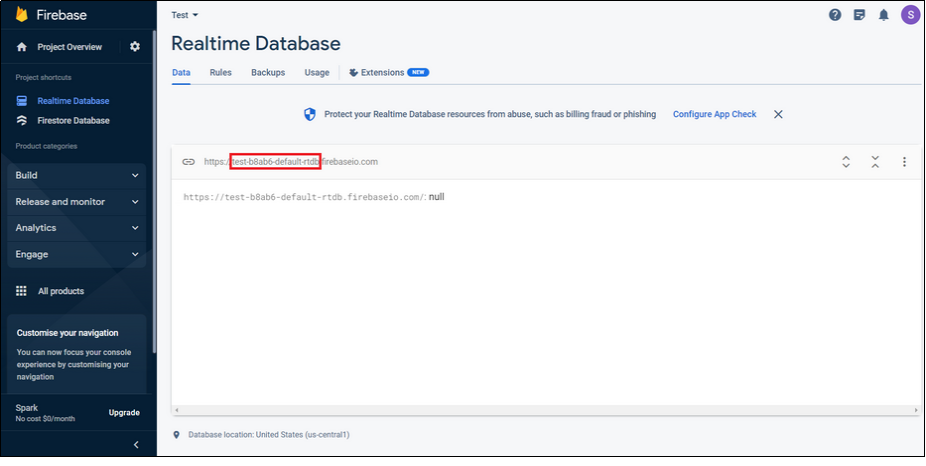
Step 14 : You will see Firebase url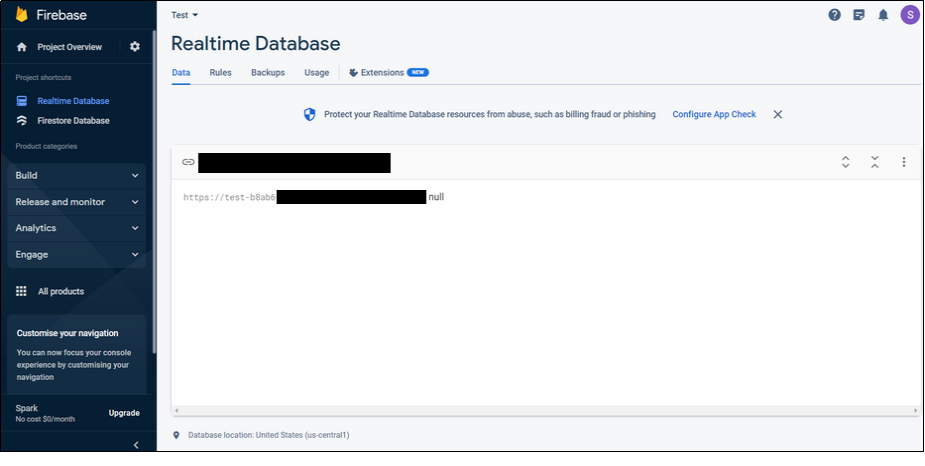
Step 15 : Just copy first part of this URL, it is your Firebase APP ID (in my case it is “wcl-chat”)