To get started, you will need to have the following installed:
- WPML Multilingual CMS, including:
- WooCommerce
- WCFM Ultimate, including:
- Front-end Manager
- Multivendor Marketplace
- Multivendor Membership
First, make sure that WPML is correctly installed and configured. You can find more info and guides here. Once you have completed this, you can refer to the following steps below.
It is worth noting that WPML’s Advanced Translation Editor is the recommended tool for translation management for website administrators. You can enable it by going to WPML → Settings, under the How to translate posts and pages section, choose the Use WPML’s Advanced Translation Editor option (seen above).
![]()
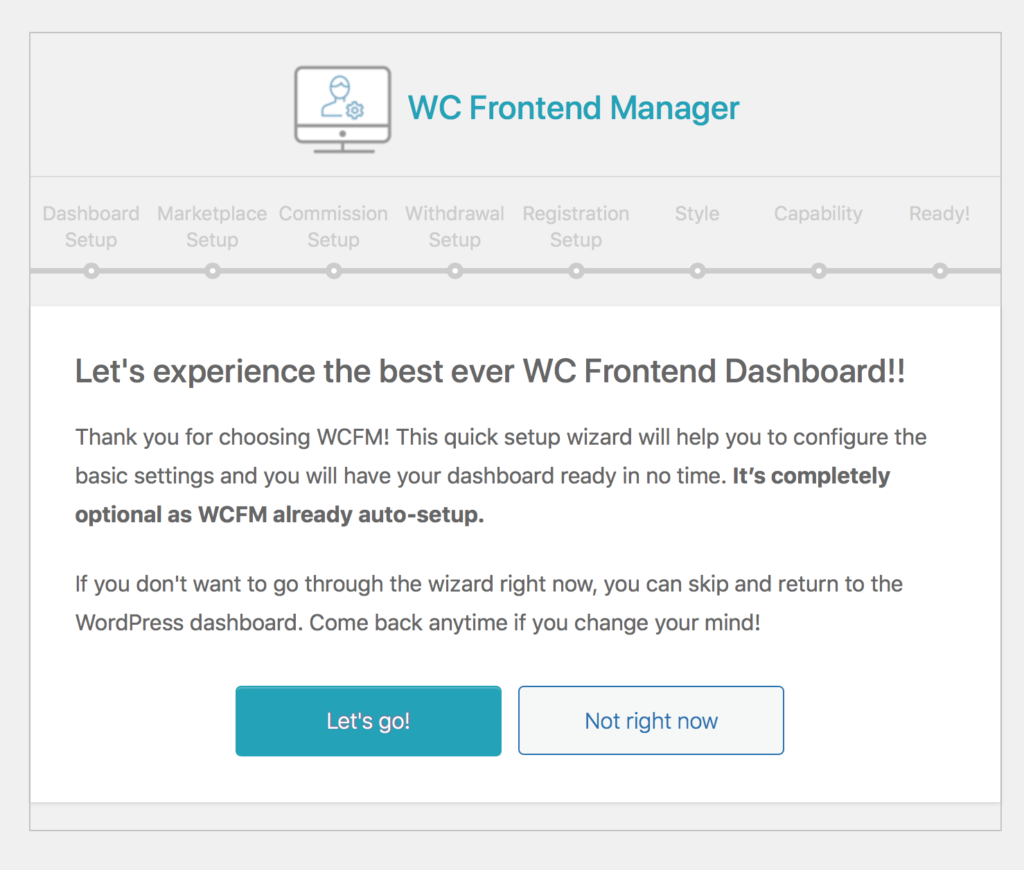
Now it’s time to set up WCFM! There are no settings that you will have to enable/disable/set – the auto-setup wizard will help you easily install the Frontend Manager and Multivendor Marketplace.
Creating the translated versions of your WCFM dashboard page is as easy as translating any other post/page using WPML. Navigate to your Store Manager page and open it for editing. (see below for an example of how this looks in the Block editor).
![]()
By clicking the plus icon next to each language, you will be able to add the relevant translated version. You will then be directed to WPML’s Advanced Translation Editor to add your translations.
![]()
You can either use the Translate automatically feature or enter the translation yourself. To confirm the translation, click the green check icon. Once you have finished with all your translations, click the Complete button to publish the translations.
Should you need to translate any additional admin texts, these can be found by navigating to WPML →String Translation.
After adding translations for your Store Manager page, it is time to handle the translation of your products. To do this, go to the WCFM Product Manager and create a new item by selecting ‘Add New’.
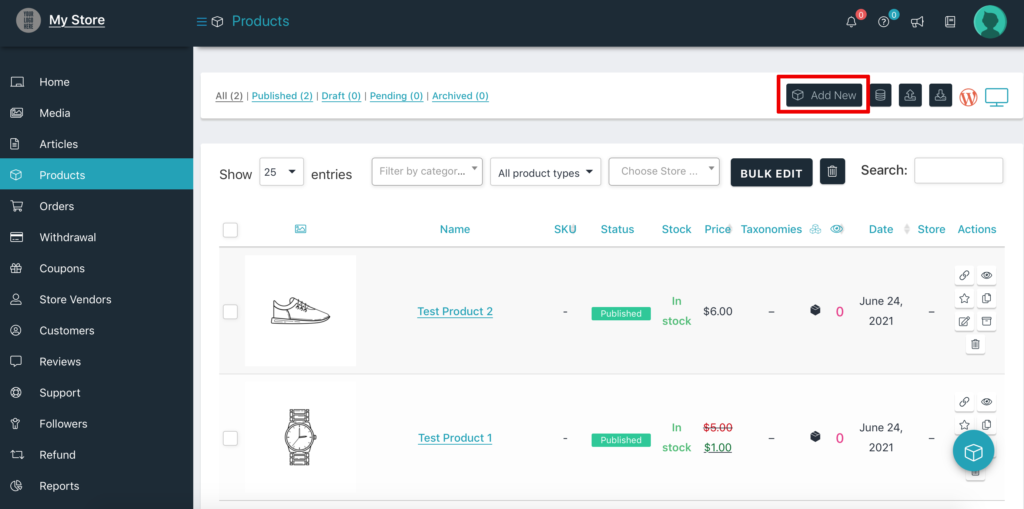
Once you have saved the product, you will see the option to translate it inside your WCFM Front-end Manager.
![]()
Using the options under the Translations section of the WCFM product editor, you can add new translations or edit existing translations for your product.
![]()
In the above example, you can see that a French version has been generated and you can now add your translations directly from the front-end editor. Once you have saved the translated product you can follow the same steps for the remaining languages.
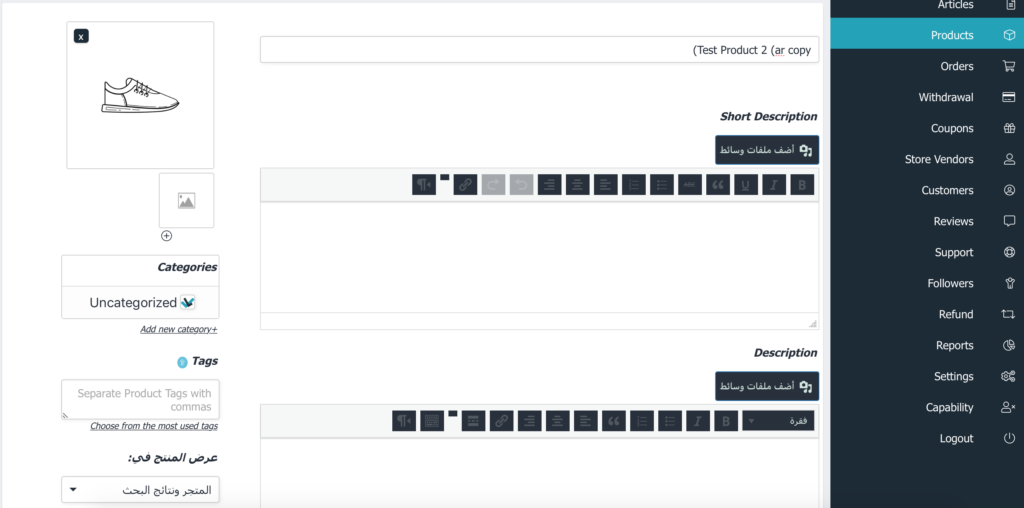
WCFM’s product manager is even intelligent enough to load the right-to-left product editor for languages that require this kind of formatting. For example, when we add the Arabic translation, the editor intuitively switches its layout.
It is important to mention that this special WPML integration is only available for WCFM Ultimate users. If you are using our free version, refer to this WPML guide for Building Multilingual Multi-vendor Marketplace Sites.